Object Instructions
As mentioned before, properties can be modified via instructions that affect objects according to the three.js documentation.
All objects share a common set of basic properties described in the following, while additional properties specific to certain object types are described in their respective sections.
Note
Instructions sent with update are only applied to objects and
materials that currently exist in the scene. Sending one for a deleted or
never created target has no effect: the server discards it and names it in
the response, while the call itself still succeeds. The Python client turns
that into a LiveInstructionWarning, the Rust client logs it. This
keeps an instruction from outliving its target and being inherited by the
next object created under the same identifier. For the same reason an
identifier must not be empty and must not contain a tab or a newline; the
server refuses to create such an object or material. Anchor instructions are
exempt from both, since they are defined ahead of the objects they address,
and they are also kept when their target is deleted.
Basic properties
All objects have a set of basic properties that can be updated via instructions:
position: The new absolute position of the object with respect to the world origin or its parent.rotation: The new absolute rotation (Euler XYZ in radians) of the object with respect to the world origin or its parent.quaternion: The new absolute quaternion (XYZW) of the object with respect to the world origin or its parent.scale: The absolute scale of the object.visible: The visibility of the object.parent: Attaches an object to a parent. Setting the parent to None detaches the object from its current parent.
Note
All objects also have a material property that can be updated dynamically.
However, material characteristics depend on the object type, therefore material instructions
are described in the respective object sections.
Position
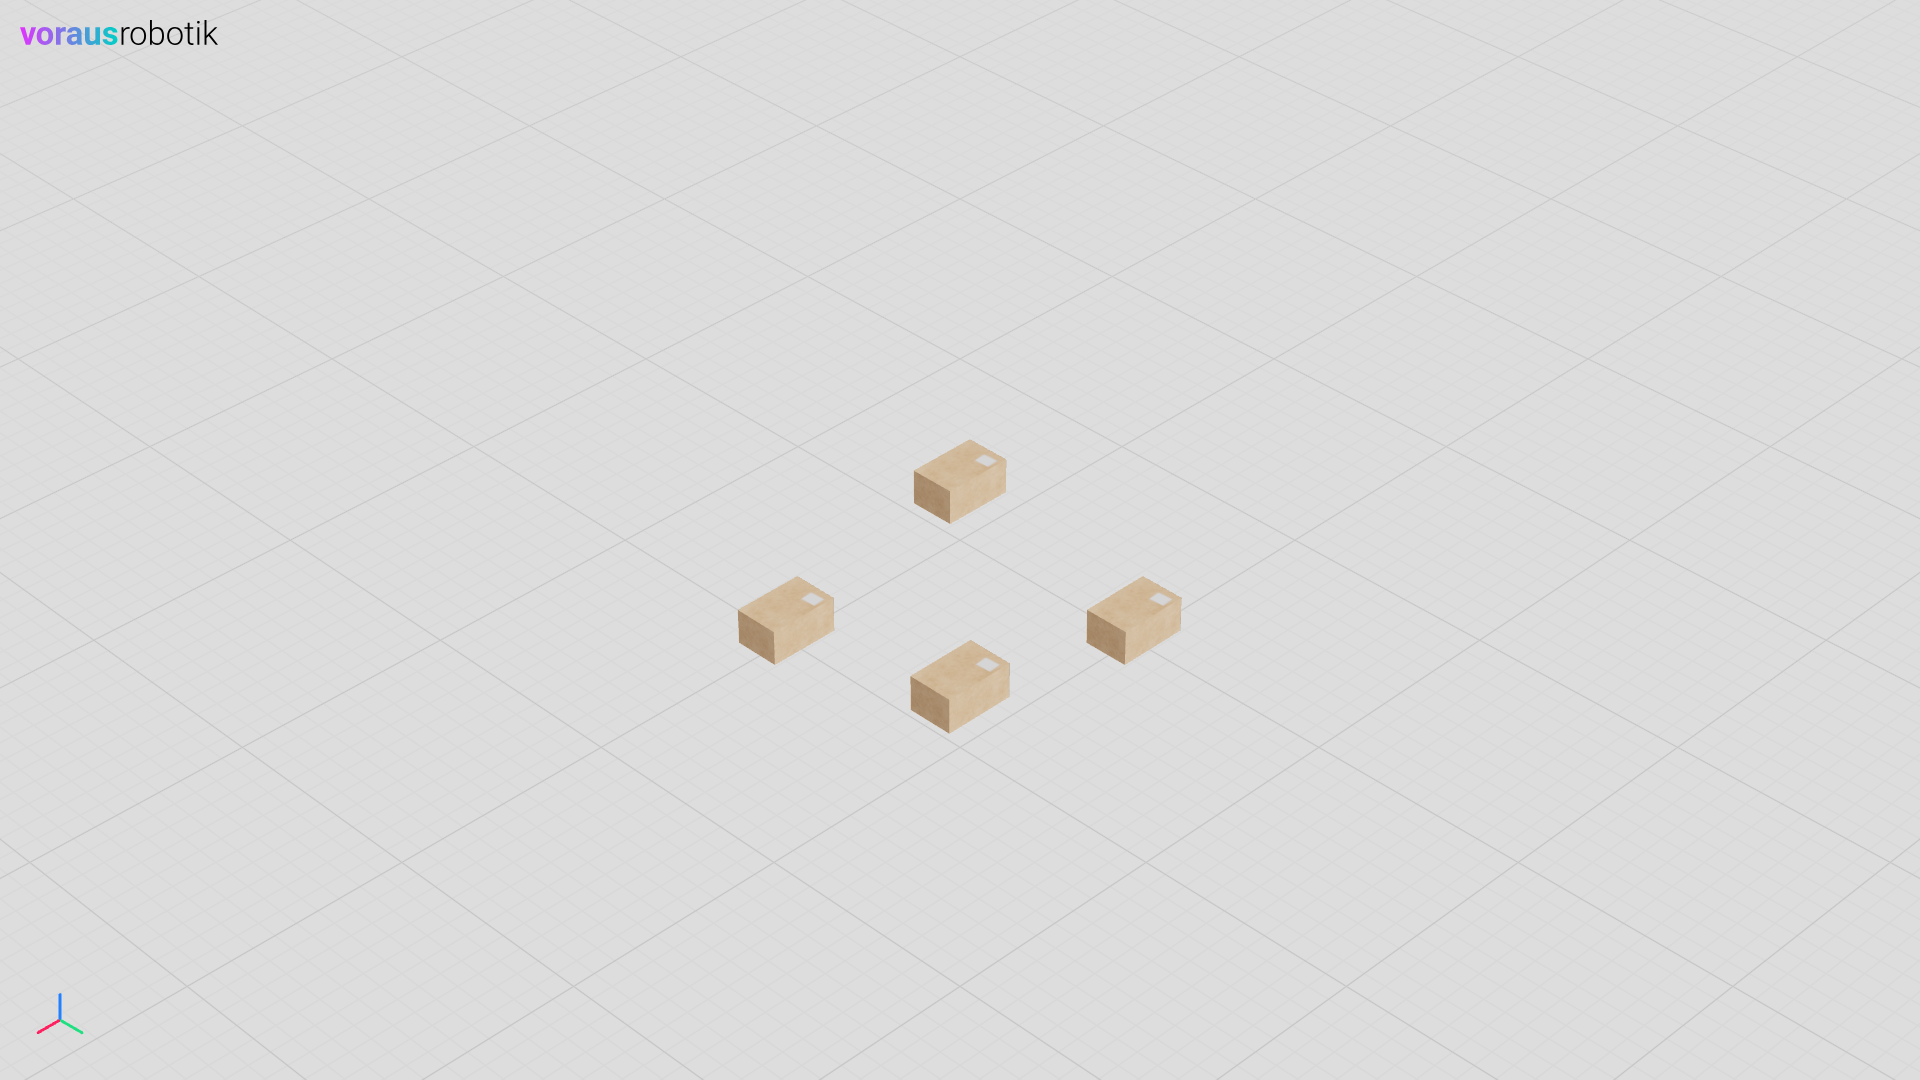
This instruction updates the position of the object.
The Cartesian position values x, y and z can be updated individually or all together (xyz).
Example:
 1    visu = Visu(voraus_3d_visu, clear_all=True)
 2    box1 = visu.add_model(box_glb, position=[0, 0, 0.1])
 3    box2 = visu.add_model(box_glb, position=[0, 0, 0.1])
 4    box3 = visu.add_model(box_glb, position=[0, 0, 0.1])
 5    box4 = visu.add_model(box_glb, position=[0, 0, 0.1])
 6
 7    with visu.connection():
 8        visu.update(
 9            box1.position.x(1),
10            box2.position.y(1),
11            box3.position.z(0.3),
12            box4.position.xyz(1, 1, 0.3),
13        )
 1let mut visu = Visu::new(url, false, false, true, None)?;
 2let box1 = add_model(&visu, box_glb, [0.0, 0.0, 0.1])?;
 3let box2 = add_model(&visu, box_glb, [0.0, 0.0, 0.1])?;
 4let box3 = add_model(&visu, box_glb, [0.0, 0.0, 0.1])?;
 5let box4 = add_model(&visu, box_glb, [0.0, 0.0, 0.1])?;
 6
 7let mut connection = visu.connection()?;
 8connection.update(vec![
 9    box1.position().x(1.0),
10    box2.position().y(1.0),
11    box3.position().z(0.3),
12    box4.position().xyz(1.0, 1.0, 0.3),
13])?;
Rotation
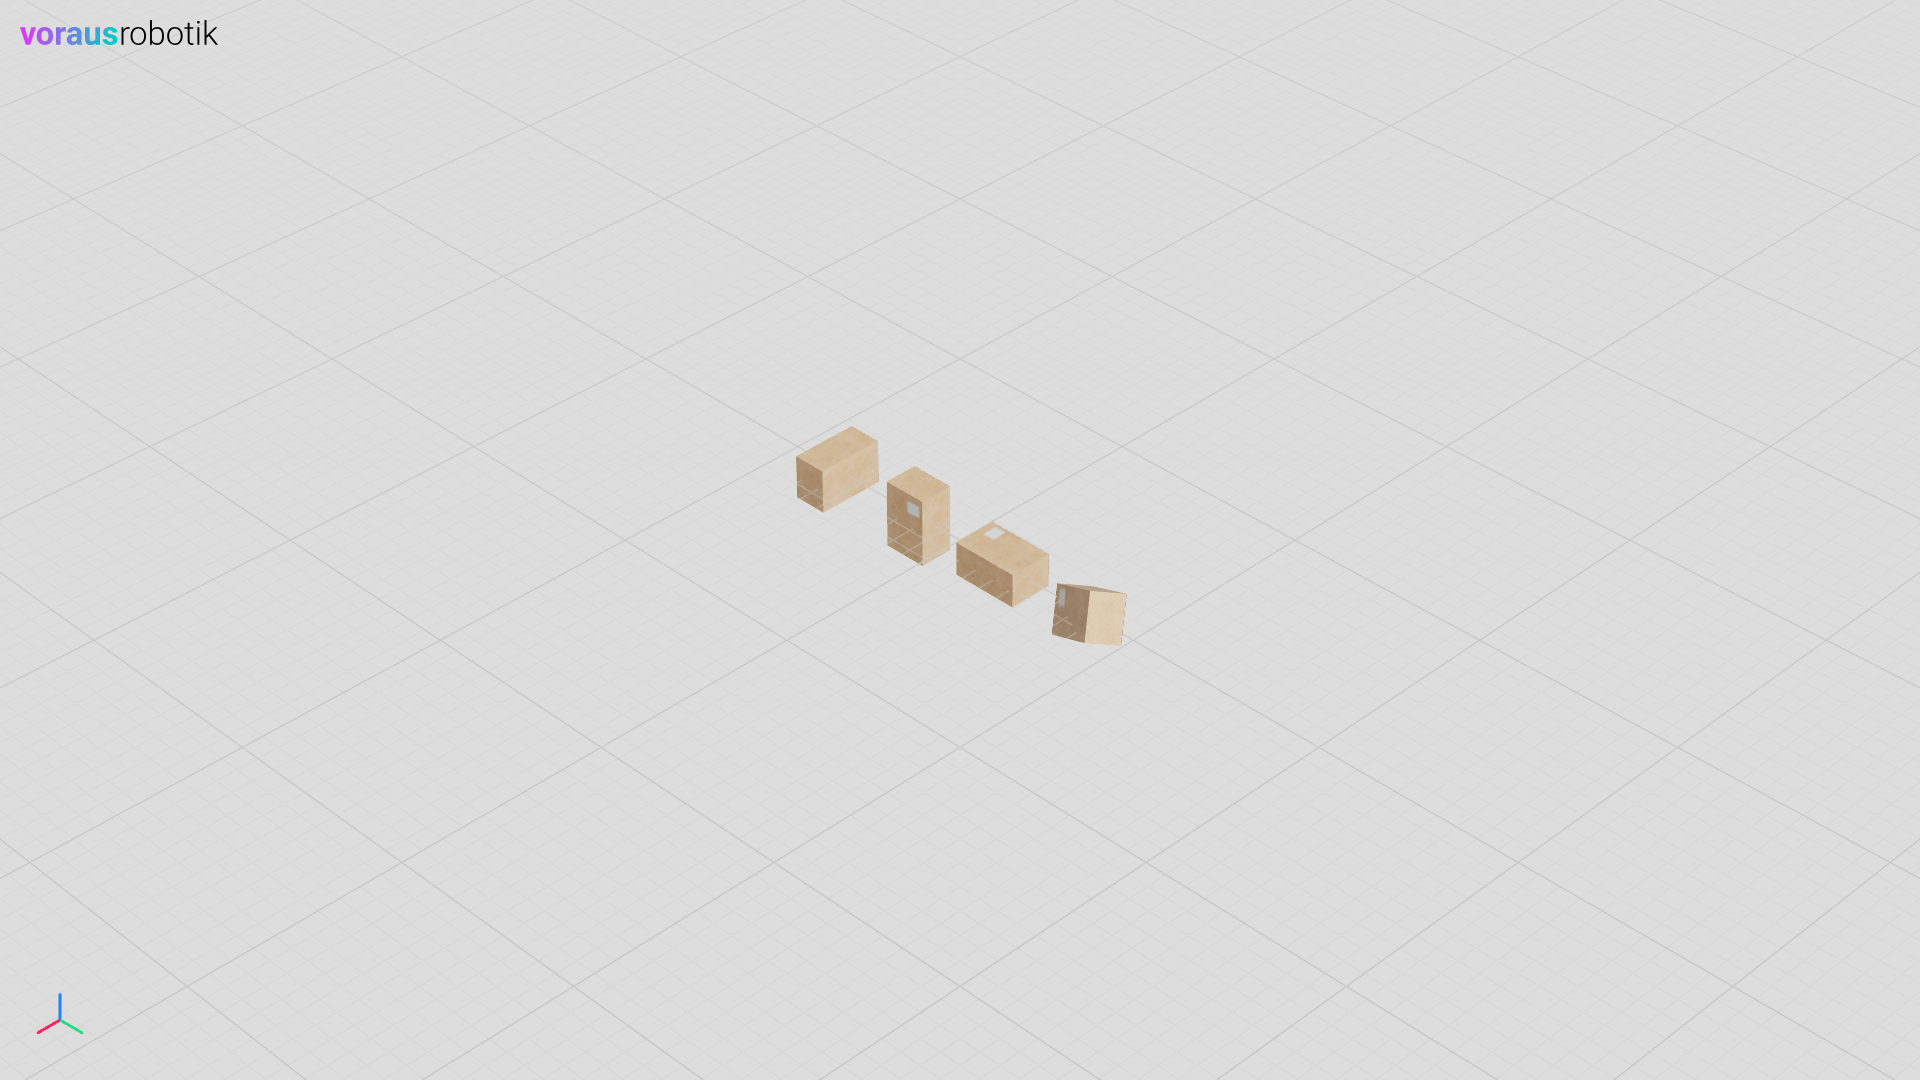
This instruction updates the rotation of the object.
The Cartesian rotation values x, y and z can be updated individually or all together (xyz).
Rotations are defined by Euler(XYZ).
Example:
 1    visu = Visu(voraus_3d_visu, clear_all=True)
 2    box1 = visu.add_model(box_glb, position=[0, -0.75, 0])
 3    box2 = visu.add_model(box_glb, position=[0, -0.25, 0])
 4    box3 = visu.add_model(box_glb, position=[0, 0.25, 0])
 5    box4 = visu.add_model(box_glb, position=[0, 0.75, 0])
 6
 7    with visu.connection():
 8        visu.update(
 9            box1.rotation.x(1.57),
10            box2.rotation.y(1.57),
11            box3.rotation.z(1.57),
12            box4.rotation.xyz(1, 1, 1),
13        )
 1let mut visu = Visu::new(url, false, false, true, None)?;
 2let box1 = add_model(&visu, box_glb, [0.0, -0.75, 0.0])?;
 3let box2 = add_model(&visu, box_glb, [0.0, -0.25, 0.0])?;
 4let box3 = add_model(&visu, box_glb, [0.0, 0.25, 0.0])?;
 5let box4 = add_model(&visu, box_glb, [0.0, 0.75, 0.0])?;
 6
 7let mut connection = visu.connection()?;
 8connection.update(vec![
 9    box1.rotation().x(1.57),
10    box2.rotation().y(1.57),
11    box3.rotation().z(1.57),
12    box4.rotation().xyz(1.0, 1.0, 1.0),
13])?;
Quaternion
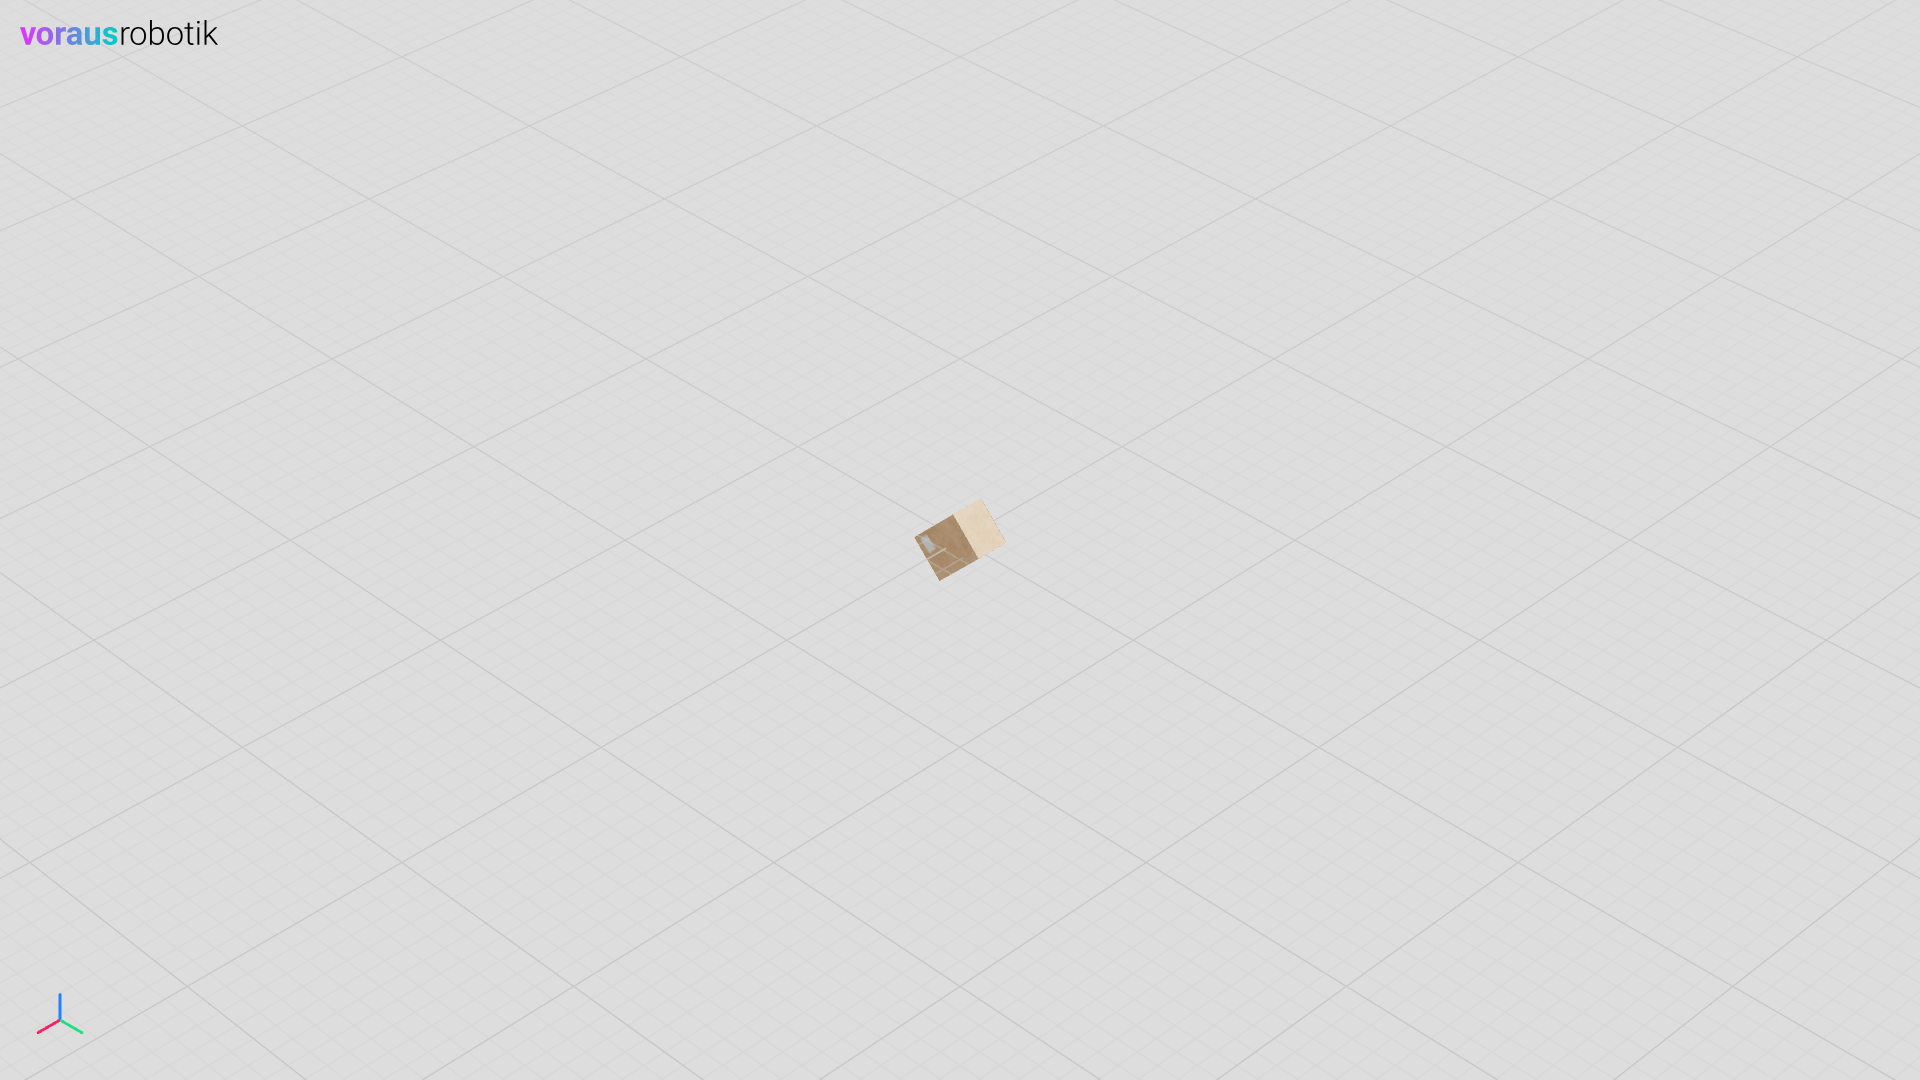
This instruction updates the quaternions of the object.
The values x, y, z and w are updated all together.
Example:
1    visu = Visu(voraus_3d_visu, clear_all=True)
2    box = visu.add_model(box_glb, position=[0, 0, 0])
3
4    with visu.connection():
5        visu.update(
6            box.quaternion.xyzw(0.653012, 0.270728, 0.6532274, 0.2712483),
7        )
1let mut visu = Visu::new(url, false, false, true, None)?;
2let box_model = add_model(&visu, box_glb, [0.0, 0.0, 0.0])?;
3
4let mut connection = visu.connection()?;
5connection.update(vec![box_model
6    .quaternion()
7    .xyzw(0.653012, 0.270728, 0.6532274, 0.2712483)])?;
Scale
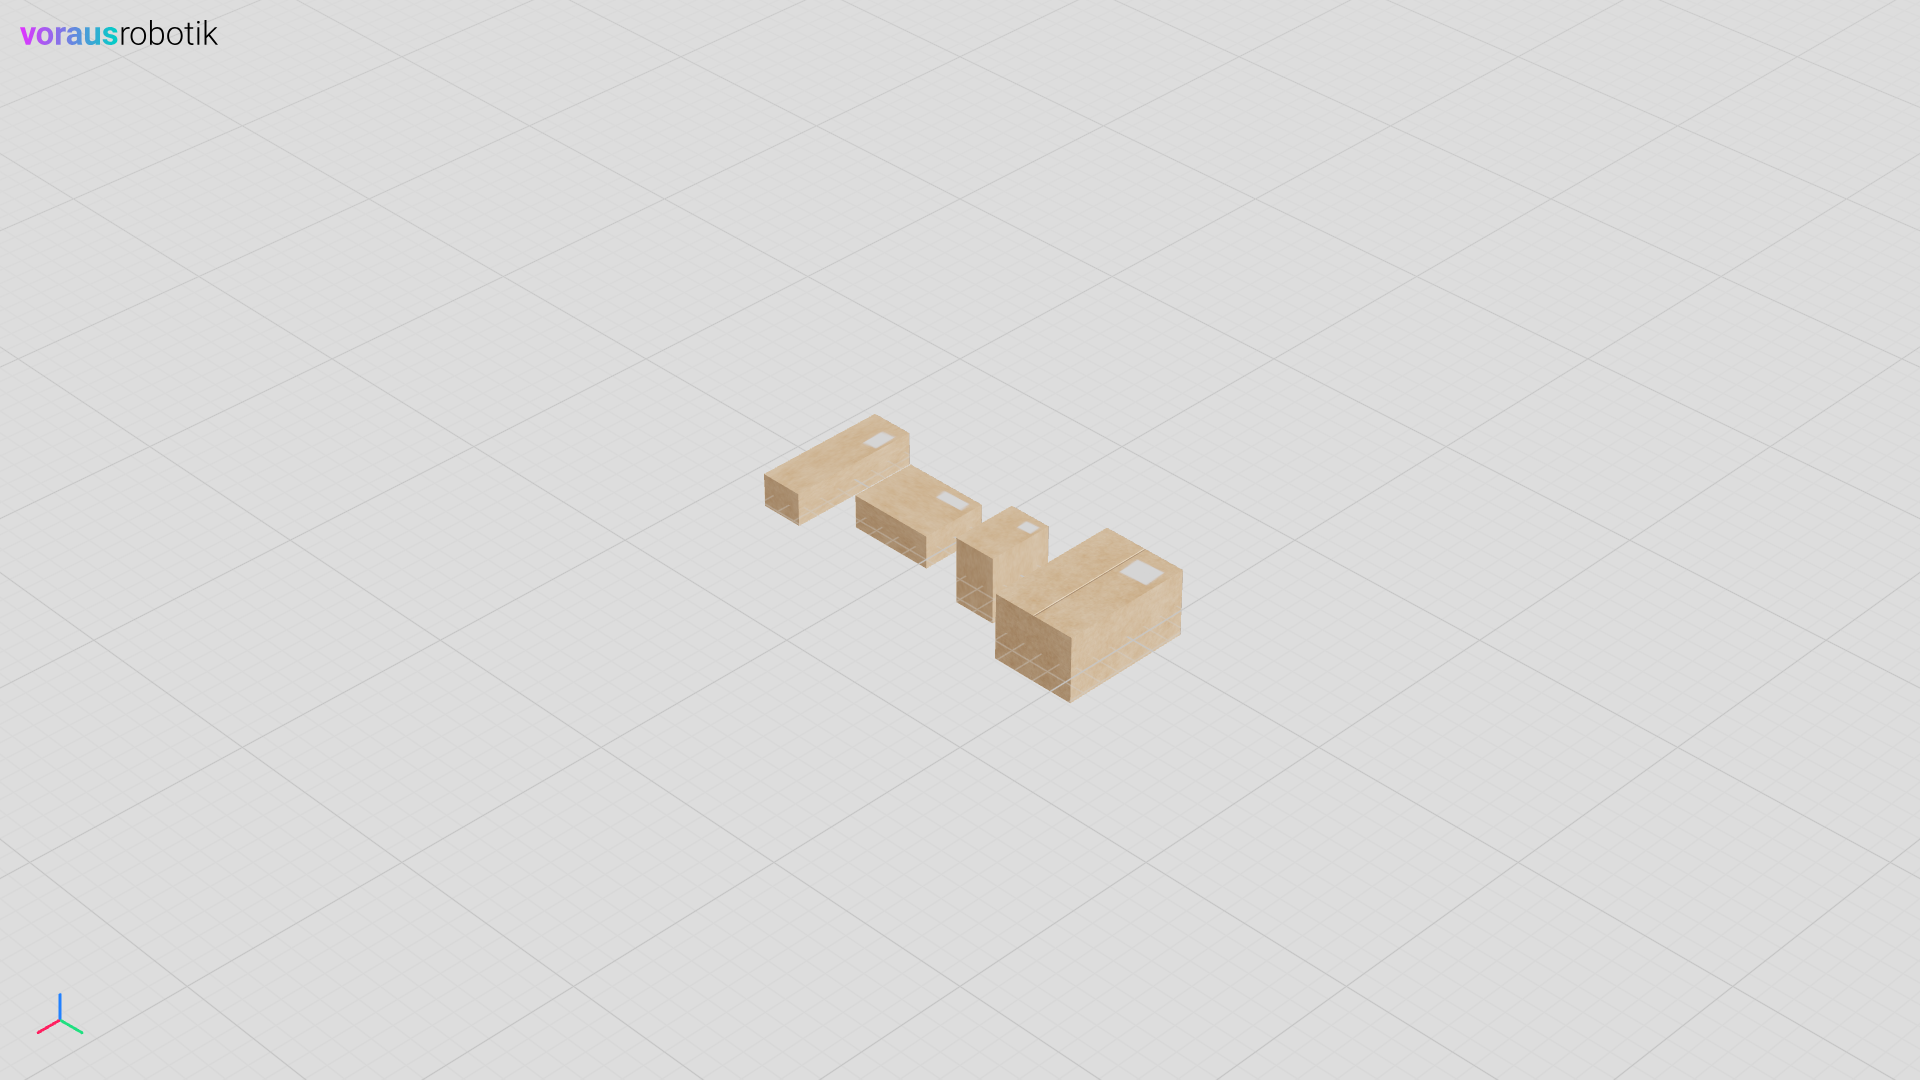
This instruction updates the scaling of the object.
The Cartesian scaling parameters x, y and z can be updated individually or all together (xyz).
Example:
 1    visu = Visu(voraus_3d_visu, clear_all=True)
 2    box1 = visu.add_model(box_glb, position=[0, -0.75, 0])
 3    box2 = visu.add_model(box_glb, position=[0, -0.25, 0])
 4    box3 = visu.add_model(box_glb, position=[0, 0.25, 0])
 5    box4 = visu.add_model(box_glb, position=[0, 0.75, 0])
 6
 7    with visu.connection():
 8        visu.update(
 9            box1.scale.x(2),
10            box2.scale.y(2),
11            box3.scale.z(2),
12            box4.scale.xyz(2, 2, 2),
13        )
 1let mut visu = Visu::new(url, false, false, true, None)?;
 2let box1 = add_model(&visu, box_glb, [0.0, -0.75, 0.0])?;
 3let box2 = add_model(&visu, box_glb, [0.0, -0.25, 0.0])?;
 4let box3 = add_model(&visu, box_glb, [0.0, 0.25, 0.0])?;
 5let box4 = add_model(&visu, box_glb, [0.0, 0.75, 0.0])?;
 6
 7let mut connection = visu.connection()?;
 8connection.update(vec![
 9    box1.scale().x(2.0),
10    box2.scale().y(2.0),
11    box3.scale().z(2.0),
12    box4.scale().xyz(2.0, 2.0, 2.0),
13])?;
Parent
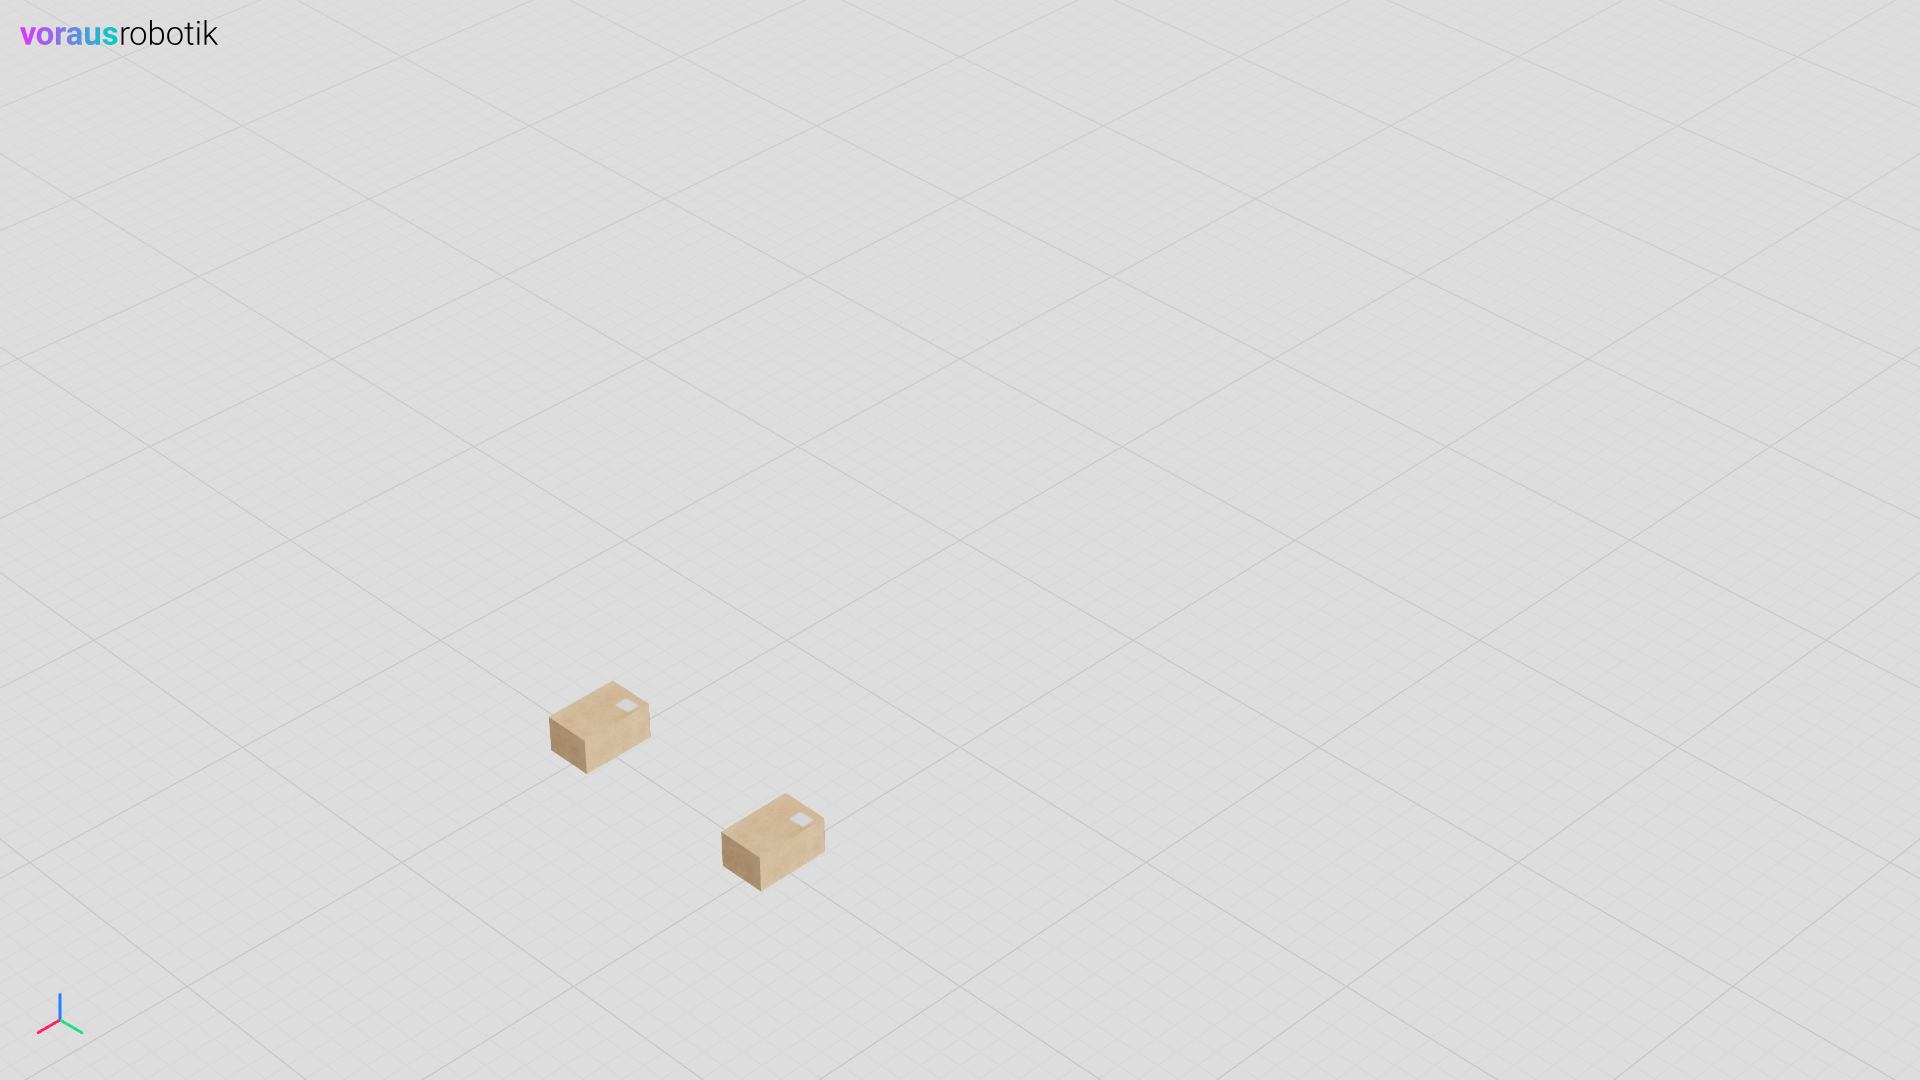
This instruction defines a new parent of the object.
Once coupled, all transformation instructions for a child are applied relative to the origin of the parent object.
Changes to the parent also apply to descending children.
Setting a parent to None decouples a child from its current parent.
The parent has to exist when the instruction is sent, and a child is detached again when its parent object is deleted. Without that, the child would stay inside the removed subtree and would be re-attached to whichever object is created next under the parent’s identifier.
An object also cannot become a child of itself or of anything below it, whether directly or through a chain of parents. Such an instruction is discarded as well, since the browser cannot apply it without dropping the objects involved from the scene.
The instructions of one update call are checked in the order they are
given, against the hierarchy as it stands at that point. To move an object
below one of its current descendants, detach the descendant first and send the
new parent after it, in the same call or a later one. In the other order the
new parent is discarded, because it would close a cycle at the moment it is
applied.
Example:
1    visu = Visu(voraus_3d_visu, clear_all=True)
2    box1 = visu.add_model(box_glb, position=[0, 0, 0.1])
3    box2 = visu.add_model(box_glb, position=[0, 1, 0.1])
4
5    with visu.connection():
6        visu.update(
7            box2.parent(box1),
8            box1.position.x(2),
9        )
1let mut visu = Visu::new(url, false, false, true, None)?;
2let box1 = add_model(&visu, box_glb, [0.0, 0.0, 0.1])?;
3let box2 = add_model(&visu, box_glb, [0.0, 1.0, 0.1])?;
4
5let mut connection = visu.connection()?;
6connection.update(vec![box2.parent(Some(&box1)), box1.position().x(2.0)])?;
Visible
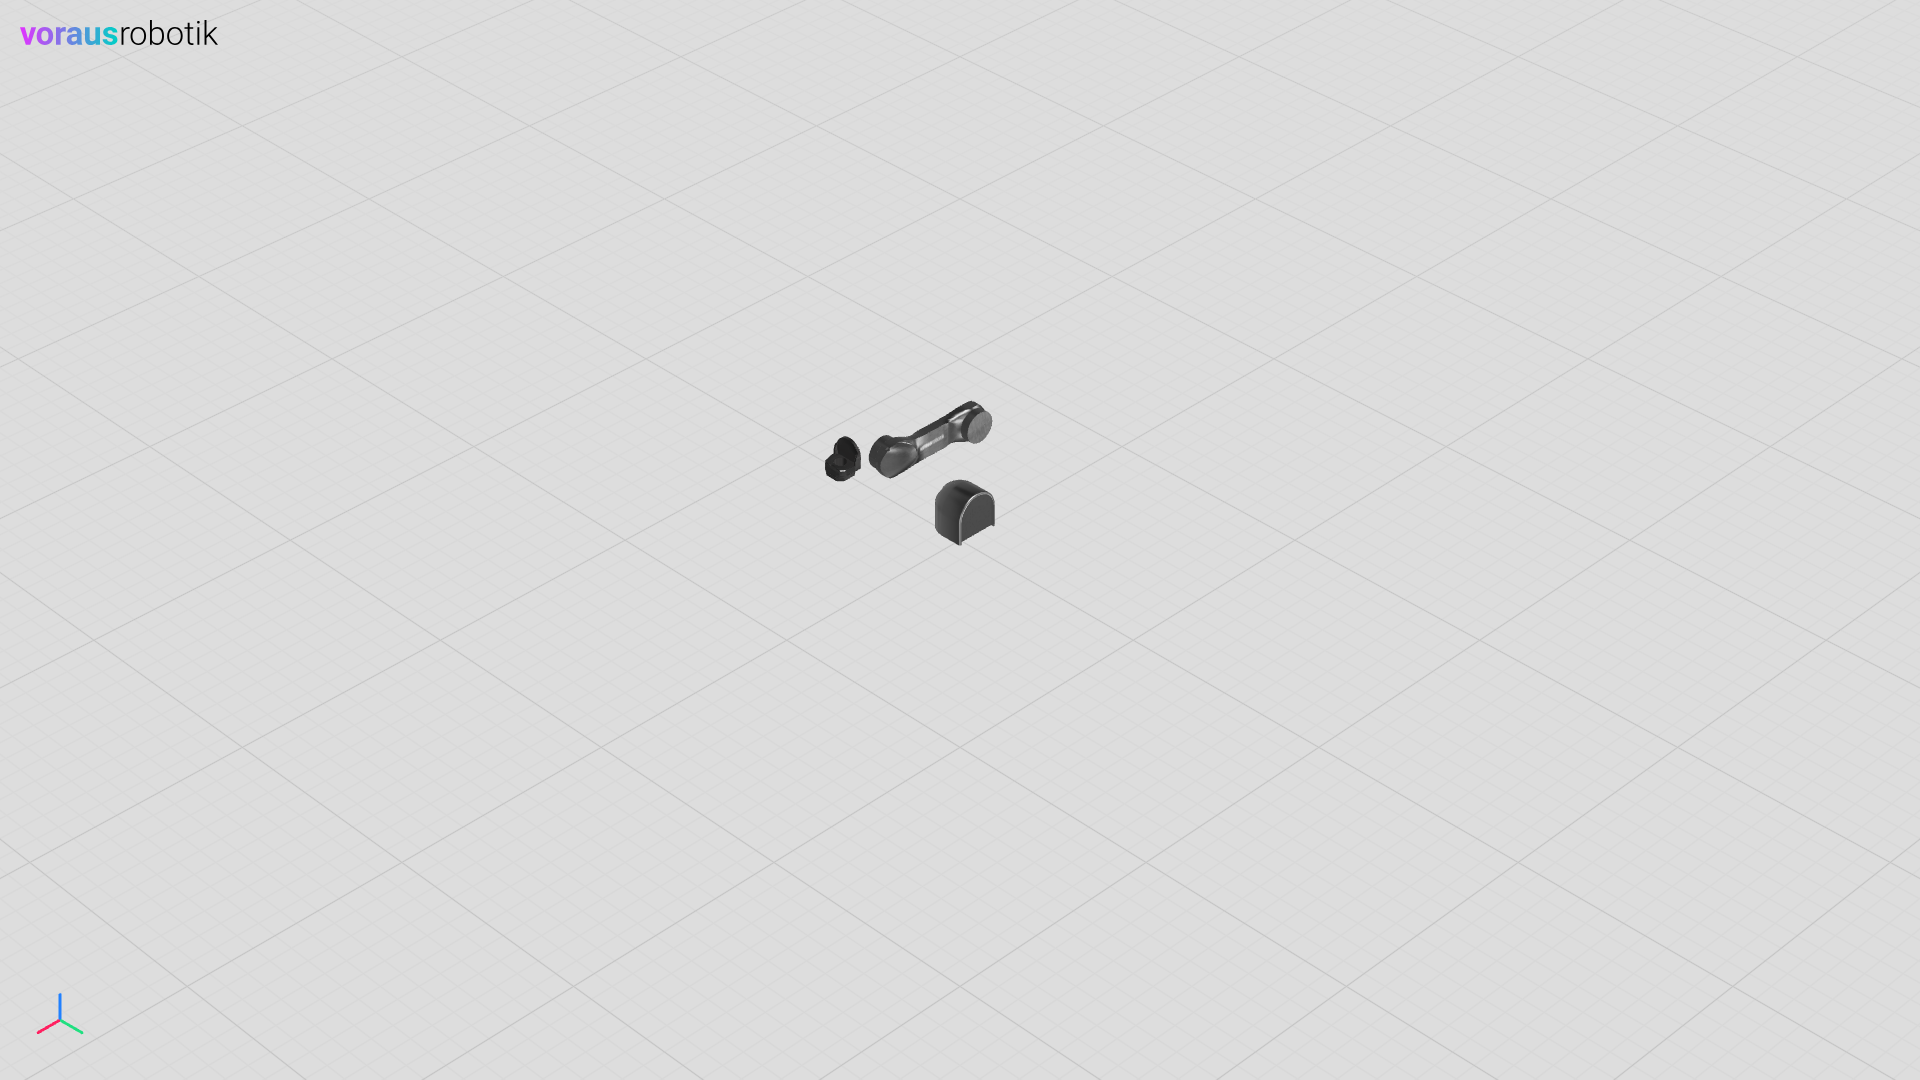
This instruction updates the visibility of the object.
Example:
 1    visu = Visu(voraus_3d_visu, clear_all=True)
 2    robot1 = visu.add_model(robot_glb, position=[0, 0, 0])
 3    robot2 = visu.add_model(robot_glb, position=[0, 1, 0])
 4
 5    with visu.connection():
 6        visu.update(
 7            robot1.child("Base").visible(False),
 8            robot1.child("Segment2").visible(False),
 9            robot1.child("Segment4").visible(False),
10            robot1.child("Segment6").visible(False),
11            robot2.visible(False),
12        )
 1let mut visu = Visu::new(url, false, false, true, None)?;
 2let robot1 = add_model(&visu, robot_glb, [0.0, 0.0, 0.0])?;
 3let robot2 = add_model(&visu, robot_glb, [0.0, 1.0, 0.0])?;
 4
 5let mut connection = visu.connection()?;
 6connection.update(vec![
 7    robot1.child("Base").visible(false),
 8    robot1.child("Segment2").visible(false),
 9    robot1.child("Segment4").visible(false),
10    robot1.child("Segment6").visible(false),
11    robot2.visible(false),
12])?;
Render Order
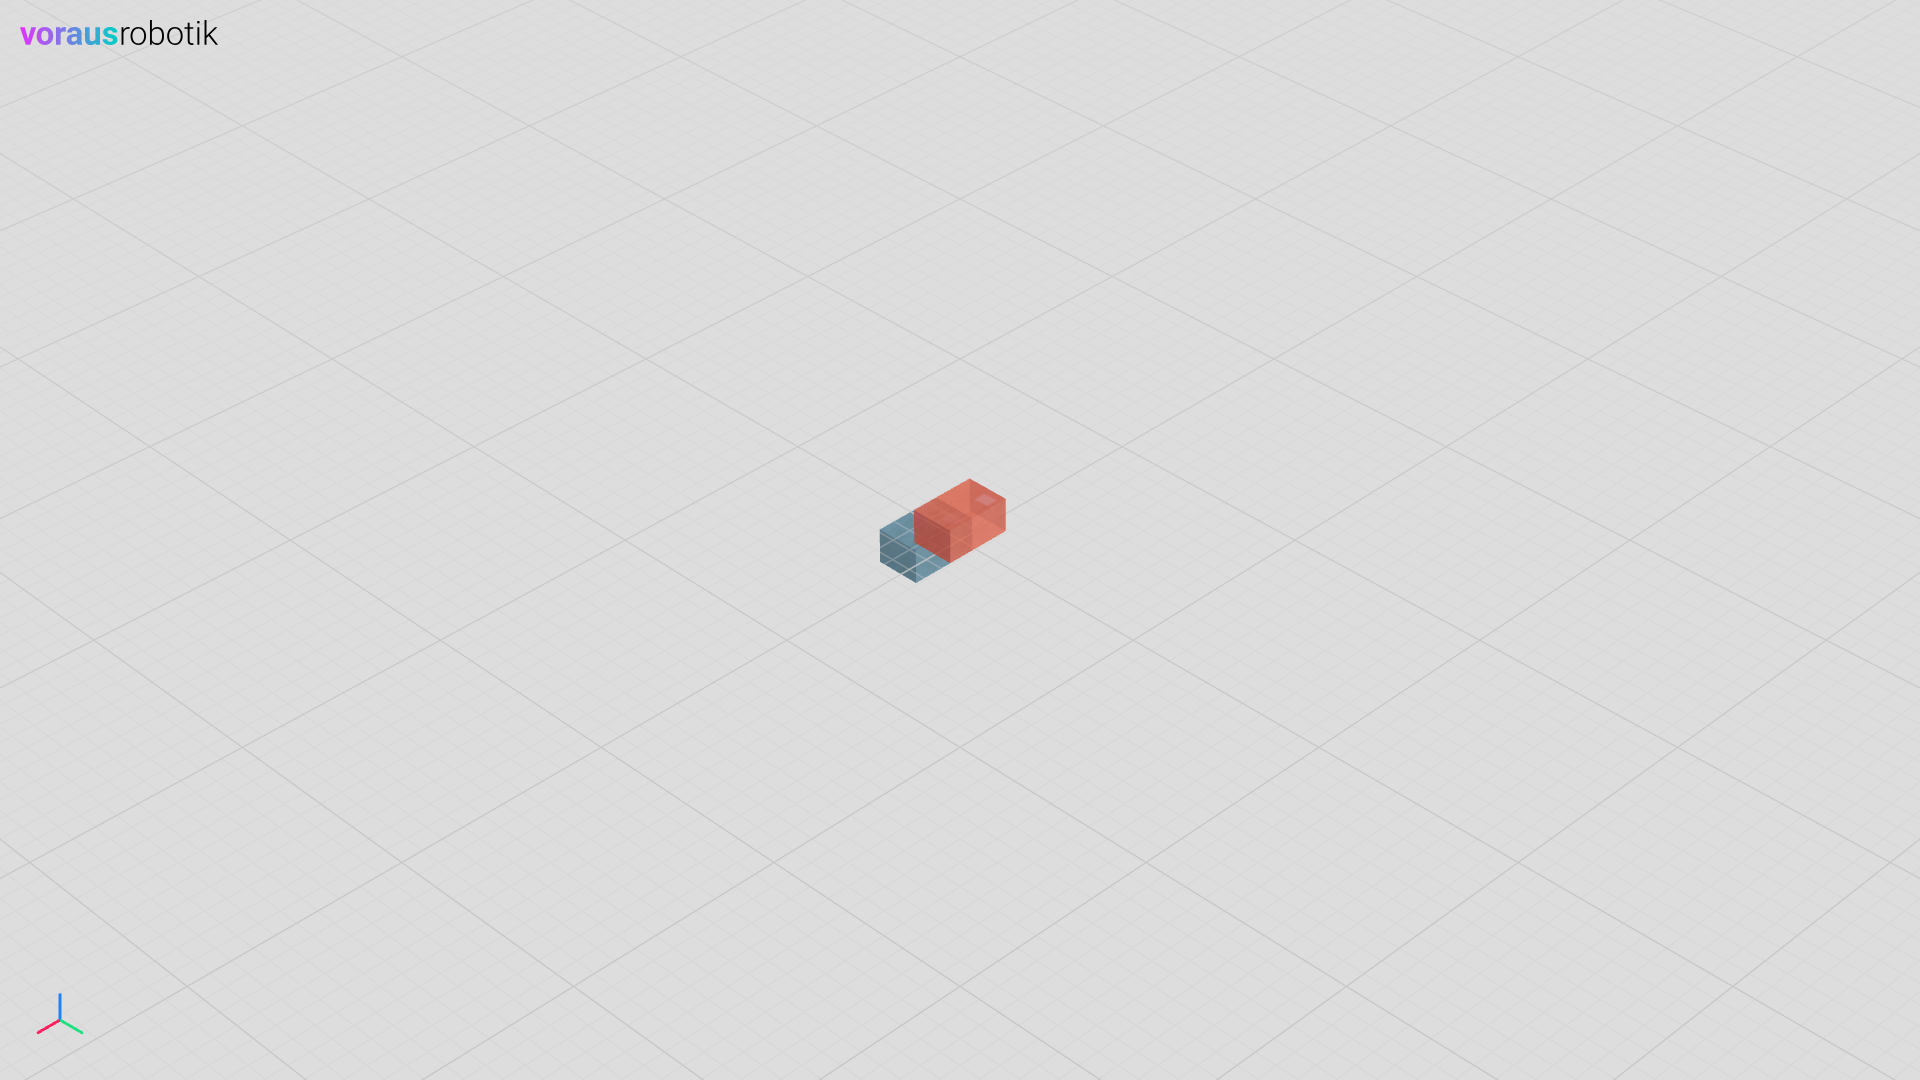
This instruction overrides the default draw-order sort. It is mainly relevant for transparent objects, where blending order against other transparent objects (e.g. two overlapping, coplanar objects) should be decided explicitly instead of by depth.
Render order does not cascade to children in the underlying renderer, unlike most other
object properties. Use render_order to set it on the object itself, or
render_order_recursive to also set it on all descending children.
Example:
 1    visu = Visu(voraus_3d_visu, clear_all=True)
 2    box1 = visu.add_model(box_glb, position=[0, 0, 0.1], unique_material=True)
 3    box2 = visu.add_model(box_glb, position=[0.2, 0, 0.1], unique_material=True)
 4
 5    with visu.connection():
 6        visu.update(
 7            box1.material.color.rgb(1.0, 0.2, 0.2),  # orange
 8            box1.material.transparency(0.6),
 9            box1.material.depth_test(False),
10            box2.material.color.rgb(0.1, 0.4, 1.0),  # blue
11            box2.material.transparency(0.6),
12            box2.material.depth_test(False),
13            box2.render_order(0),
14            box1.render_order(1),
15        )
 1let mut visu = Visu::new(url, false, false, true, None)?;
 2let box1 = add_model_unique(&visu, box_glb, [0.0, 0.0, 0.1], true)?;
 3let box2 = add_model_unique(&visu, box_glb, [0.2, 0.0, 0.1], true)?;
 4
 5let mut connection = visu.connection()?;
 6connection.update(vec![
 7    box1.material()?.color().rgb(1.0, 0.2, 0.2), // orange
 8    box1.material()?.transparency(0.6)?,
 9    box1.material()?.depth_test(false),
10    box2.material()?.color().rgb(0.1, 0.4, 1.0), // blue
11    box2.material()?.transparency(0.6)?,
12    box2.material()?.depth_test(false),
13    box2.render_order(0.0),
14    box1.render_order(1.0),
15])?;