
Box Example
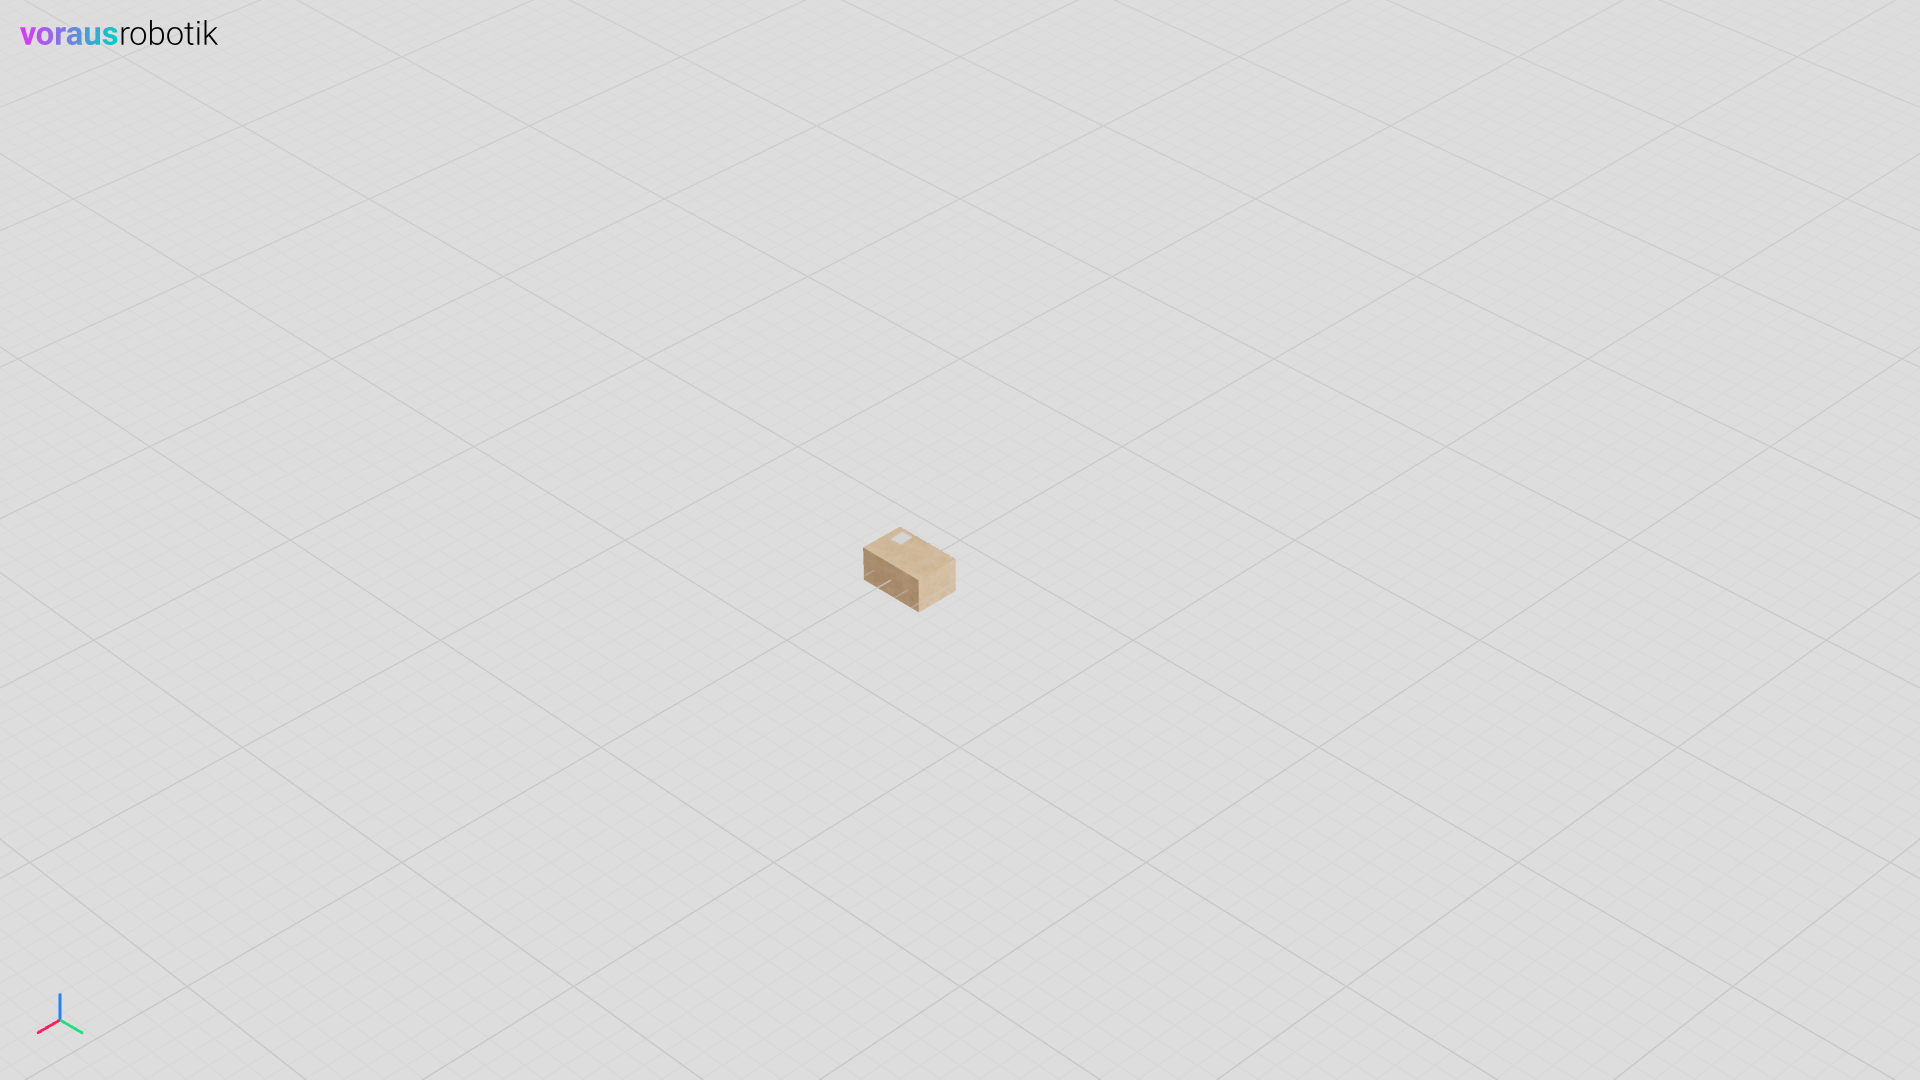
In this example, you will load, move, and rotate the 3D model of a box as depicted in Fig. 17.
Open the Example in VS Code
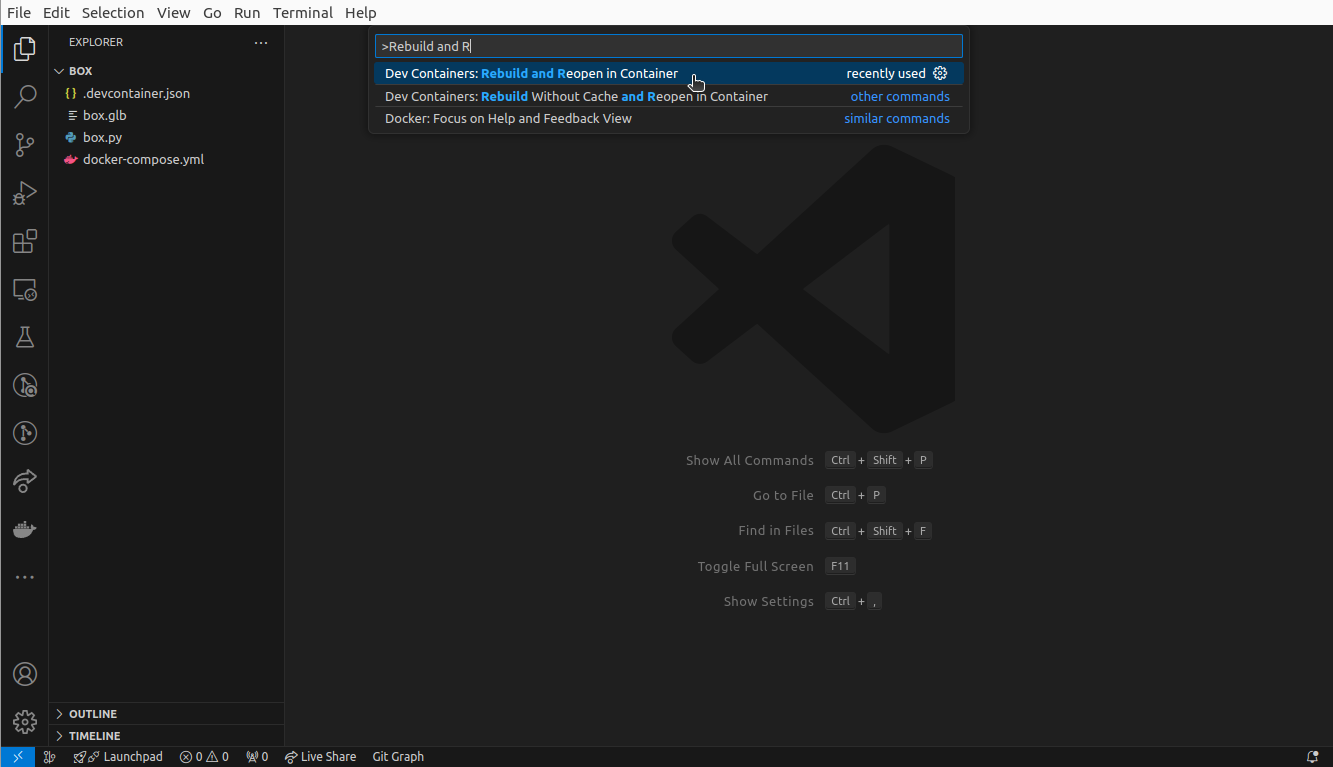
Open the folder /examples/box/ in VS Code, press Ctrl + Shift + P
and select Dev Containers: Rebuild and Reopen in Container as shown in Fig. 18.
It takes a moment for the dev container to be started.
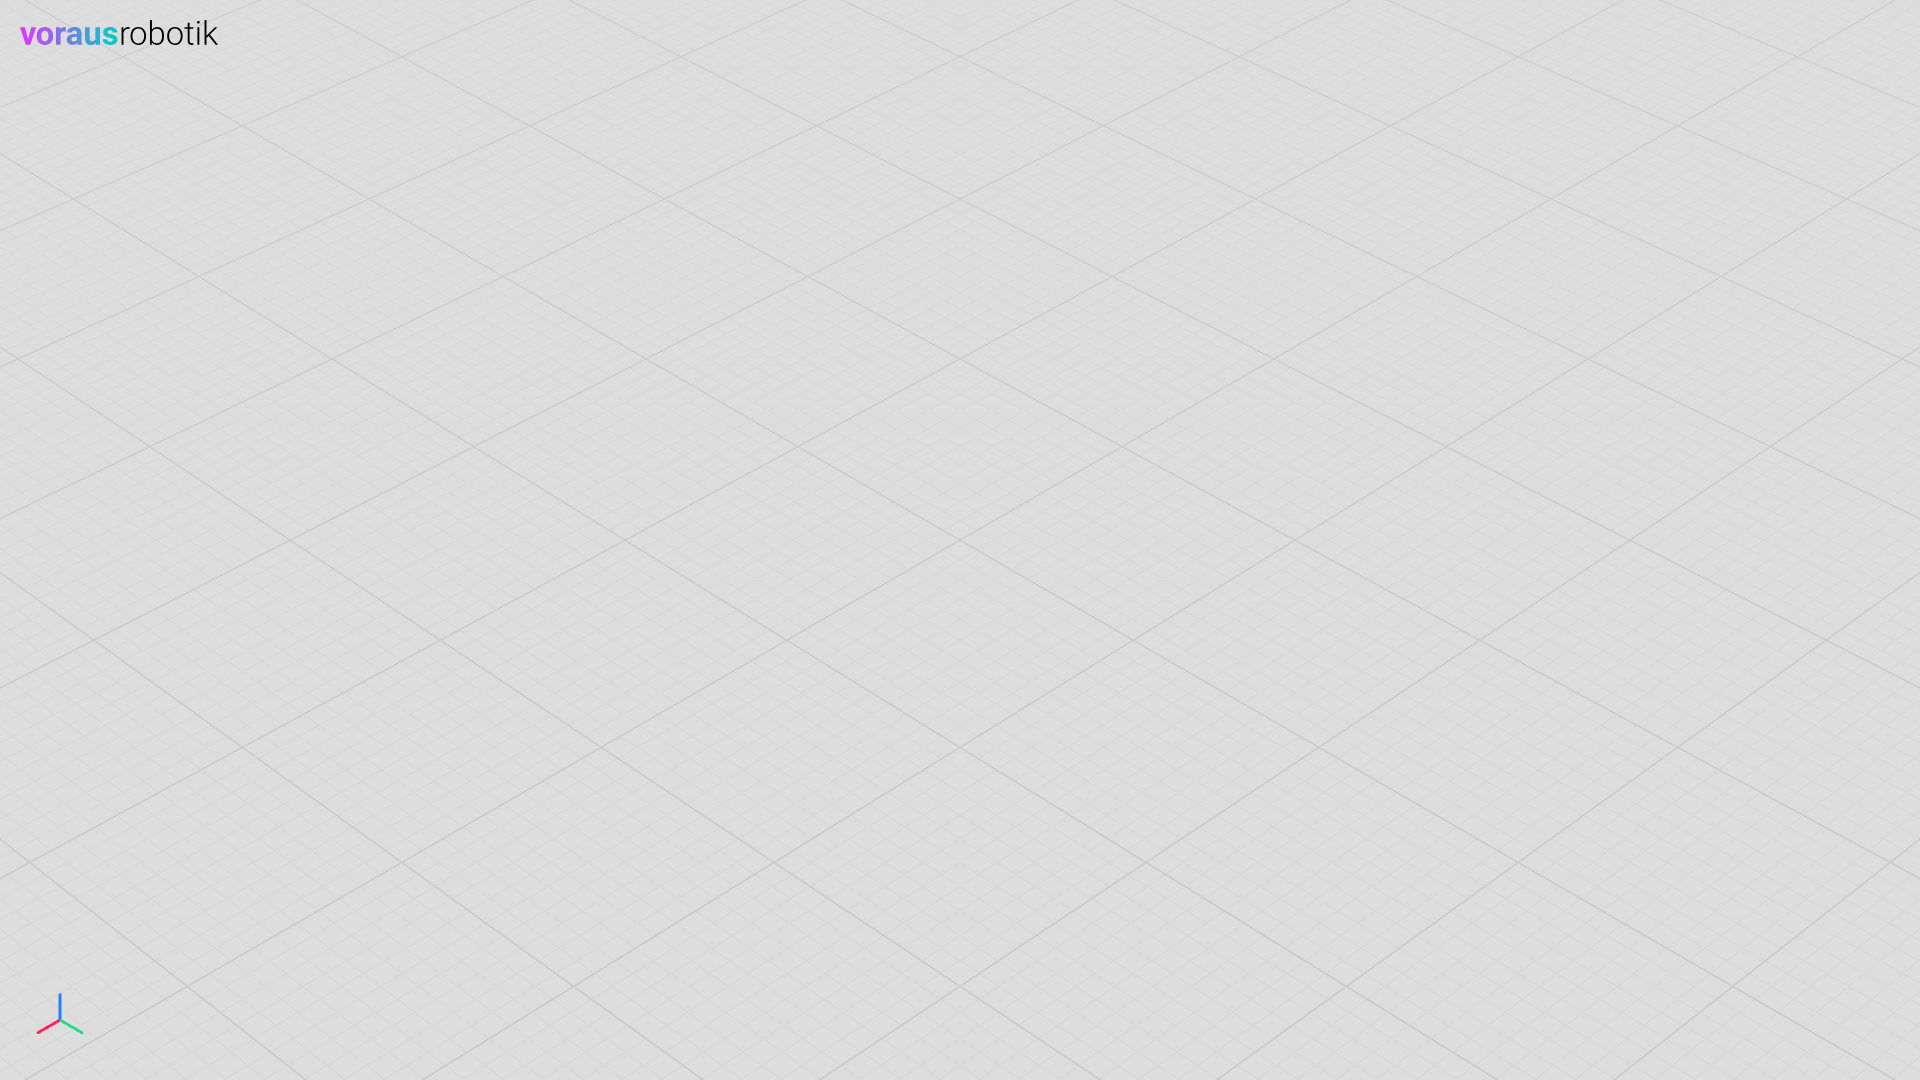
Open localhost:8077 in your web browser to display the 3D visualization as shown in Fig. 19.
Load a Model of the Box
The Python file box.py loads the 3D model of the box into the 3D visualization.
"""Example for visualizing a box."""

from pathlib import Path

from voraus_3d_visu import Visu

visu = Visu("http://voraus-3d-visu/", clear_all=True)
model = Path(__file__).parent / "box.glb"


if __name__ == "__main__":
    with visu.connection():
        box = visu.add_model(model, position=[0, 0, 0])
Open a terminal in VS Code and start the box.py Python script with the following command,
see also Fig. 20:
python box.py
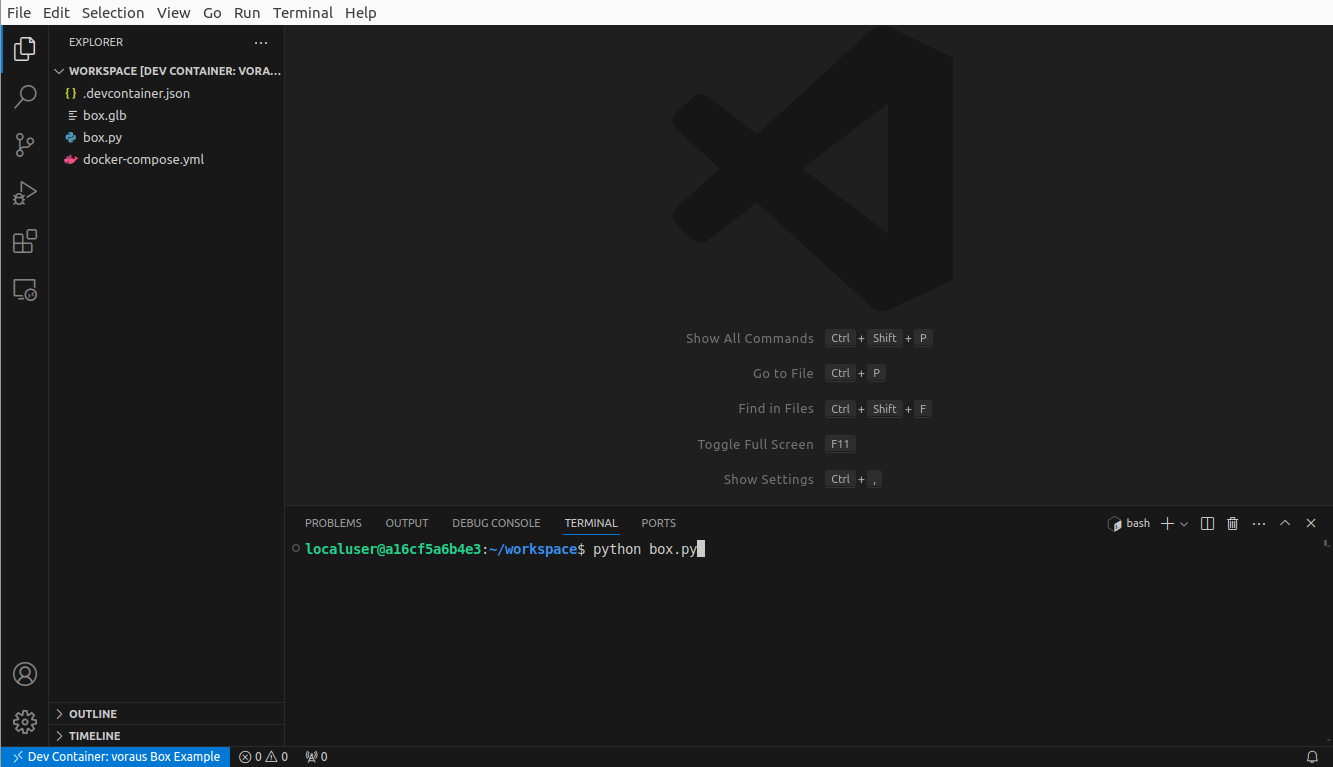
Fig. 20 Starting the box.py Python script inside the dev container
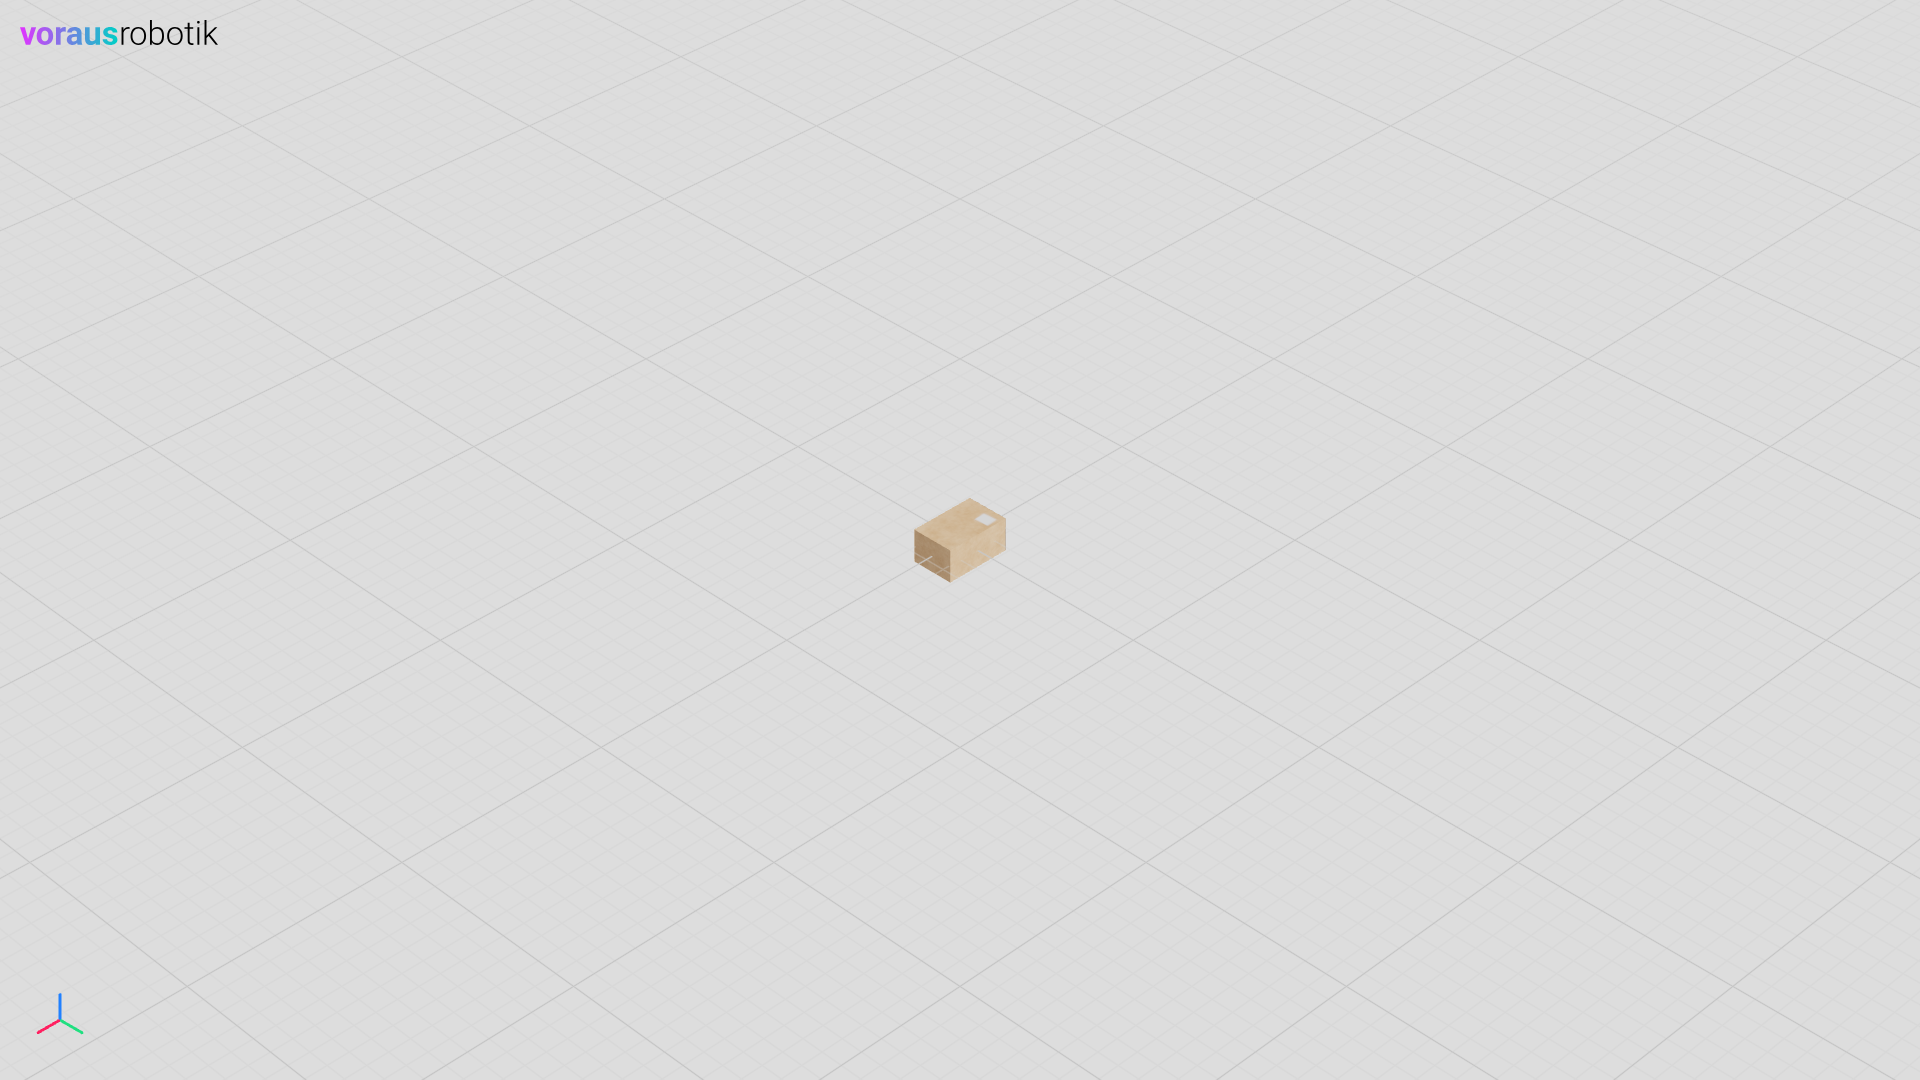
The box will appear in the 3D visualization in the web browser as shown in Fig. 21.
Rotate and move the Box
After the box has been loaded, the Python script box.py waits until you press Enter.
        input("Press enter to move and rotate the box.")
        visu.update(
            box.position.x(0.3),
            box.rotation.z(1.57),
        )
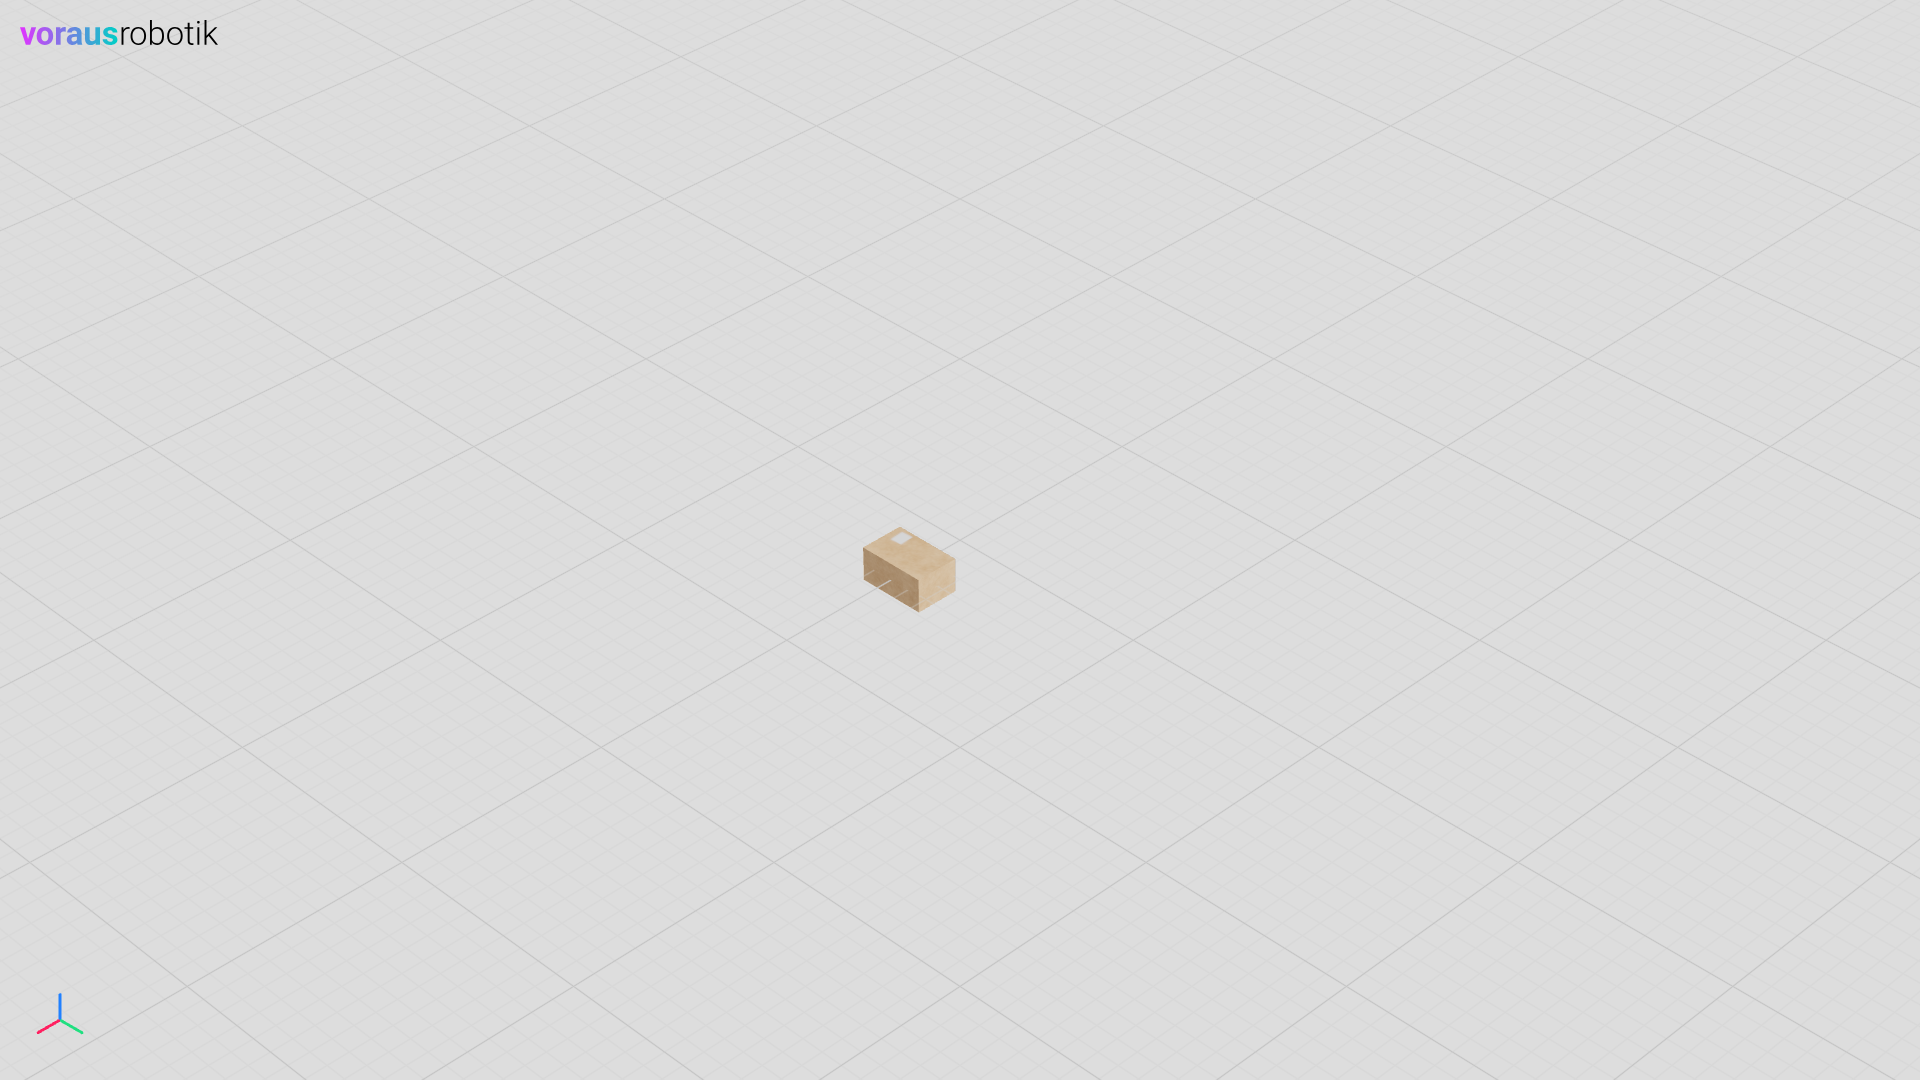
After you have pressed Enter, the box is moved in the x-direction and rotated around the z-axis. The result is given in Fig. 22, please compare to Fig. 21.
After the box has been moved and rotated, the Python script box.py waits until you press Enter again.
        input("Press enter to make the box invisible.")
        visu.update(box.visible(False))
After you have pressed Enter, the box will disappear from the 3D visualization, see Fig. 23.
To make the box reappear you need to press Enter:
        input("Press enter to make the box visible.")
        visu.update(box.visible(True))
And the box will be displayed again, see Fig. 24.
Sometimes it is useful to see a coordinate system attached to the object. If you press Enter again the following
part of the script box.py will be executed:
        input("Press enter to add axes helpers and parent them to the box.")
        axes_object = visu.add_axes(position=[0.3, 0, 0], rotation=[0, 0, 1.57], scale=[0.5, 0.5, 0.5])
        visu.update(axes_object.parent(box))
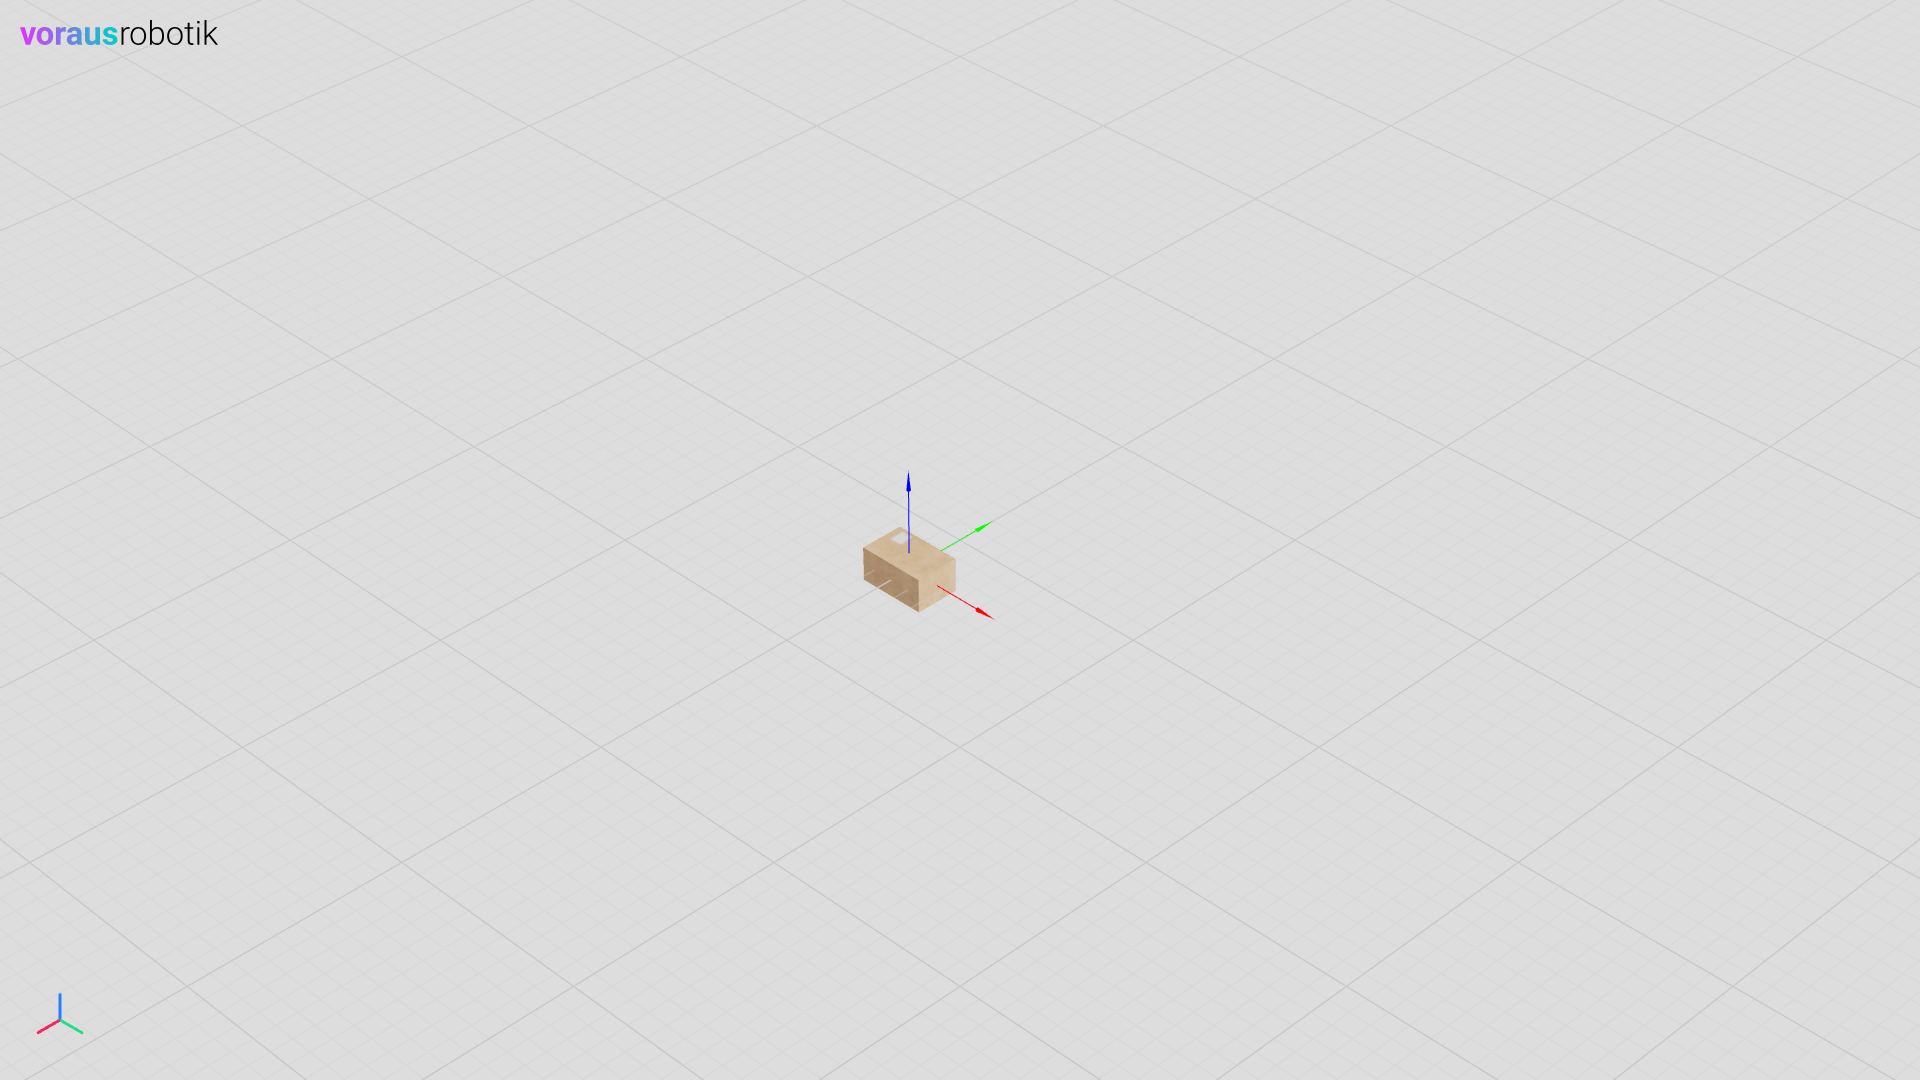
Therefore, the axes’ helper will be added to the 3D visualization as a child of the box, as given in Fig. 25.
Now we want to add a new invisible box to the scene. Therefore, press Enter to execute the following lines of
box.py:
        input("Press enter to add another invisible box.")
        box2 = visu.add_model(model, position=[1, 0, 0], visible=False)
A new invisible box will be added to the 3D visualization (which, of course cannot be seen), see Fig. 26.
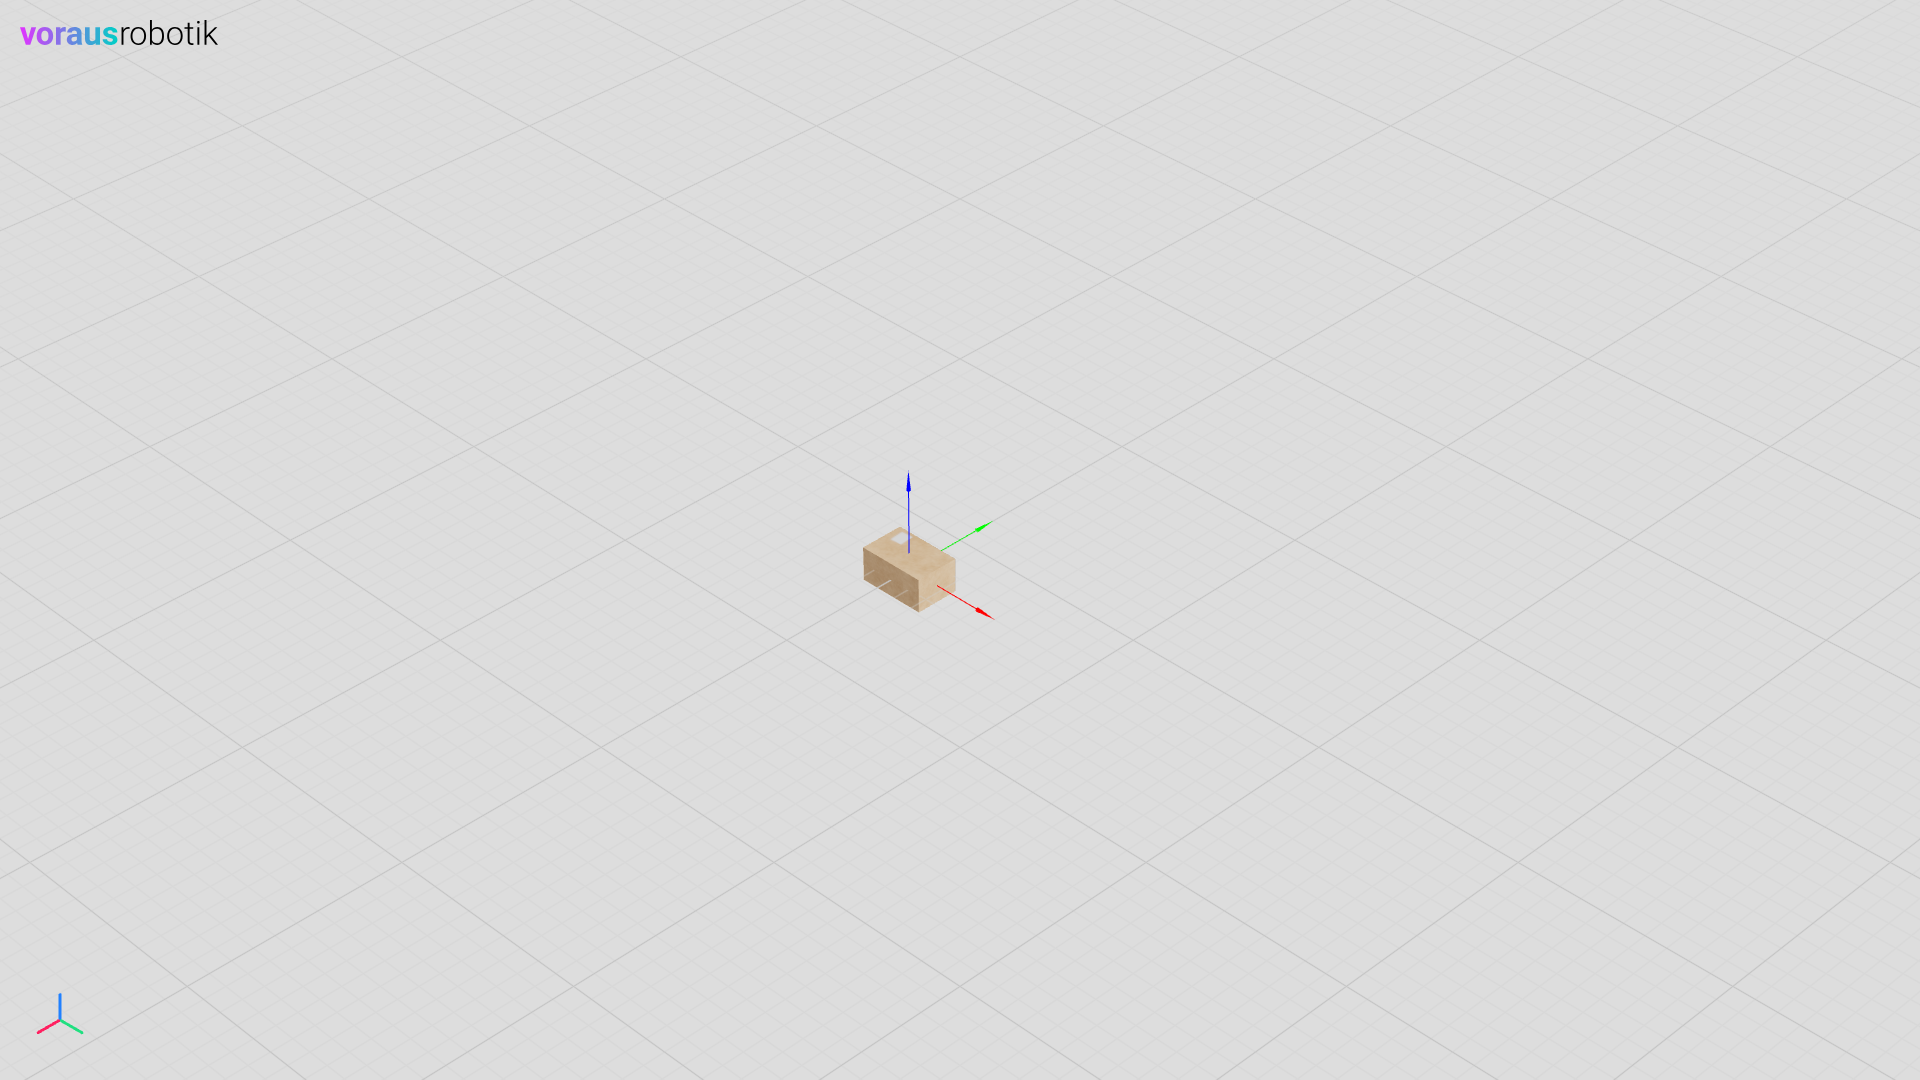
Fig. 26 The new box which is invisible in the 3D visualization
Finally, we want to make the second box visible, see Fig. 27, add a text panel at position
[-1,0,0] (Fig. 28), change attributes of the text panel and link it to the first box
(Fig. 29), and make it disappear again. Therefore, press Enter and execute the lines below of the
box.py script.
        input("Press enter to make the second box visible.")
        visu.update(box2.visible(True))

        input("Press enter to add a text panel")
        text_panel = visu.add_text_panel(text="Position [-1, 0, 0]", position=[-1, 0, 0])

        input("Press enter to reference the text panel to the box")
        visu.update(text_panel.parent(box), text_panel.position.xyz(0, 0, 0), text_panel.text("Box"))

        input("Press enter to hide the text panel")
        visu.update(text_panel.visible(False))
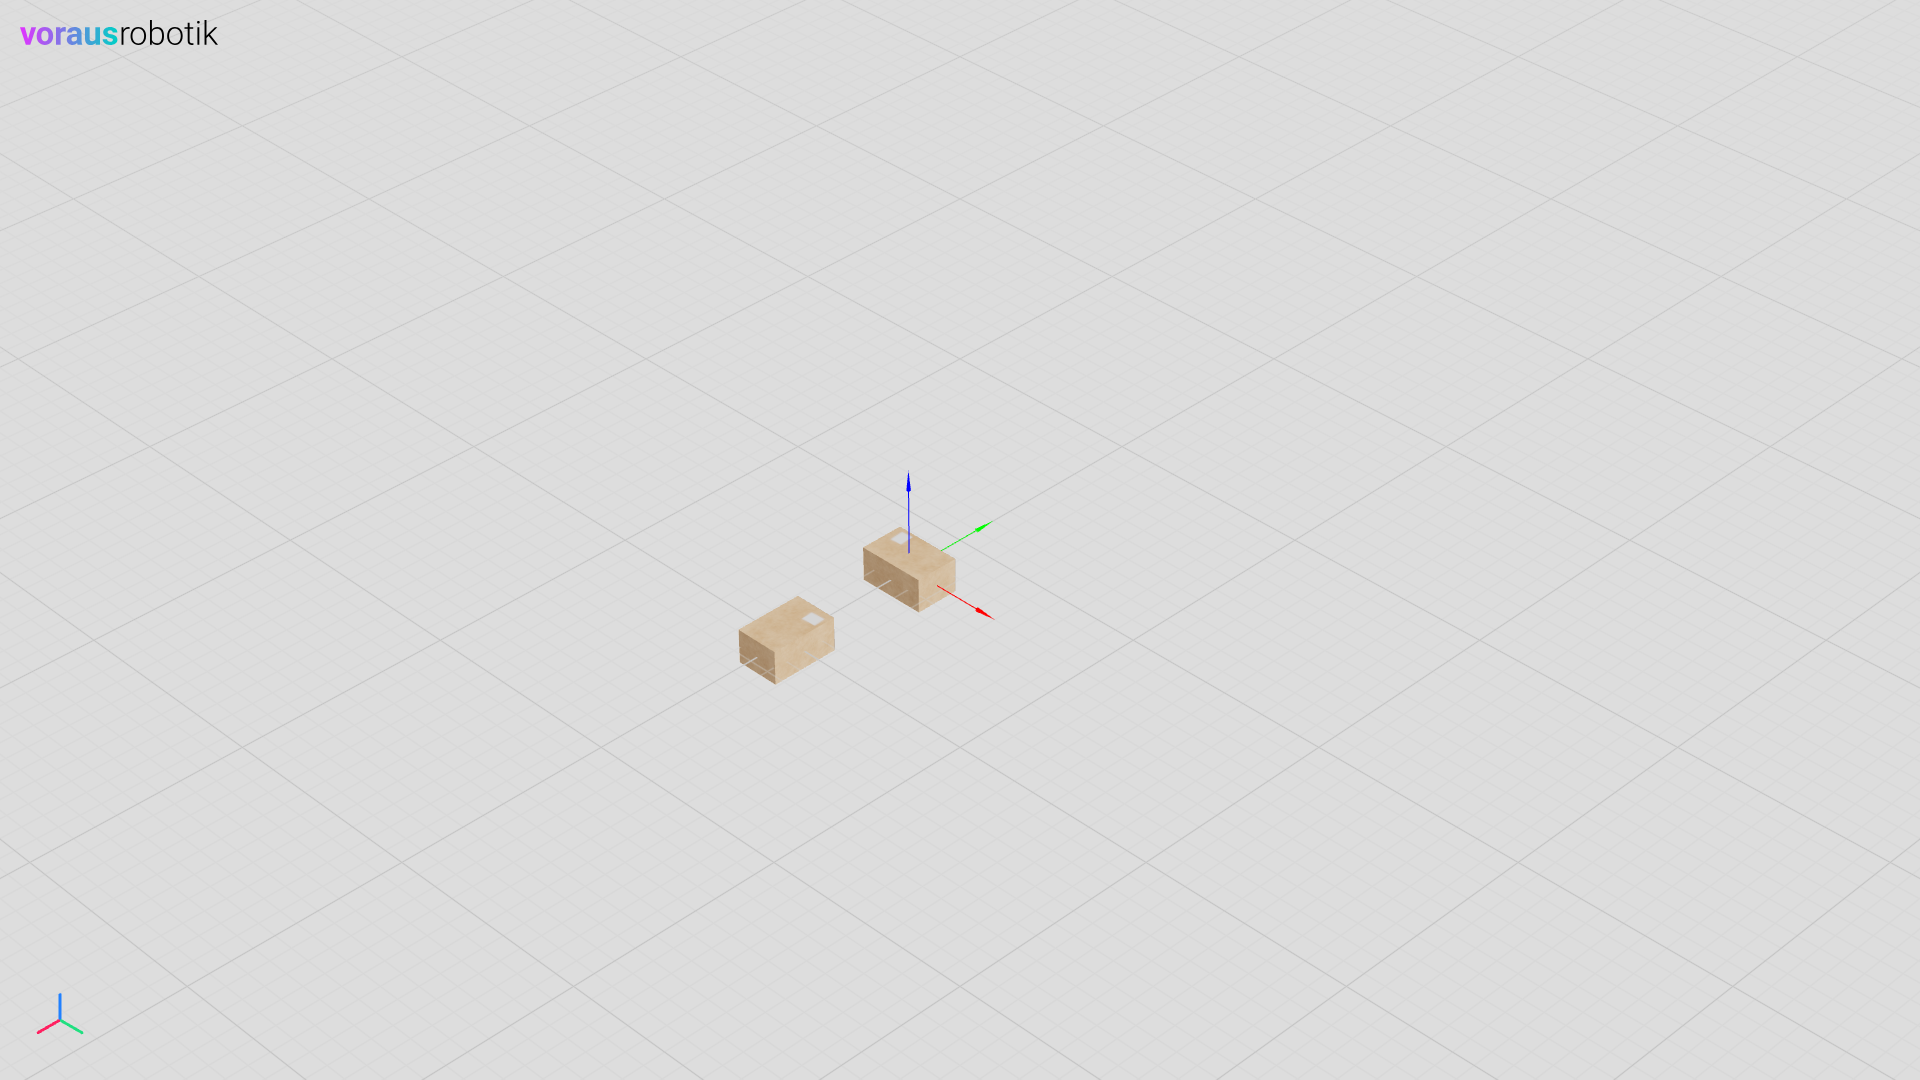
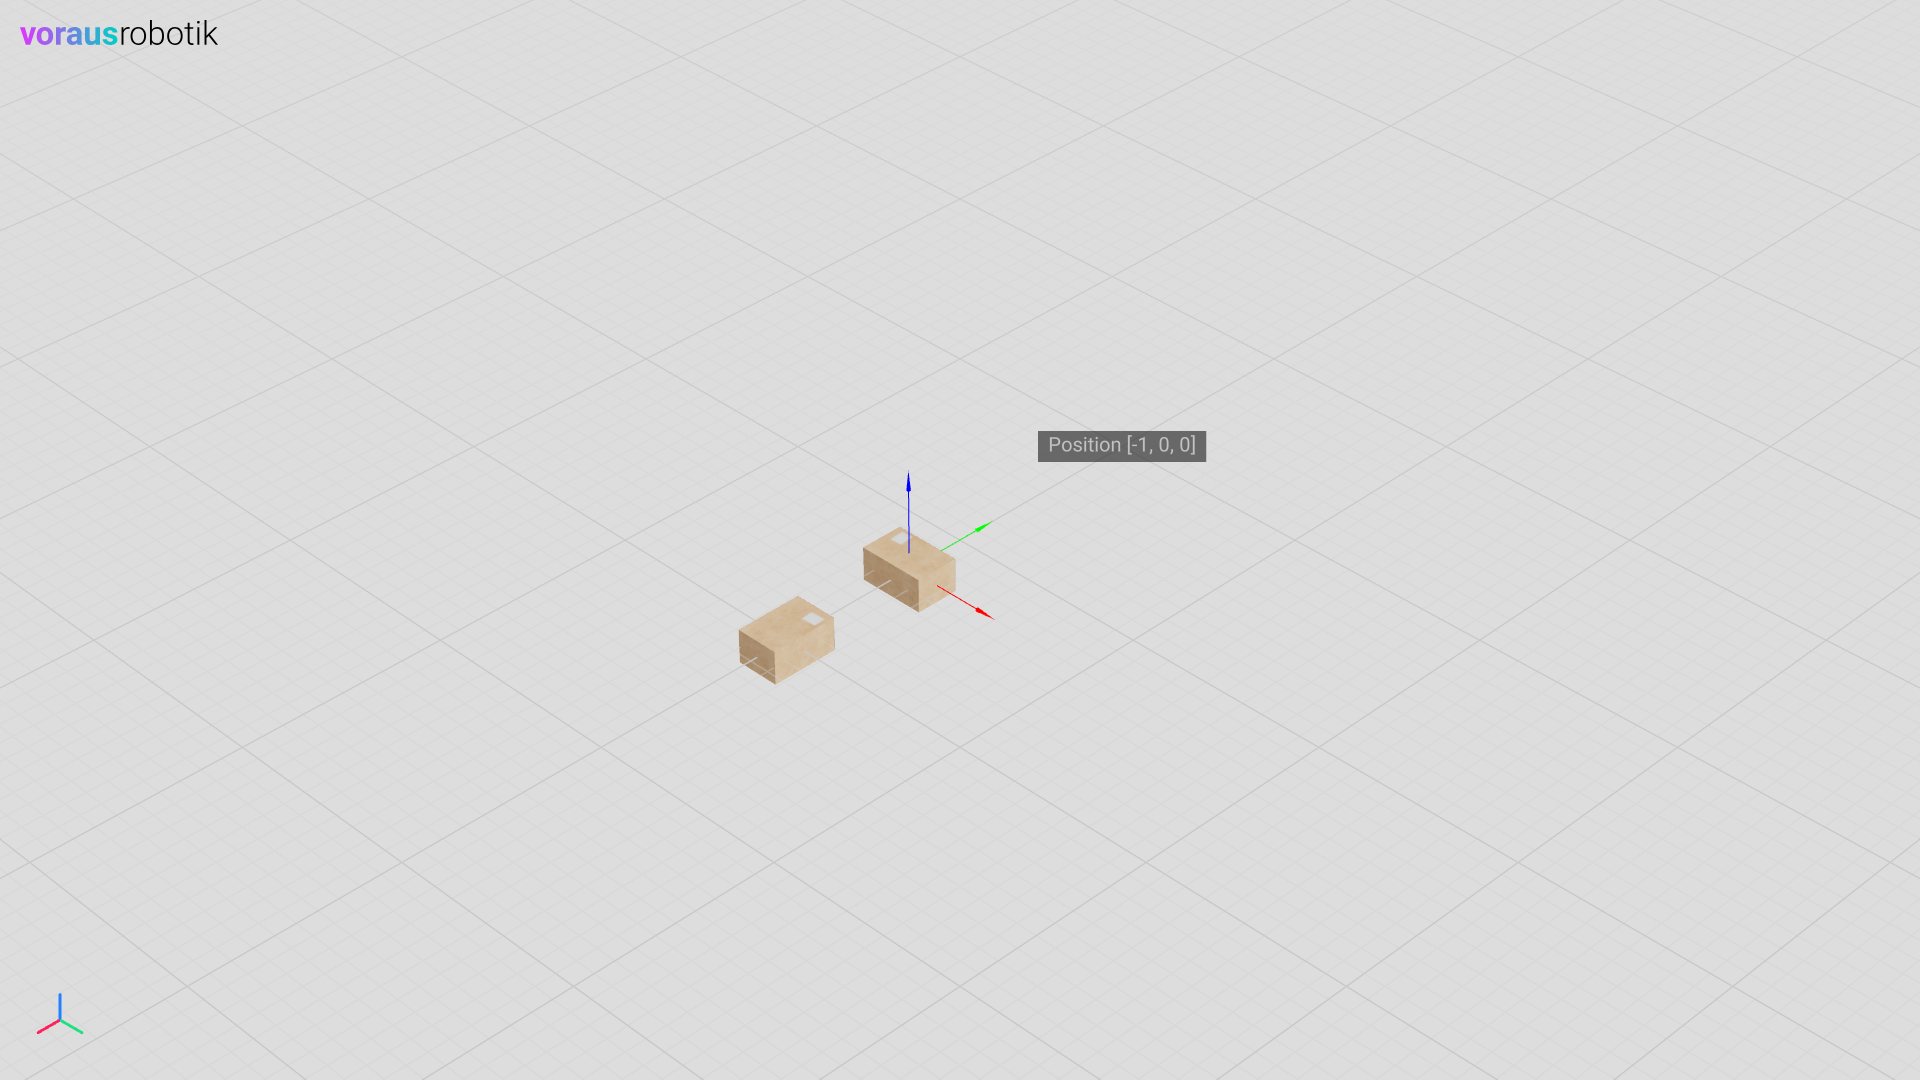
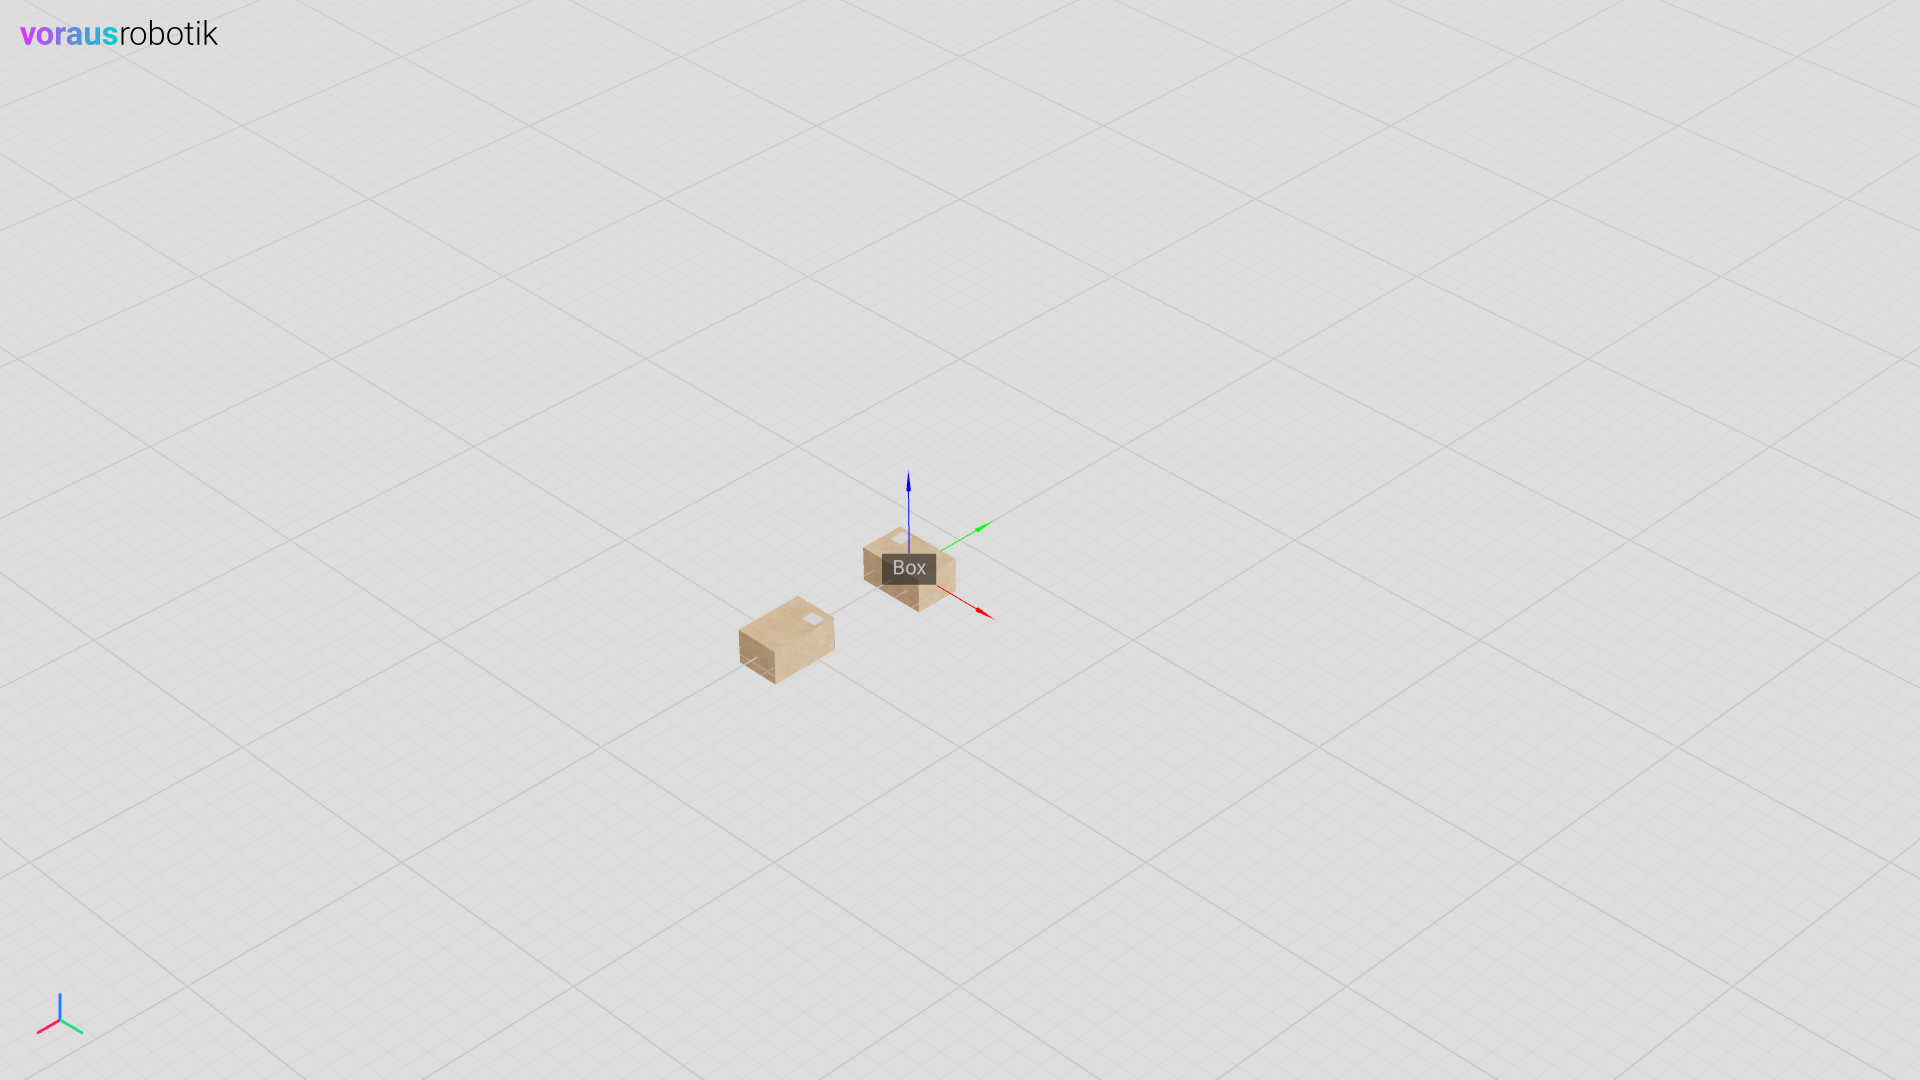
Fig. 29 The text panel with the text “Box” attached to the first box
Add Hash Instructions
Hash instructions are instructions that are only executed in the web client. They are defined in Python and can be triggered via the hash value of the URL without reloading of the page.
        visu.add_hash_instruction("invisible", box.visible(False), box.position.x(-5), box.scale.z(0.2))
        visu.add_hash_instruction("visible", box.visible(True))
Add #invisible to the URL in your web browser (localhost:8077#invisible)
to trigger the invisible instruction which was previously defined in the Python code
(Fig. 30).
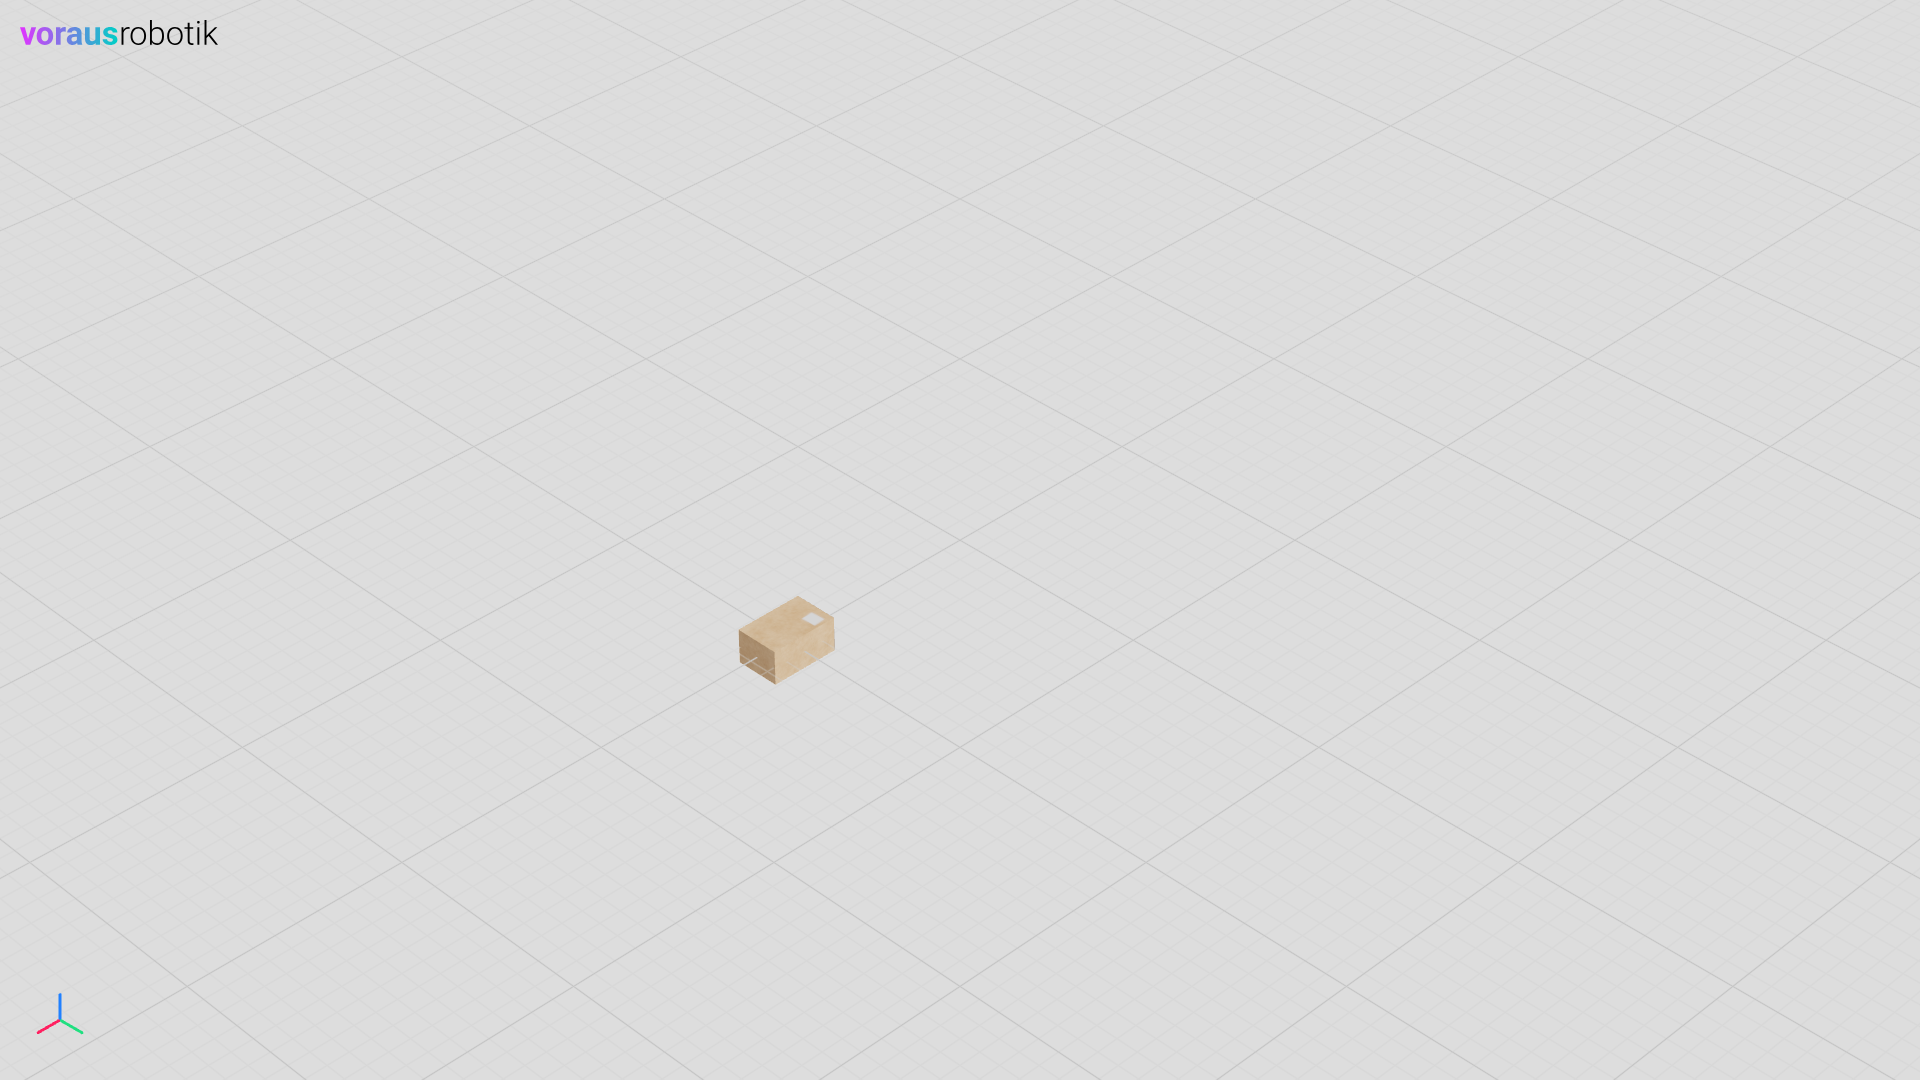
Fig. 30 The visibility of the first box was set to false using the hash value of the URL
Change the end of the URL to #visible in your web browser (localhost:8077#visible)
to trigger the visible instruction which was previously defined in the Python code. The scaling and translation
from the previous invisible instruction is now also visible, see Fig. 31.
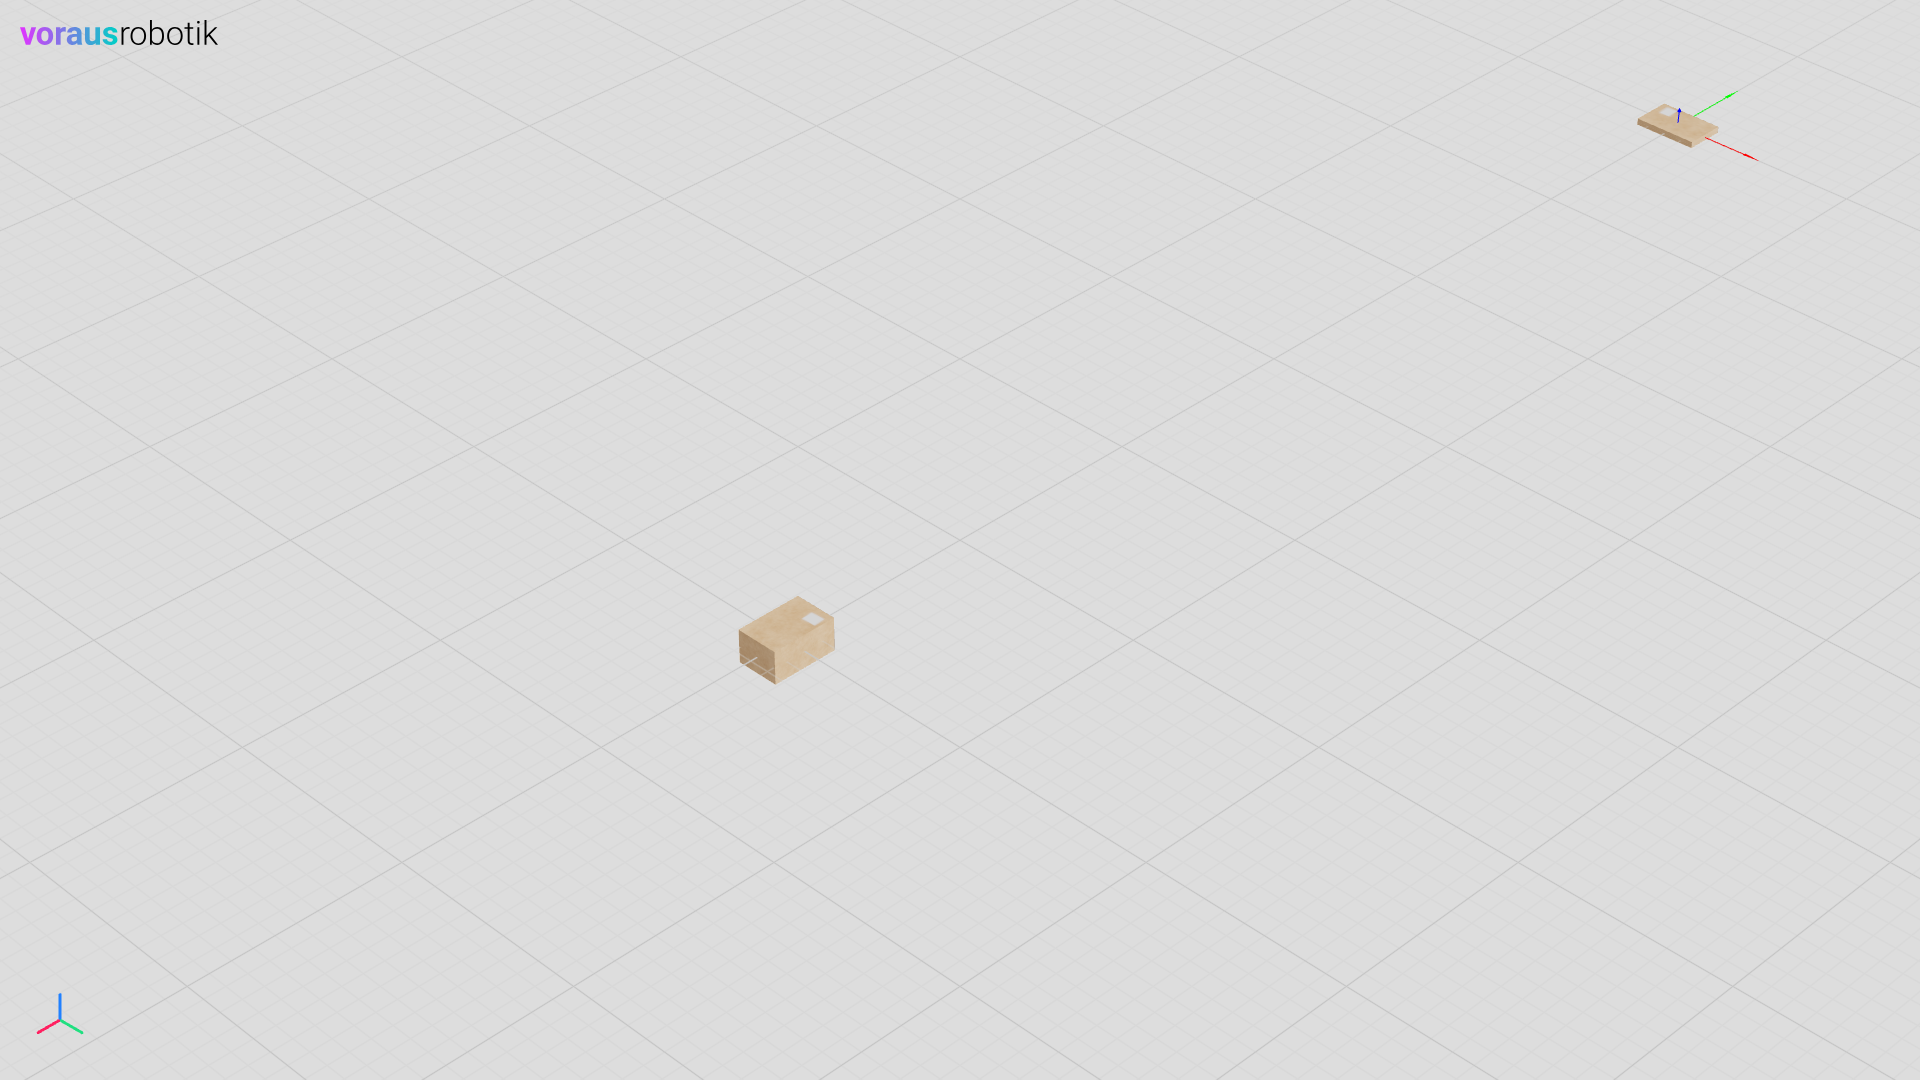
Fig. 31 The visibility of the first box was set to true using the hash value of the URL
Docker Compose File
Three services (Docker containers) are defined in the docker-compose.yml file. The CodeMeter service is required
for licensing the software. The voraus 3D Visu service starts the web-based 3D visualization backend.
The dev container service is intended for development with VS Code. The complete Docker Compose file is shown below.
docker-compose.yml
 1services:
 2  codemeter:
 3    hostname: codemeter
 4    image: docker.io/wibusystems/codemeter:9.10
 5    environment:
 6      CM_REMOTE_SERVER: host.docker.internal
 7    extra_hosts:
 8      - host.docker.internal:host-gateway
 9
10  voraus-3d-visu:
11    image: voraus.jfrog.io/docker/voraus-3d-visu:3.1.2 # x-release-please-version
12    hostname: voraus-3d-visu
13    ports:
14      - 8077:80
15    environment:
16      CODEMETER_HOST: codemeter
17    depends_on:
18      codemeter:
19        condition: service_healthy
20
21  devcontainer:
22    image: voraus.jfrog.io/docker/voraus-3d-visu-dev-container:3.1.2 # x-release-please-version
23    volumes:
24      - .:/home/localuser/workspace:cached
25    command: /bin/sh -c "while sleep 1000; do :; done"
26    environment:
27      CODEMETER_HOST: codemeter
28    depends_on:
29      codemeter:
30        condition: service_healthy
In this example, you will load, move, and rotate the 3D model of a box as depicted in Fig. 32. It uses the voraus-3d-visu-client crate to build and animate the scene: a box model that is moved, rotated and toggled, an axes helper and a text panel parented to it, a second box, and two hash (anchor) instructions.
Start the Server
Open the folder /examples/rust/box/ and start the visualization server with the bundled
compose file, which brings up the voraus-3d-visu service on http://localhost:8077:
docker compose up -d
Open localhost:8077 in your web browser to display the 3D visualization as shown in Fig. 33.
Load a Model of the Box
The Rust program src/main.rs connects to the server and loads the 3D model of the box into the
3D visualization. The server URL is taken from the first command-line argument.
//! Interactive "box" demo binary.
//!
//! The Rust counterpart of `examples/python/box/box.py`: it connects to a running
//! voraus 3D visualization server and walks through the box scenario, pausing
//! for the user to press Enter between steps so the result can be watched in
//! the browser. It builds a box model that is moved, rotated and toggled, an
//! axes helper and a text panel parented to it, a second box, and two hash
//! (anchor) instructions.
//!
//! The server URL is taken from the first command-line argument, then the
//! `V3DVISU_URL` environment variable, and finally falls back to the
//! `voraus-3d-visu` hostname used by `docker-compose.yml`.

use std::io::{self, Write};
use std::path::PathBuf;
use std::process::ExitCode;

use voraus_3d_visu::obj::axes::AxesOptions;
use voraus_3d_visu::obj::model::ModelOptions;
use voraus_3d_visu::obj::text_panel::TextPanelOptions;
use voraus_3d_visu::obj::types::Transform;
use voraus_3d_visu::{ModelSource, Result, Visu};

/// The default server URL, matching `docker-compose.yml`.
const DEFAULT_URL: &str = "http://voraus-3d-visu/";

fn main() -> ExitCode {
    match run() {
        Ok(()) => ExitCode::SUCCESS,
        Err(error) => {
            eprintln!("error: {error}");
            ExitCode::FAILURE
        }
    }
}

/// Connects to the server and plays the box walkthrough interactively.
///
/// # Errors
///
/// Returns any error raised by the underlying client while talking to the
/// server: HTTP requests for object creation and websocket messages for the
/// live updates.
fn run() -> Result<()> {
    let url = std::env::args()
        .nth(1)
        .or_else(|| std::env::var("V3DVISU_URL").ok())
        .unwrap_or_else(|| DEFAULT_URL.to_string());
    let model = PathBuf::from(env!("CARGO_MANIFEST_DIR")).join("box.glb");

    // `ModelSource` owns its path, so build a fresh source for every upload. The
    // client hashes the file content and skips the upload when it already
    // exists on the server, so referencing the same model twice is cheap.
    let model_source = || ModelSource::Path(model.clone());

    // `clear_all = true` wipes the whole scene on connect, just like box.py. The meta
    // check is left enabled (as in box.py) so the client verifies it matches the server.
    let mut visu = Visu::new(&url, false, false, true, None)?;
    let mut connection = visu.connection()?;

    let box_model = connection.add_model(
        model_source(),
        ModelOptions {
            transform: Transform {
                position: Some([0.0, 0.0, 0.0]),
                ..Default::default()
            },
            ..Default::default()
        },
    )?;
Build and run the example with cargo using the following command:
cargo run -- http://localhost:8077
The box will appear in the 3D visualization in the web browser as shown in Fig. 34.
Rotate and move the Box
After the box has been loaded, the program waits until you press Enter.
    wait_for_enter("move and rotate the box.");
    connection.update(vec![
        box_model.position().x(0.3),
        box_model.rotation().z(1.57),
    ])?;
After you have pressed Enter, the box is moved in the x-direction and rotated around the z-axis. The result is given in Fig. 35, please compare to Fig. 34.
After the box has been moved and rotated, the program waits until you press Enter again.
    wait_for_enter("make the box invisible.");
    connection.update(vec![box_model.visible(false)])?;
After you have pressed Enter, the box will disappear from the 3D visualization, see Fig. 36.
To make the box reappear you need to press Enter:
    wait_for_enter("make the box visible.");
    connection.update(vec![box_model.visible(true)])?;
And the box will be displayed again, see Fig. 37.
Sometimes it is useful to see a coordinate system attached to the object. If you press Enter again the following part of the program will be executed:
    wait_for_enter("add axes helpers and parent them to the box.");
    let axes = connection.add_axes(AxesOptions {
        transform: Transform {
            position: Some([0.3, 0.0, 0.0]),
            rotation: Some([0.0, 0.0, 1.57]),
            scale: Some([0.5, 0.5, 0.5]),
            ..Default::default()
        },
        ..Default::default()
    })?;
    connection.update(vec![axes.parent(Some(&box_model))])?;
Therefore, the axes’ helper will be added to the 3D visualization as a child of the box, as given in Fig. 38.
Now we want to add a new invisible box to the scene. Therefore, press Enter to execute the following lines:
    wait_for_enter("add another invisible box.");
    let second_box = connection.add_model(
        model_source(),
        ModelOptions {
            transform: Transform {
                position: Some([1.0, 0.0, 0.0]),
                visible: false,
                ..Default::default()
            },
            ..Default::default()
        },
    )?;
A new invisible box will be added to the 3D visualization (which, of course cannot be seen), see Fig. 39.
Fig. 39 The new box which is invisible in the 3D visualization
Finally, we want to make the second box visible, see Fig. 40, add a text panel at position
[-1,0,0] (Fig. 41), change attributes of the text panel and link it to the
first box (Fig. 42), and make it disappear again. Therefore, press Enter and execute the
lines below:
    wait_for_enter("make the second box visible.");
    connection.update(vec![second_box.visible(true)])?;

    wait_for_enter("add a text panel.");
    let text_panel = connection.add_text_panel(
        "Position [-1, 0, 0]",
        TextPanelOptions {
            transform: Transform {
                position: Some([-1.0, 0.0, 0.0]),
                ..Default::default()
            },
            ..Default::default()
        },
    )?;

    wait_for_enter("reference the text panel to the box.");
    connection.update(vec![
        text_panel.parent(Some(&box_model)),
        text_panel.position().xyz(0.0, 0.0, 0.0),
        text_panel.text("Box"),
    ])?;

    wait_for_enter("hide the text panel.");
    connection.update(vec![text_panel.visible(false)])?;
Fig. 42 The text panel with the text “Box” attached to the first box
Add Hash Instructions
Hash instructions are instructions that are only executed in the web client. They are defined in Rust and can be triggered via the hash value of the URL without reloading of the page. They are registered directly after the previous step:
    // Register hash (anchor) instructions the frontend can trigger via the URL
    // fragment, e.g. `#invisible` / `#visible`.
    connection.add_hash_instruction(
        "invisible",
        vec![
            box_model.visible(false),
            box_model.position().x(-5.0),
            box_model.scale().z(0.2),
        ],
    )?;
    connection.add_hash_instruction("visible", vec![box_model.visible(true)])?;
Add #invisible to the URL in your web browser (localhost:8077#invisible)
to trigger the invisible instruction which was previously defined in the Rust code
(Fig. 43).
Fig. 43 The visibility of the first box was set to false using the hash value of the URL
Change the end of the URL to #visible in your web browser
(localhost:8077#visible) to trigger the visible instruction which was
previously defined in the Rust code. The scaling and translation from the previous invisible instruction is
now also visible, see Fig. 44.
Fig. 44 The visibility of the first box was set to true using the hash value of the URL
Press Enter a final time to exit the program. The remaining lines contain the program’s entry point and the helper that waits for Enter between the steps:
    wait_for_enter("exit the program.");
    Ok(())
}

/// Prints the next step and blocks until the user presses Enter.
fn wait_for_enter(prompt: &str) {
    print!("Press enter to {prompt}");
    let _ = io::stdout().flush();
    let mut line = String::new();
    let _ = io::stdin().read_line(&mut line);
}
When you are done, stop the server again with docker compose down.
Docker Compose File
Two services (Docker containers) are defined in the docker-compose.yml file. The CodeMeter service is
required for licensing the software. The voraus 3D Visu service starts the web-based 3D visualization backend.
The complete Docker Compose file is shown below.
docker-compose.yml
 1services:
 2  codemeter:
 3    hostname: codemeter
 4    image: docker.io/wibusystems/codemeter:9.10
 5    environment:
 6      CM_REMOTE_SERVER: host.docker.internal
 7    extra_hosts:
 8      - host.docker.internal:host-gateway
 9
10  voraus-3d-visu:
11    image: voraus.jfrog.io/docker/voraus-3d-visu:3.1.2 # x-release-please-version
12    hostname: voraus-3d-visu
13    ports:
14      - 8077:80
15    environment:
16      CODEMETER_HOST: codemeter
17    depends_on:
18      codemeter:
19        condition: service_healthy