
Configuration Example
This example shows all possible configurations for the 3D visualization. You can configure the visualization settings for your application either through environment variables or by sending HTTP requests to specific routes. This documentation provides detailed instructions on how to configure the camera, orbit controls, and scene settings.
Note
The environment variables described below define the server-side defaults. The camera, orbit
controls, scene, and logo settings can additionally be changed at runtime through live instructions.
In particular, the camera is seeded as a regular object of type camera (id default-camera)
from the camera and orbit-control environment variables, so it can be updated, replaced, or joined by
additional cameras at runtime. See the Live Data Handling section of the project README for the
available instruction keys. The debug and poll interval settings cannot be changed via
instructions.
Camera Configuration
The camera settings can be configured with the following environment variables:
This is an example of a Docker Compose file using the camera settings parameters:
docker-compose.camera.yml
 1services:
 2  codemeter:
 3    hostname: codemeter
 4    image: docker.io/wibusystems/codemeter:9.10
 5    environment:
 6      CM_REMOTE_SERVER: host.docker.internal
 7    extra_hosts:
 8      - host.docker.internal:host-gateway
 9
10  voraus-3d-visu:
11    image: voraus.jfrog.io/docker/voraus-3d-visu:3.1.2 # x-release-please-version
12    hostname: voraus-3d-visu
13    ports:
14      - 8077:80
15    environment:
16      CODEMETER_HOST: codemeter
17      V3DVISU_CAMERA__FOV: "70"
18      V3DVISU_CAMERA__POSITION: "[1, 1, 1.6]"
19    depends_on:
20      codemeter:
21        condition: service_healthy
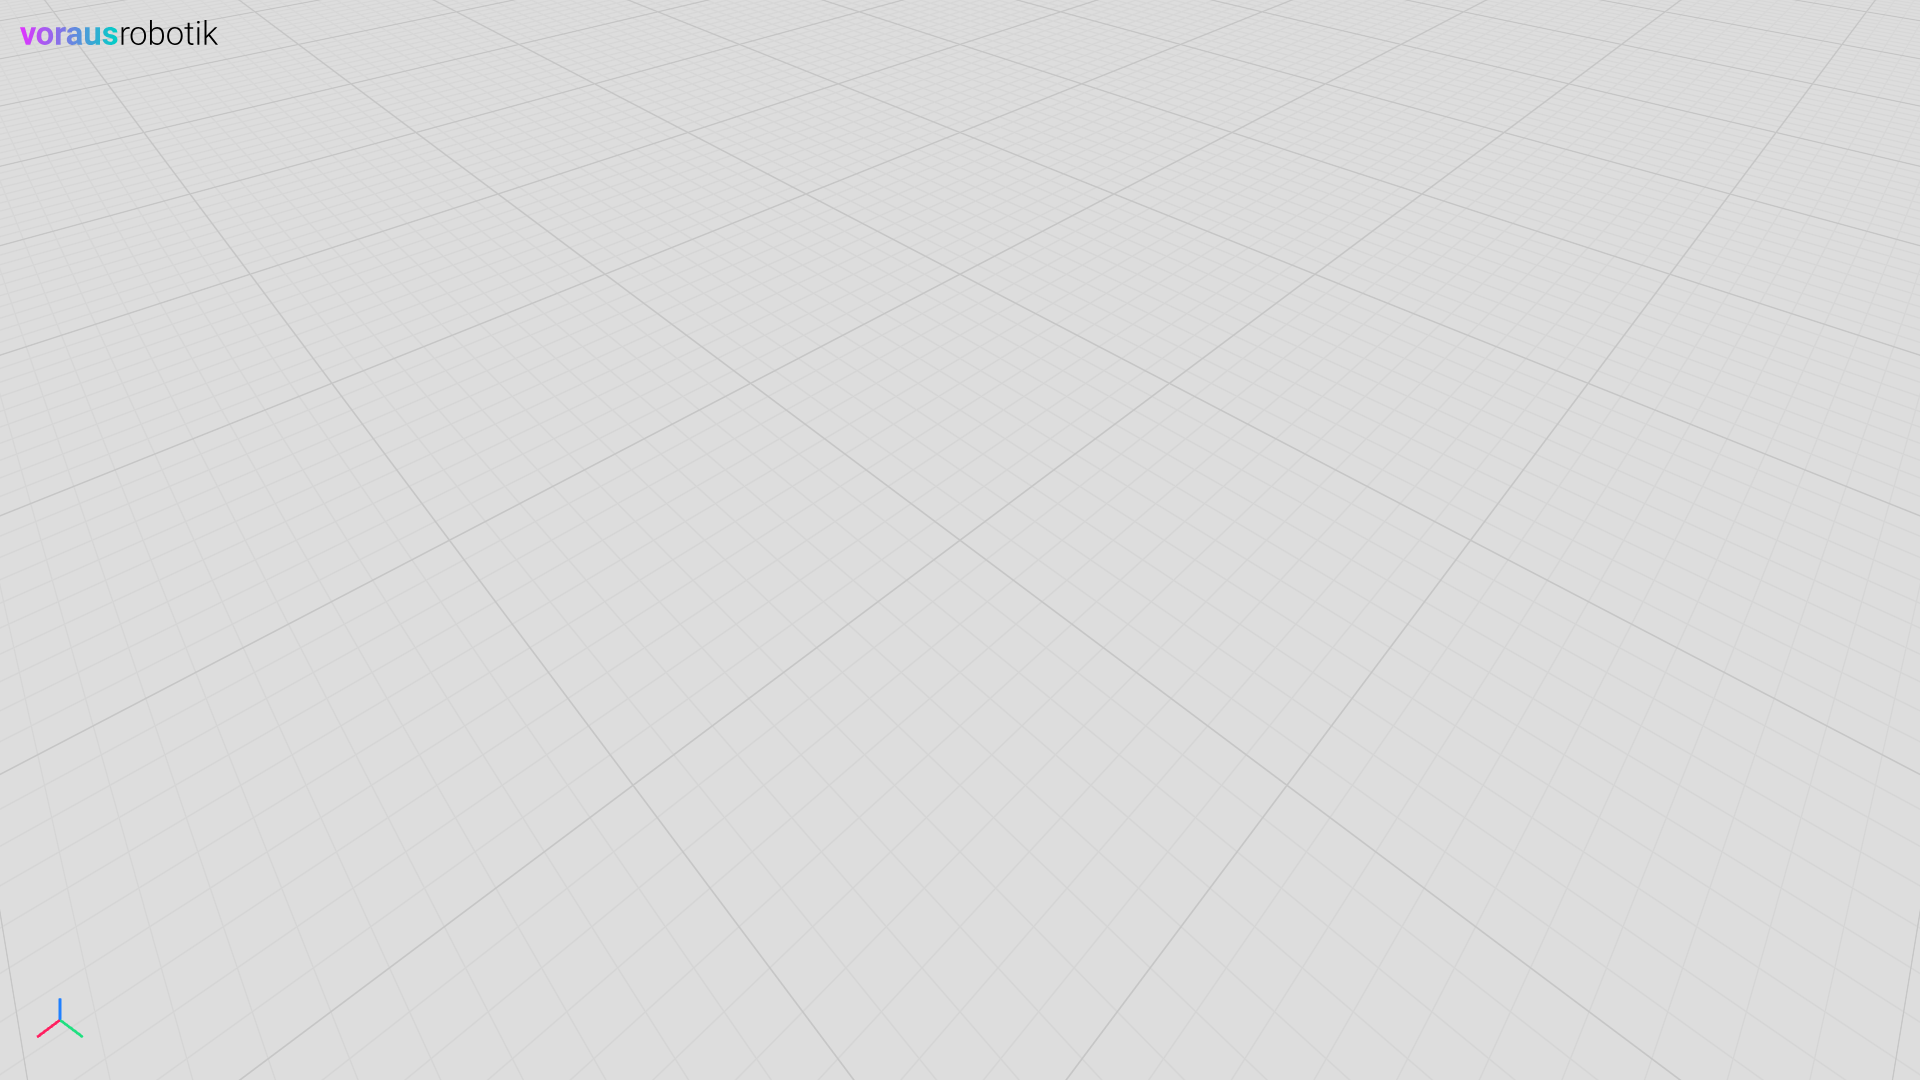
The following Fig. 61 shows the result of the configuration:
Orbit Controls Configuration
The orbit controls settings can be configured with the following environment variables:
This is an example of a Docker Compose file using the orbit controls settings parameters:
docker-compose.orbit-controls.yml
 1services:
 2  codemeter:
 3    hostname: codemeter
 4    image: docker.io/wibusystems/codemeter:9.10
 5    environment:
 6      CM_REMOTE_SERVER: host.docker.internal
 7    extra_hosts:
 8      - host.docker.internal:host-gateway
 9
10  voraus-3d-visu:
11    image: voraus.jfrog.io/docker/voraus-3d-visu:3.1.2 # x-release-please-version
12    hostname: voraus-3d-visu
13    ports:
14      - 8077:80
15    environment:
16      CODEMETER_HOST: codemeter
17      V3DVISU_CAMERA__POSITION: "[9, 0, 3.5]"
18      V3DVISU_ORBITCONTROLS__DISTANCE_MIN: "2"
19      V3DVISU_ORBITCONTROLS__DISTANCE_MAX: "30"
20      V3DVISU_ORBITCONTROLS__SCREEN_SPACE_PANNING: "False"
21      V3DVISU_ORBITCONTROLS__INITIAL_TARGET: "[-0.3, 0, 0.8]"
22    depends_on:
23      codemeter:
24        condition: service_healthy
Fig. 62 shows the result of the configuration.
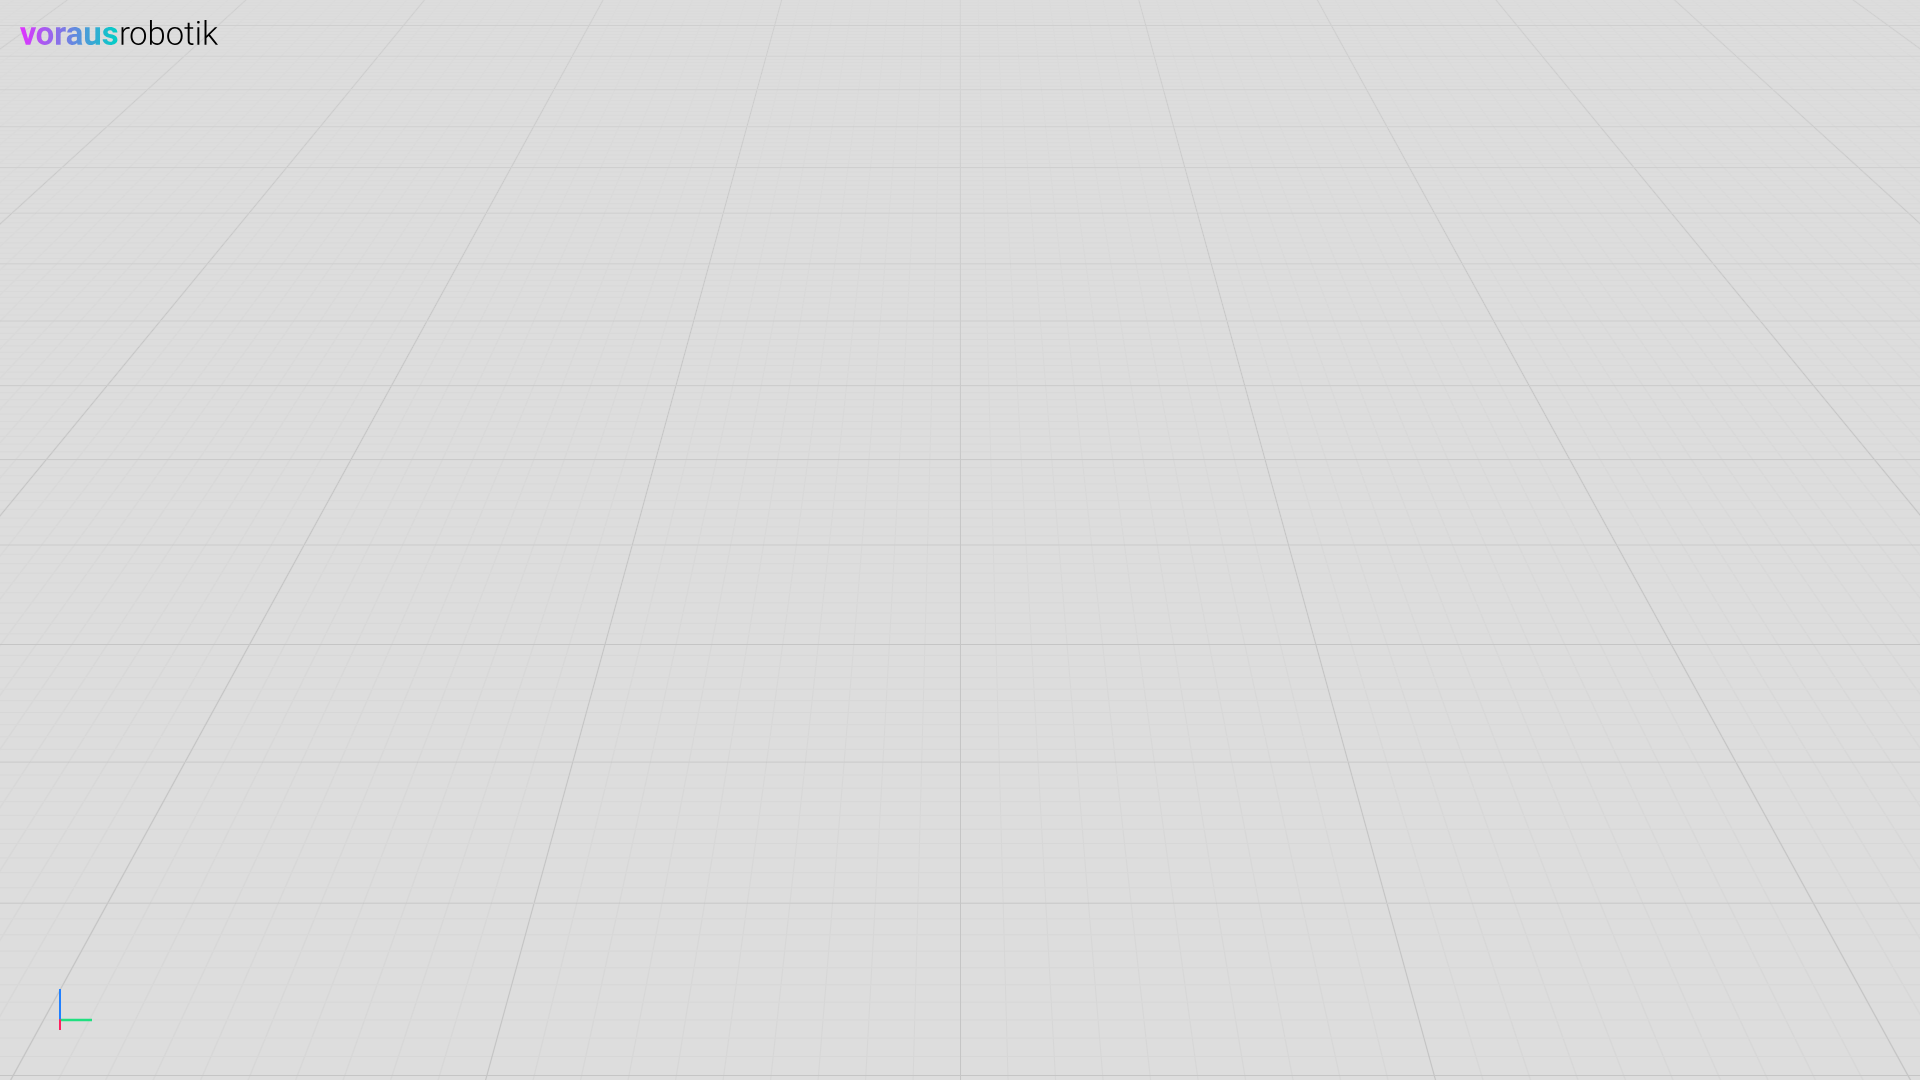
Fig. 62 The 3D visualization with custom orbit control settings
Scene Configuration
The scene can be configured with the following environment variables:
This is an example of a Docker Compose file which configures a dark mode using the scene settings parameters:
docker-compose.scene.yml
 1services:
 2  codemeter:
 3    hostname: codemeter
 4    image: docker.io/wibusystems/codemeter:9.10
 5    environment:
 6      CM_REMOTE_SERVER: host.docker.internal
 7    extra_hosts:
 8      - host.docker.internal:host-gateway
 9
10  voraus-3d-visu:
11    image: voraus.jfrog.io/docker/voraus-3d-visu:3.1.2 # x-release-please-version
12    hostname: voraus-3d-visu
13    ports:
14      - 8077:80
15    environment:
16      CODEMETER_HOST: codemeter
17      V3DVISU_SCENE__COLOR: "#222"
18      V3DVISU_SCENE__GRID__ENABLED: "True"
19      V3DVISU_SCENE__GRID__INFINITE_GRID: "False"
20      V3DVISU_SCENE__GRID__SIZE: "4"
21      V3DVISU_SCENE__GRID__FADE_DISTANCE: "20"
22      V3DVISU_SCENE__GRID__FADE_STRENGTH: "0.1"
23      V3DVISU_SCENE__GRID__CELL_SIZE: "0.2"
24      V3DVISU_SCENE__GRID__CELL_THICKNESS: "0.8"
25      V3DVISU_SCENE__GRID__CELL_COLOR: "#454545"
26      V3DVISU_SCENE__GRID__SECTION_SIZE: "2"
27      V3DVISU_SCENE__GRID__SECTION_COLOR: "#555"
28      V3DVISU_LOGO: "voraus-gradient-white"
29    depends_on:
30      codemeter:
31        condition: service_healthy
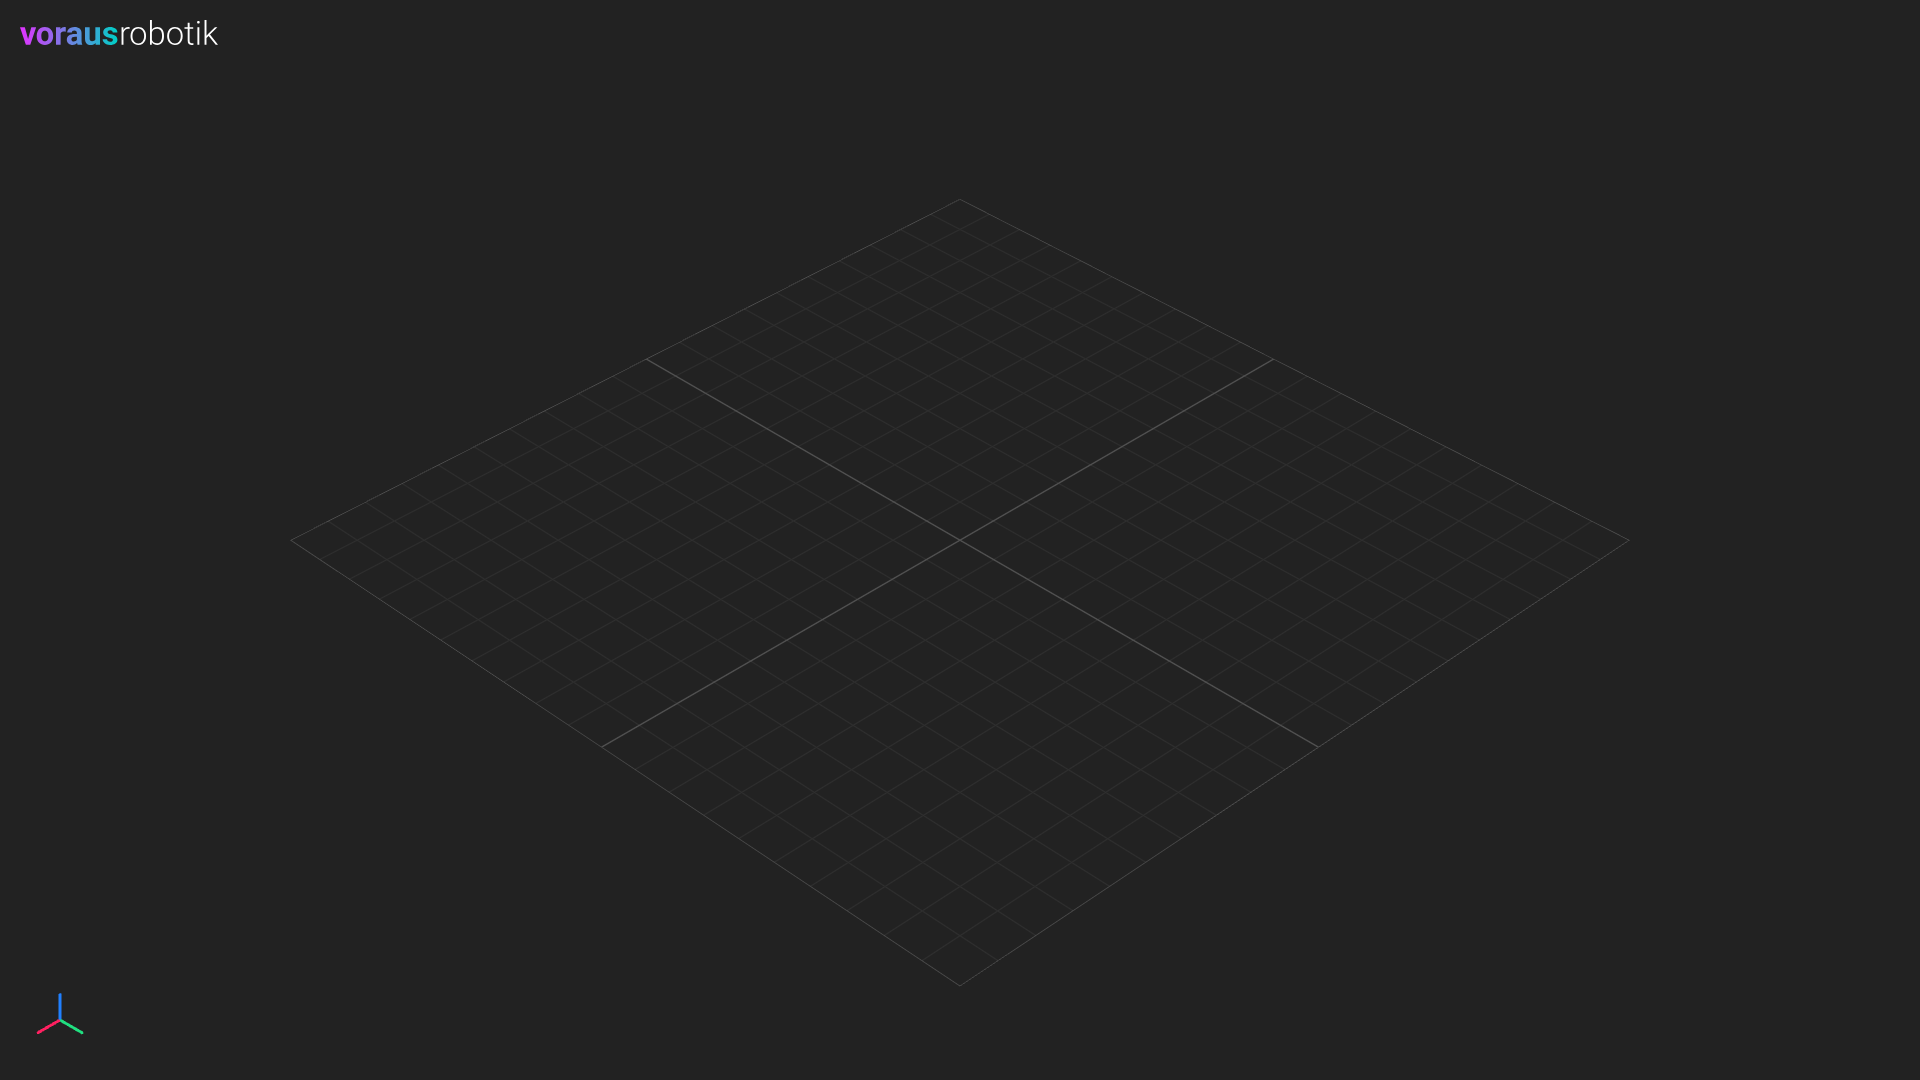
The Fig. 63 shows the result of the configuration:
Theme URL Hash
The visualization can be switched to a light or dark theme via the URL hash, e.g.
http://localhost:8077/#dark. The supported hashes are #light and #dark. Any other hash
(for example an anchor id) or an empty hash applies no theme and restores the server-side
configuration, including values set via environment variables at server startup. The hash also
works on the /embed route.
The theme switch is applied imperatively on the client and does not trigger a React re-render. Each theme applies the full set of colors below, so switching between themes never leaves stale values behind:
Value |
|
|
|---|---|---|
Scene background |
|
|
Grid cell color |
|
|
Grid section color |
|
|
Logo |
|
|
While a theme is active it owns these values; removing the theme (an empty or non-theme hash) restores the server-side configuration.
The light and dark themes are served as anchors that the server seeds on startup (and
re-seeds after a complete cleanup). Because a theme is just an anchor whose instructions set
scene-level values, you can customize the built-in themes or add your own by putting an anchor
with the matching hash name via the /api/anchor/ endpoint.
General Purpose
The logo can be configured with the following environment variable:
Property |
Default Value |
Description |
|---|---|---|
V3DVISU_LOGO |
voraus-gradient-black |
Logo shown in the corner of the screen (voraus-gradient-white, voraus-white, voraus-black). |
The debug mode can be enabled with the following environment variable:
Property |
Default Value |
Description |
|---|---|---|
V3DVISU_DEBUG |
False |
Activate debug helpers like the ruler and performance overlay. |
It is useful for debugging during development and enables the following features:
Ruler (Measurement Tool)
The ruler can be used to measure distances between points in the scene.
Hold Ctrl to activate the tool, snapping to the origin of objects.
Hold Ctrl + Shift to snap to surfaces.
Hold Ctrl + Alt to snap to vertices.
Performance Overlay
The performance overlay shows live rendering metrics in the scene.
The poll interval can be configured with the following environment variable:
Property |
Default Value |
Description |
|---|---|---|
V3DVISU_POLL_INTERVAL |
20 |
Delay in ms before requesting the next data update after the previous update was processed. |
The poll interval controls how long the frontend waits before requesting the next data update after the previous update was received and processed. During live updates, incoming data changes trigger scene invalidations and therefore strongly influence the visible rendering frame rate. Lower values can increase FPS and make animations smoother, but also increase server, browser, and rendering load.
The value does not directly guarantee a rendering frame rate. The actual visible update rate also
depends on network latency, server response time, instruction processing, and browser/GPU rendering
time. With the default 20 ms interval, the frontend can request up to roughly 50 updates per
second under ideal conditions, but the rendered FPS can be lower.
Local postMessage Interface
An embedded visualization (loaded inside an <iframe>) can receive raw,
already-serialized instructions directly from its parent web application via the
browser postMessage API. The instructions are applied only to the local
browser scene; they are never forwarded to the server or distributed to other
browser clients.
For security reasons the interface is disabled by default. It only accepts
messages whose event.source is the parent window and whose event.origin
is listed in the following allowlist:
The parent application connects to the embedded visualization with the
@voraus/voraus-3d-visu npm package, which exposes typed builders for all
visualization instructions. See the TypeScript client documentation for the message format and usage examples.
Server Configuration
The host settings can be configured with the following environment variables:
Property |
Default Value |
Description |
|---|---|---|
V3DVISU_ALLOWED_HOSTS |
[] |
Allowed hosts for outbound requests, such as URLs from which models can be loaded. |
The user data path can be configured with the following environment variables:
Property |
Default Value |
Description |
|---|---|---|
V3DVISU_USER_DATA_PATH |
None |
The path where user data such as cached models will be stored. |
The maximum model upload size can be configured with the following environment variable:
Property |
Default Value |
Description |
|---|---|---|
V3DVISU_MAX_UPLOAD_SIZE_MB |
100 |
Maximum model upload size, in megabytes. |
Logging
The server uses the standard RUST_LOG environment variable to control its log
output. When unset, it defaults to info.
At the default info level the server stays quiet: application logs are emitted,
but the per-request HTTP spans (one entry per incoming request) are suppressed to
avoid noise in production. To inspect individual requests, raise the verbosity of
the HTTP layer:
# Log one span per HTTP request in addition to the default info logs
RUST_LOG=info,tower_http=debug

# Increase verbosity for everything
RUST_LOG=debug
RUST_LOG accepts the standard tracing EnvFilter syntax,
so you can target individual modules, e.g. RUST_LOG=warn,voraus_3d_visu=info.
Deployment Configuration
The following environment variables configure how the server is deployed. They can alternatively be passed as command line arguments: