
2.4. Service
The procedure for updating, restarting, or obtaining logs varies depending on the installation method (Docker CLI, Docker Compose, Portainer, etc.). Please choose the option that best suits your needs and with which you have configured your runtime.
2.4.1. Software Update
Warning
Before performing a software update, please carefully check the release notes for any compatibility notices. Note that if you skip versions, you have to consider all release notes between your currently installed version and the version you are about to install.
Update via Docker CLI
Stop the voraus.core via
docker compose -f path/to/your/composefile down
For an update, please use the matching Docker Compose file from Setting up the Runtime, which statically defines and pulls the new version.
Start the voraus.core again via
docker compose -f path/to/your/composefile up -d
2.4.2. Troubleshooting
Restart the voraus.core
If, at any point, a software restart is necessary, the voraus.core can be restarted by stopping and starting via Docker Compose CLI commands
Warning
Note that all unsaved data will be lost!
Stop the voraus.core with:
docker compose -f path/to/your/composefile down
And start again with:
docker compose -f path/to/your/composefile up -d
Python Syntax error
When writing your own commands in Python or using the Run Script command, syntax errors in the Python code might occur. These are usually signaled by the error codes CA37 or CB37, see Fig. 33.

Fig. 33 HMI error message of a Python syntax error
To see the cause of the error, the System Control log is helpful, which can be accessed as described in the Logging chapter. In many cases the log shows the exact location of the syntax error. If the Python interpreter can not locate the error (e.g., missing brackets), the line number in the executed Python file is displayed. In this case, refer to the Accessing the File System chapter to view the program code and find the error manually.
2.4.3. License Activation
Note
For license activation for the virtual voraus.core, please refer to the section in the installation of the virtual voraus.core Activate Licenses on Your Machine.
The voraus.core software requires an activated license to run properly. After the successful installation of the voraus.core, the software will start in error state, because no license key is activated yet. To activate the license, simply complete the following steps.
The licenses can be activated in three different ways, choose:
Online License Activation if your system has internet access,
Offline License Activation if your system has no internet access or
Dongle License Activation if you are using a hardware USB dongle.
Note
If you are using the voraus.ipc, the Linux operating system and the voraus.core are pre-installed, including a license key.
Online License Activation
Requirements
A valid license key with the format
XXXXX-XXXXX-XXXXX-XXXXX-XXXXXA system with internet connection
A laptop or PC
Instructions
In the Settings menu, click the LICENSES button in the left tab to open the license page and click on ONLINE ACTIVATION (Fig. 34).
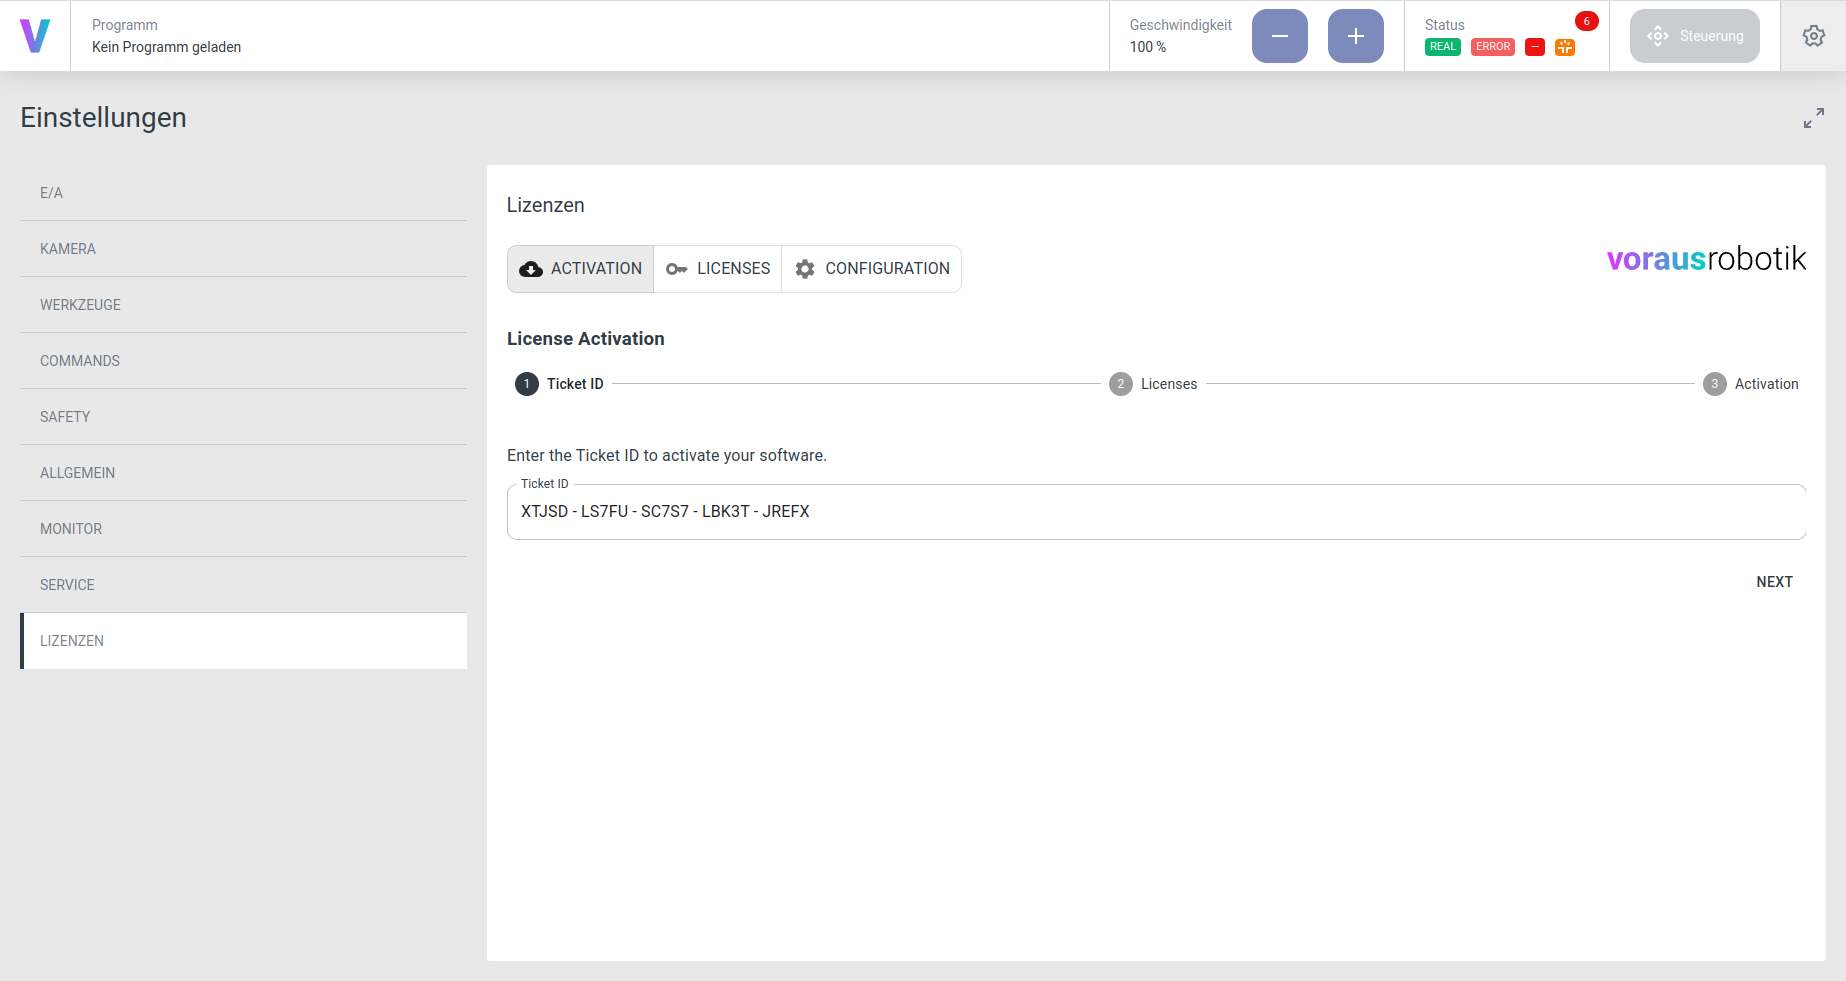
Enter the ticket ID (license key) in the text field and press NEXT.
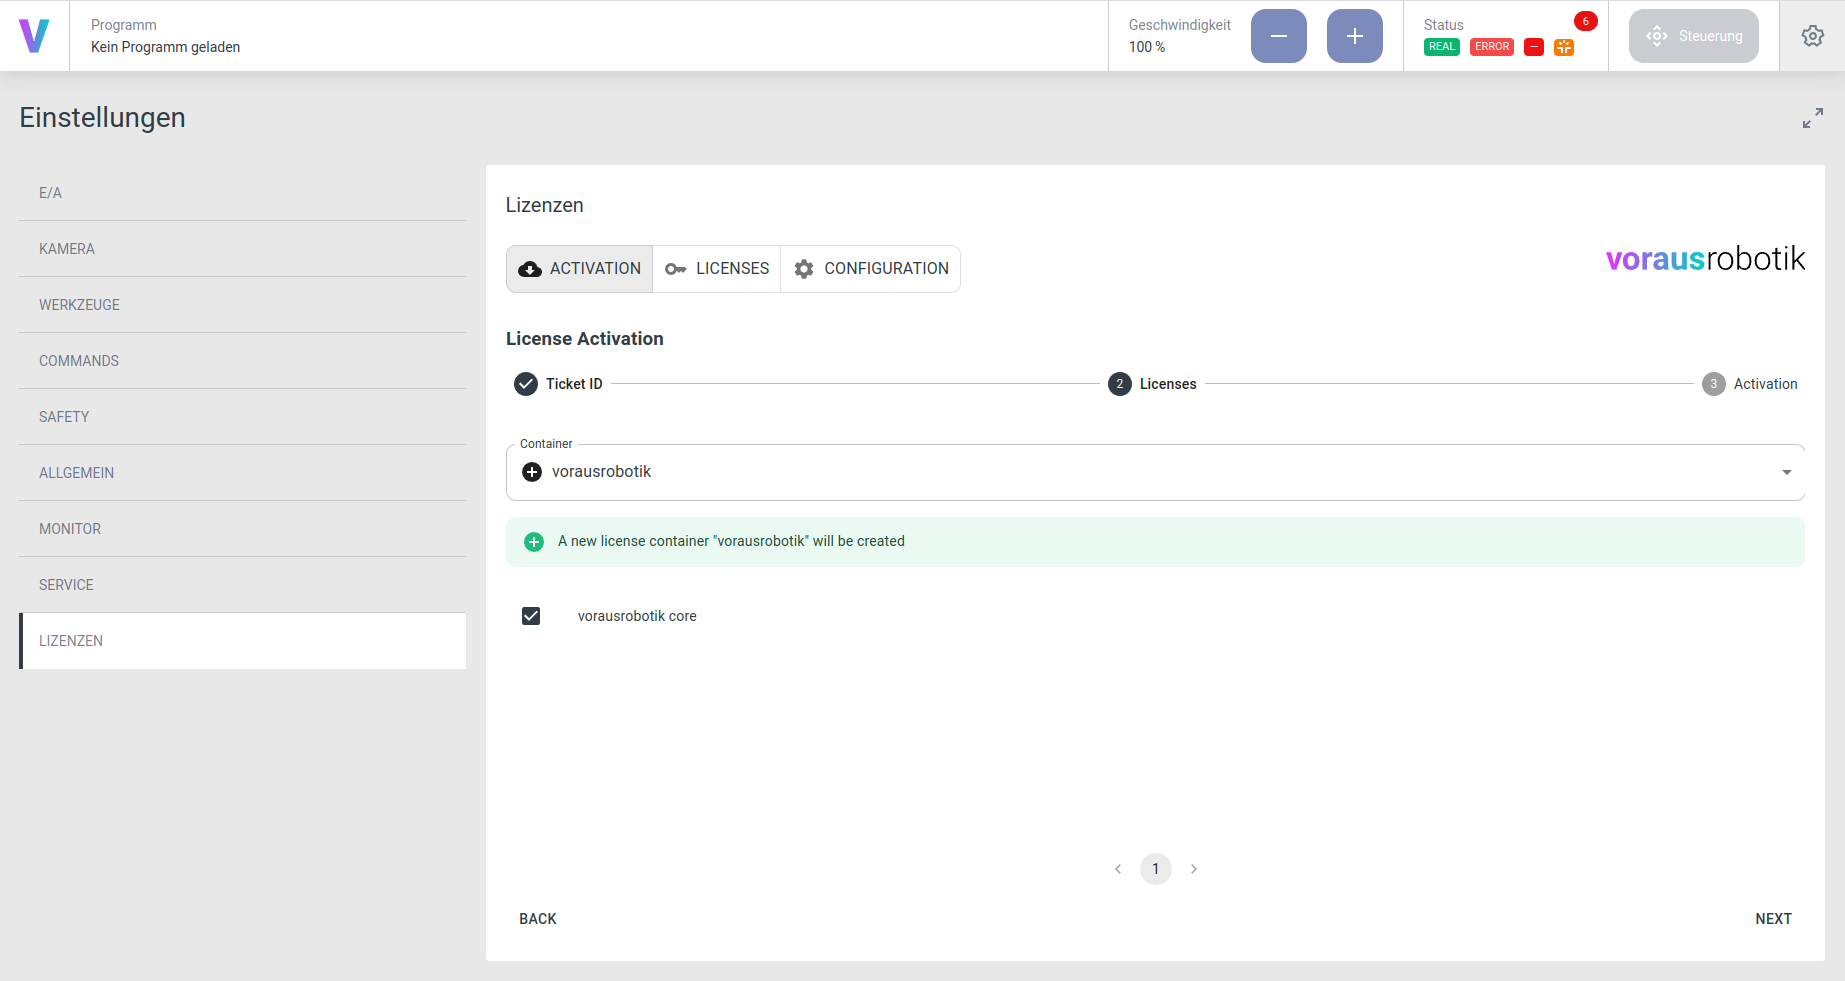
Select the license you wish to activate on the system (Fig. 35) and press NEXT.
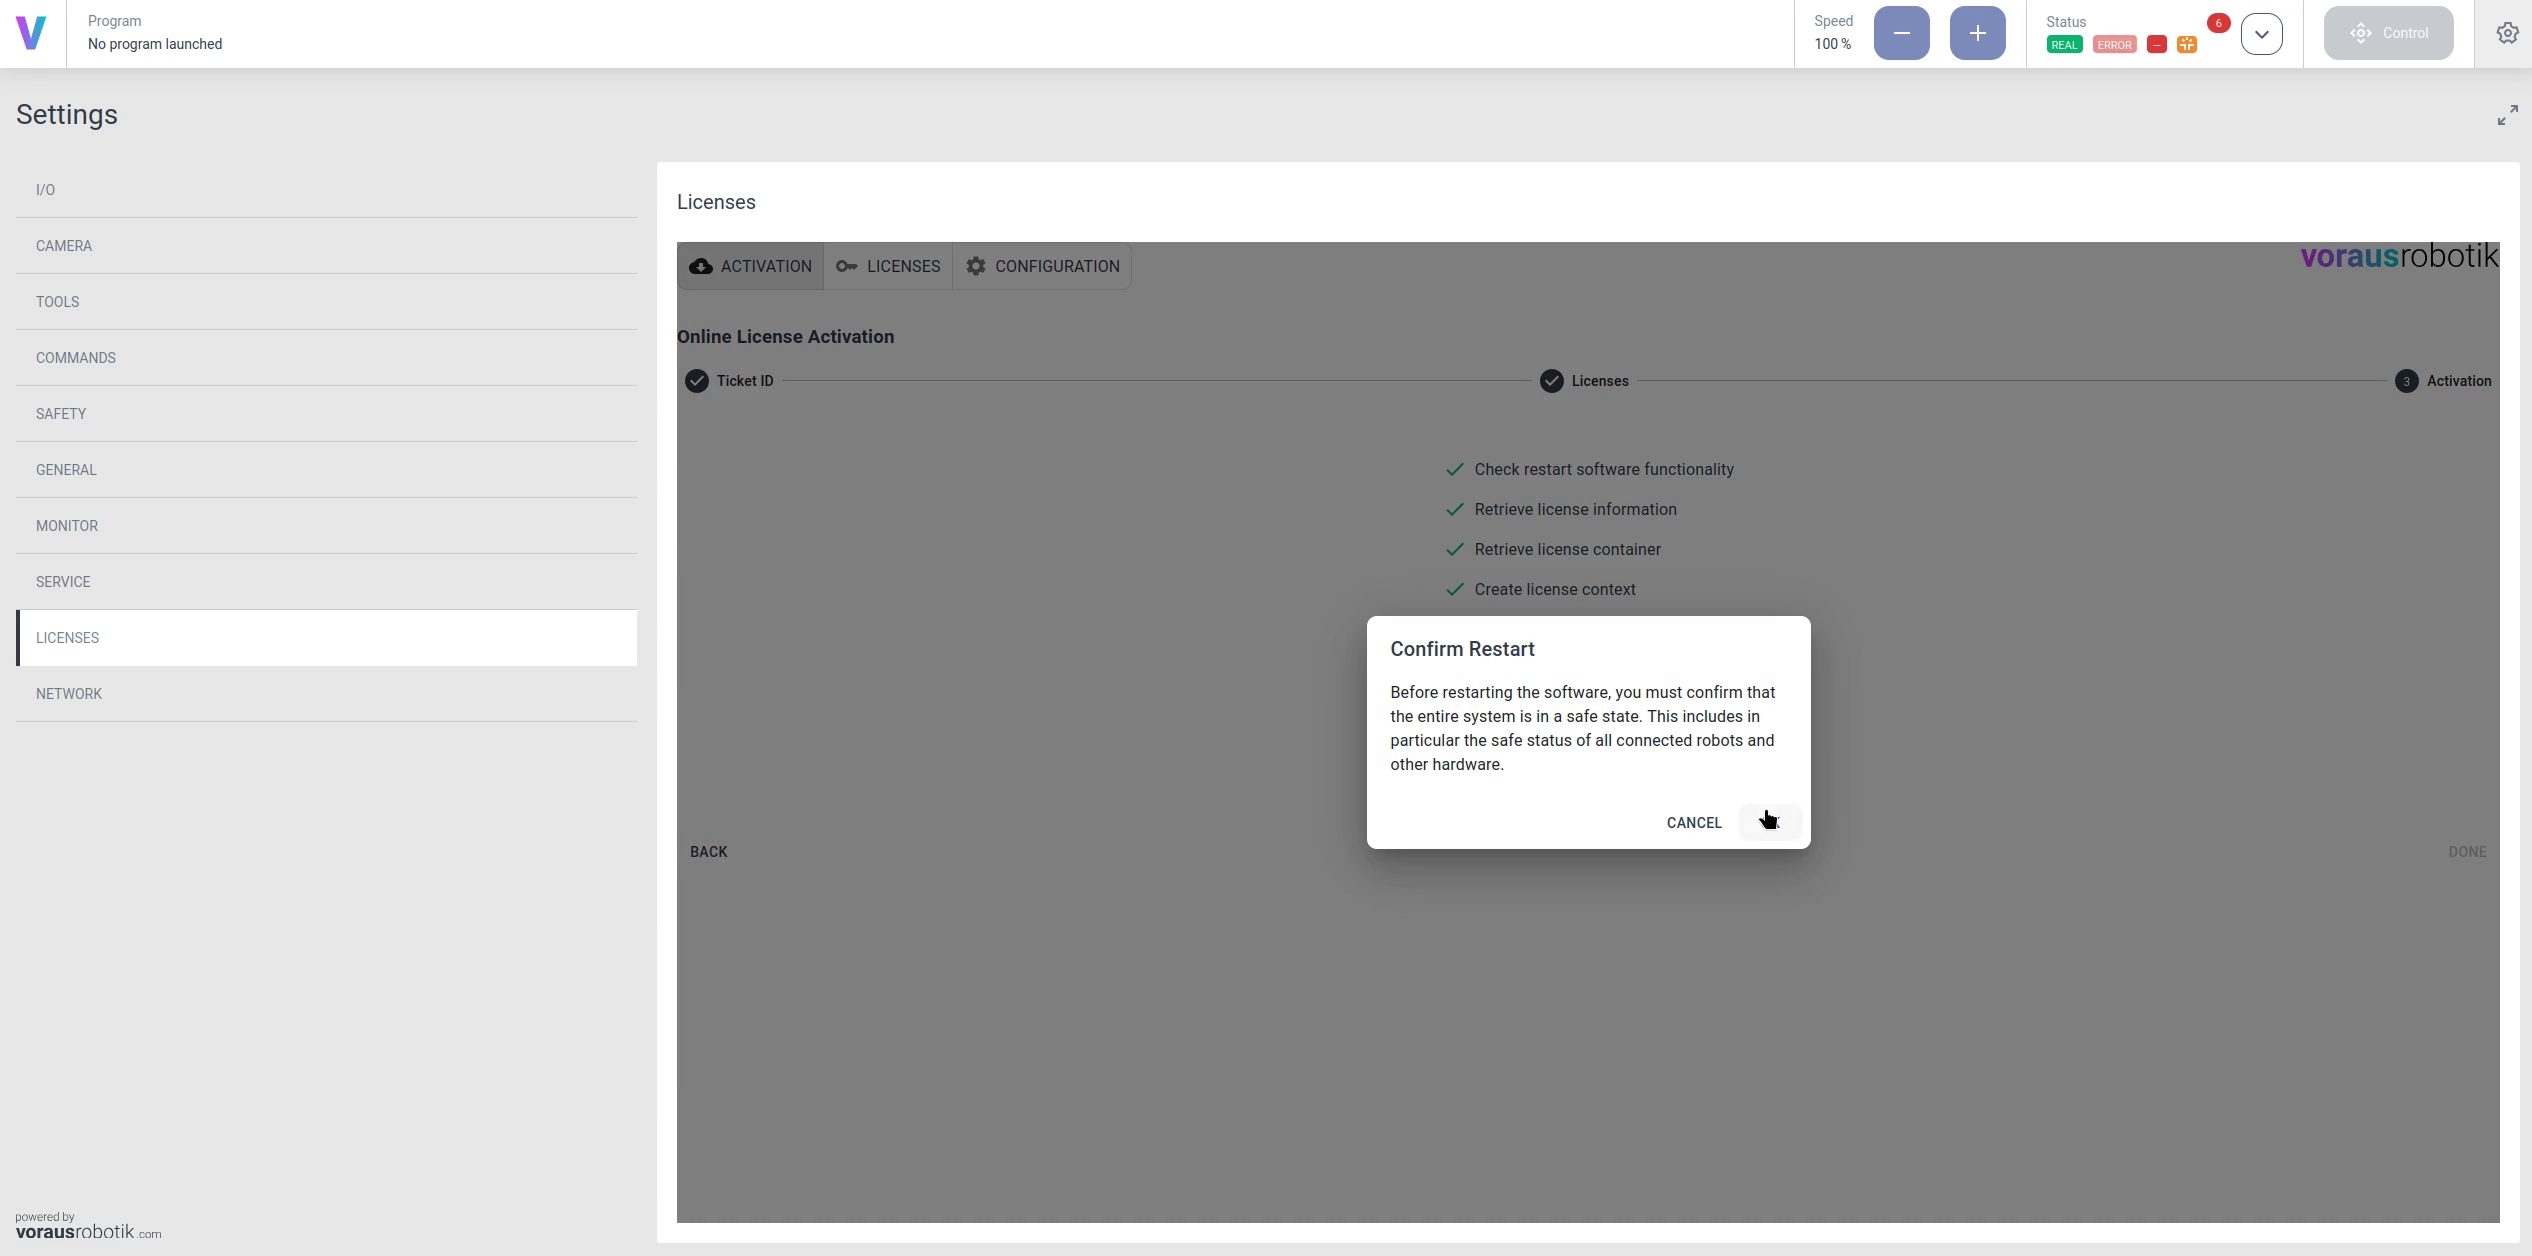
Wait until the activation has finished (Fig. 36) and restart the software by confirming the safe state.
Wait until the voraus.operator is reloaded. The license is now activated, and the system states are valid.
Offline License Activation
Requirements
A valid license key with the format
XXXXX-XXXXX-XXXXX-XXXXX-XXXXXA system without internet connection
A laptop or PC with internet connection
Instructions
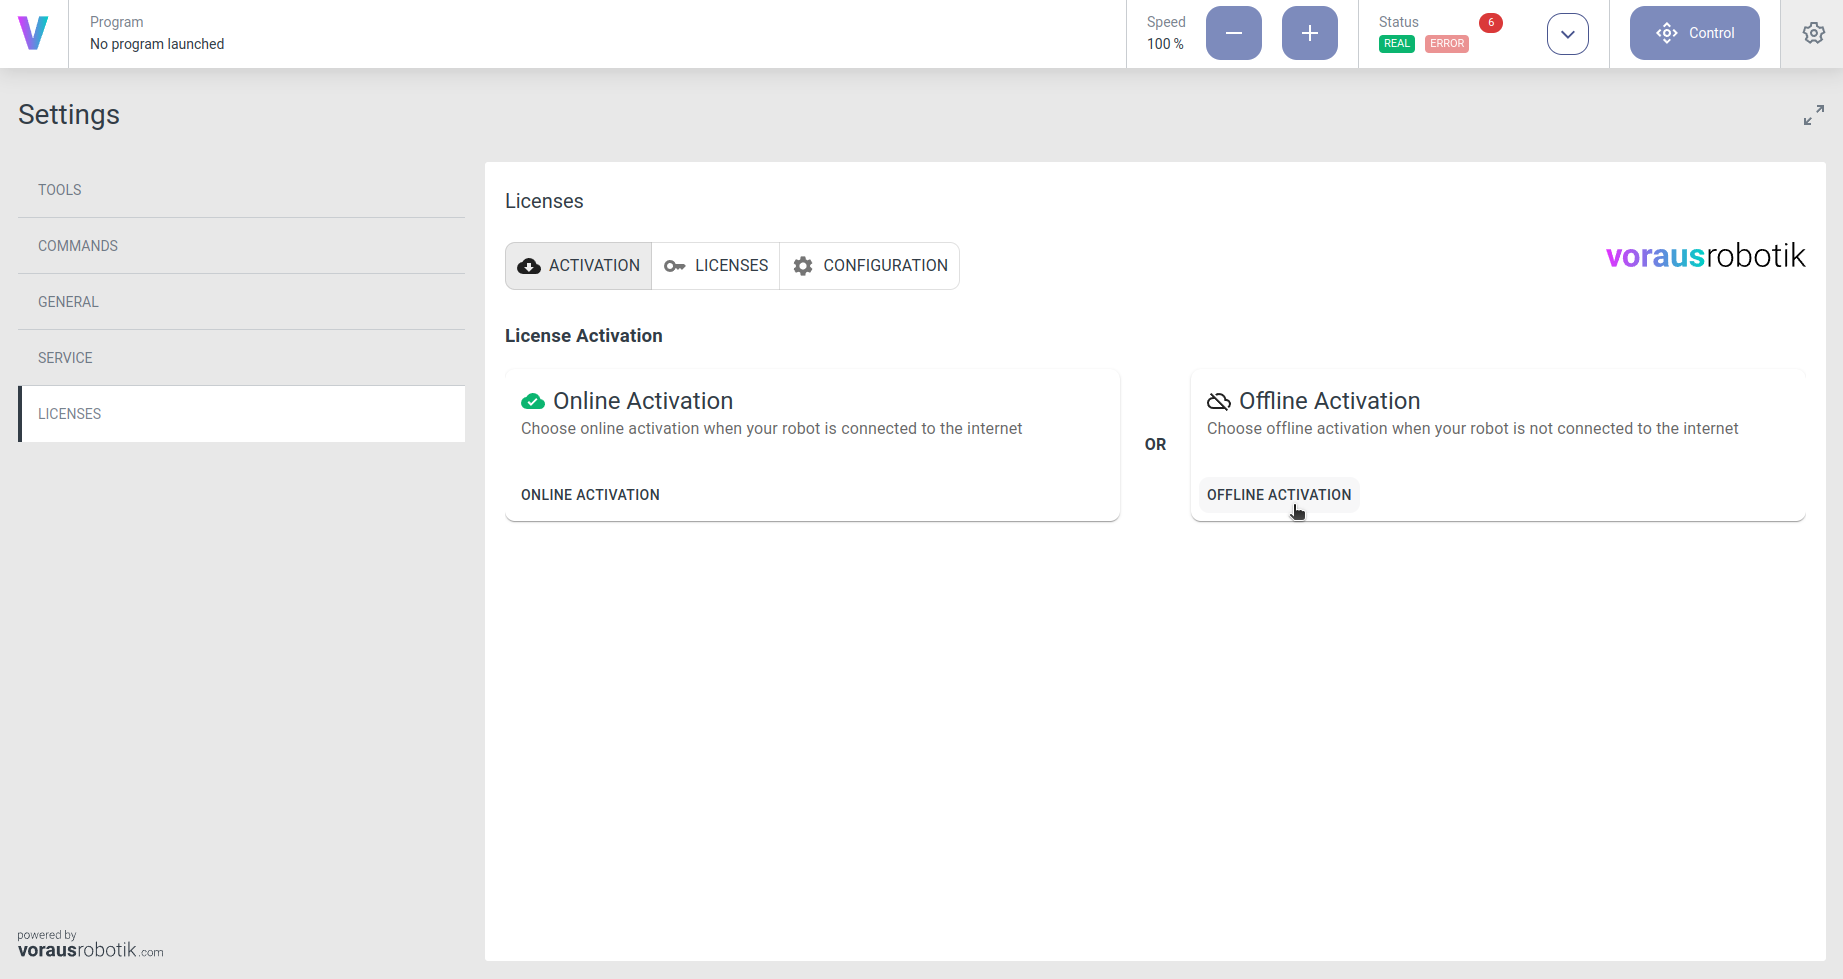
In the Settings menu, click the LICENSES button in the left tab to open the license page and click on OFFLINE ACTIVATION (Fig. 37).
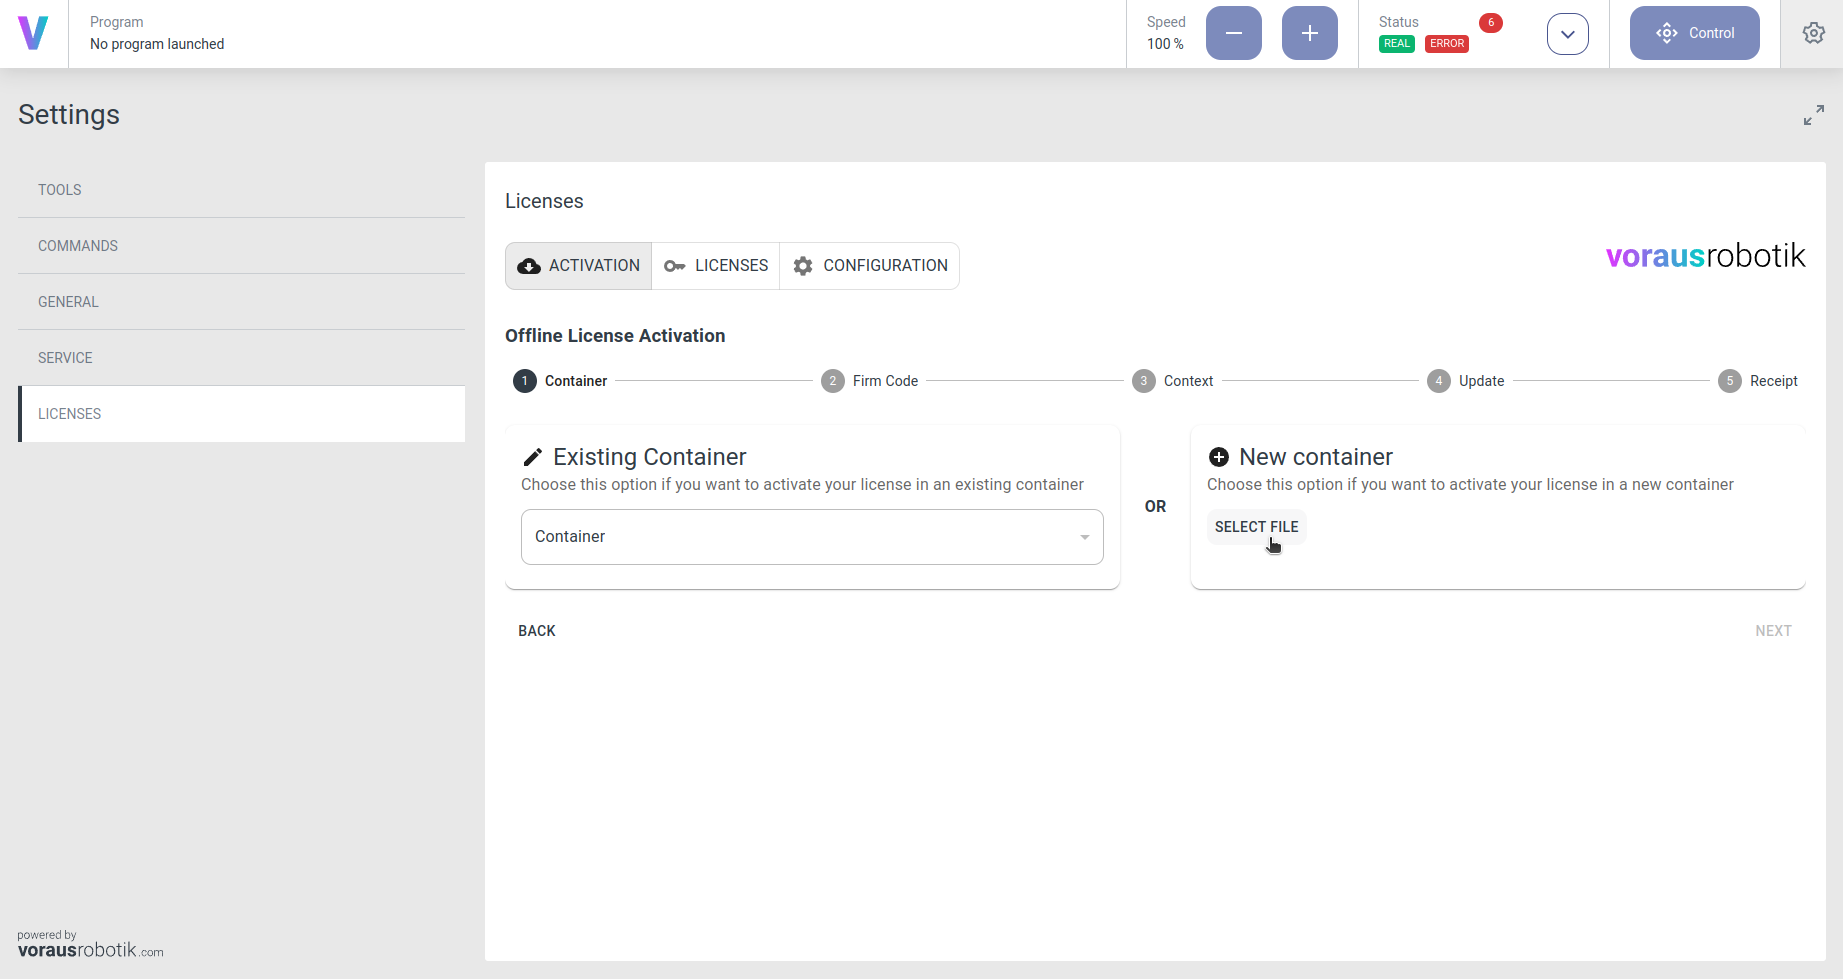
Select the license container from the drop-down on the left if a license container already exists on the system and click NEXT (Fig. 38).
If you want to create a new license container, download the vorausrobotik.WibuCmLif file, click on SELECT FILE and select the downloaded file and click NEXT (Fig. 38).
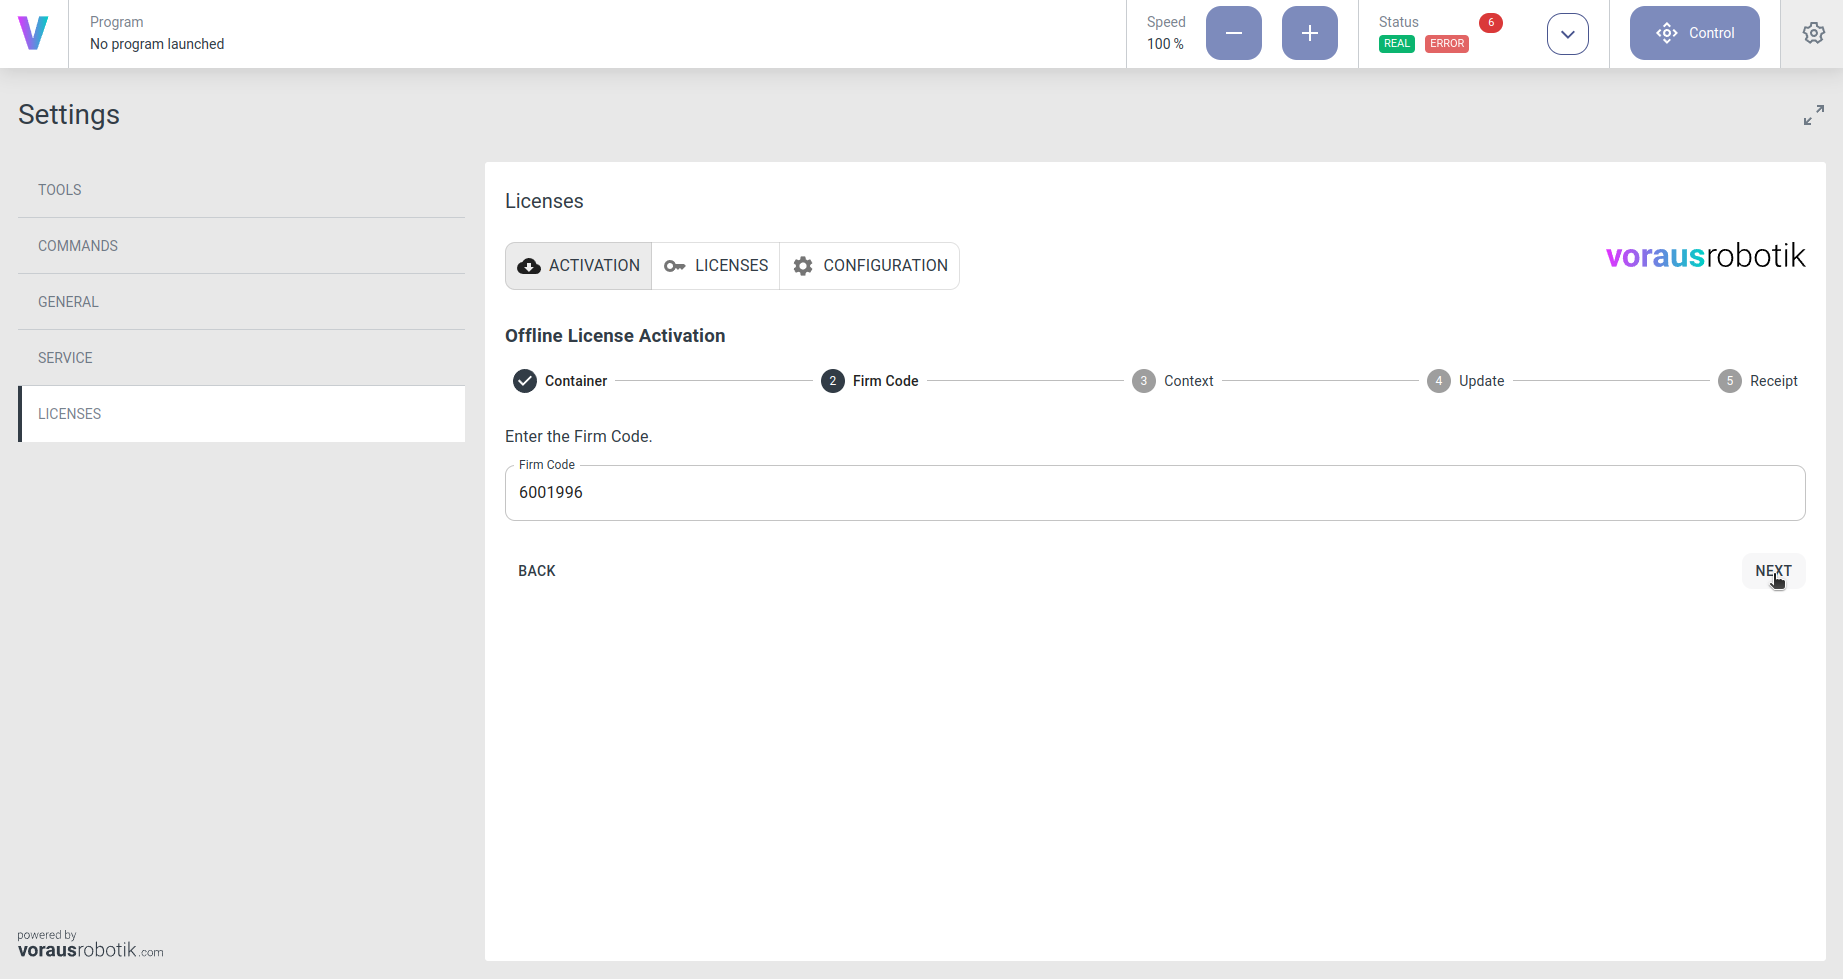
Enter the firmcode (6001996 for vorausrobotik) and click on NEXT (Fig. 39).
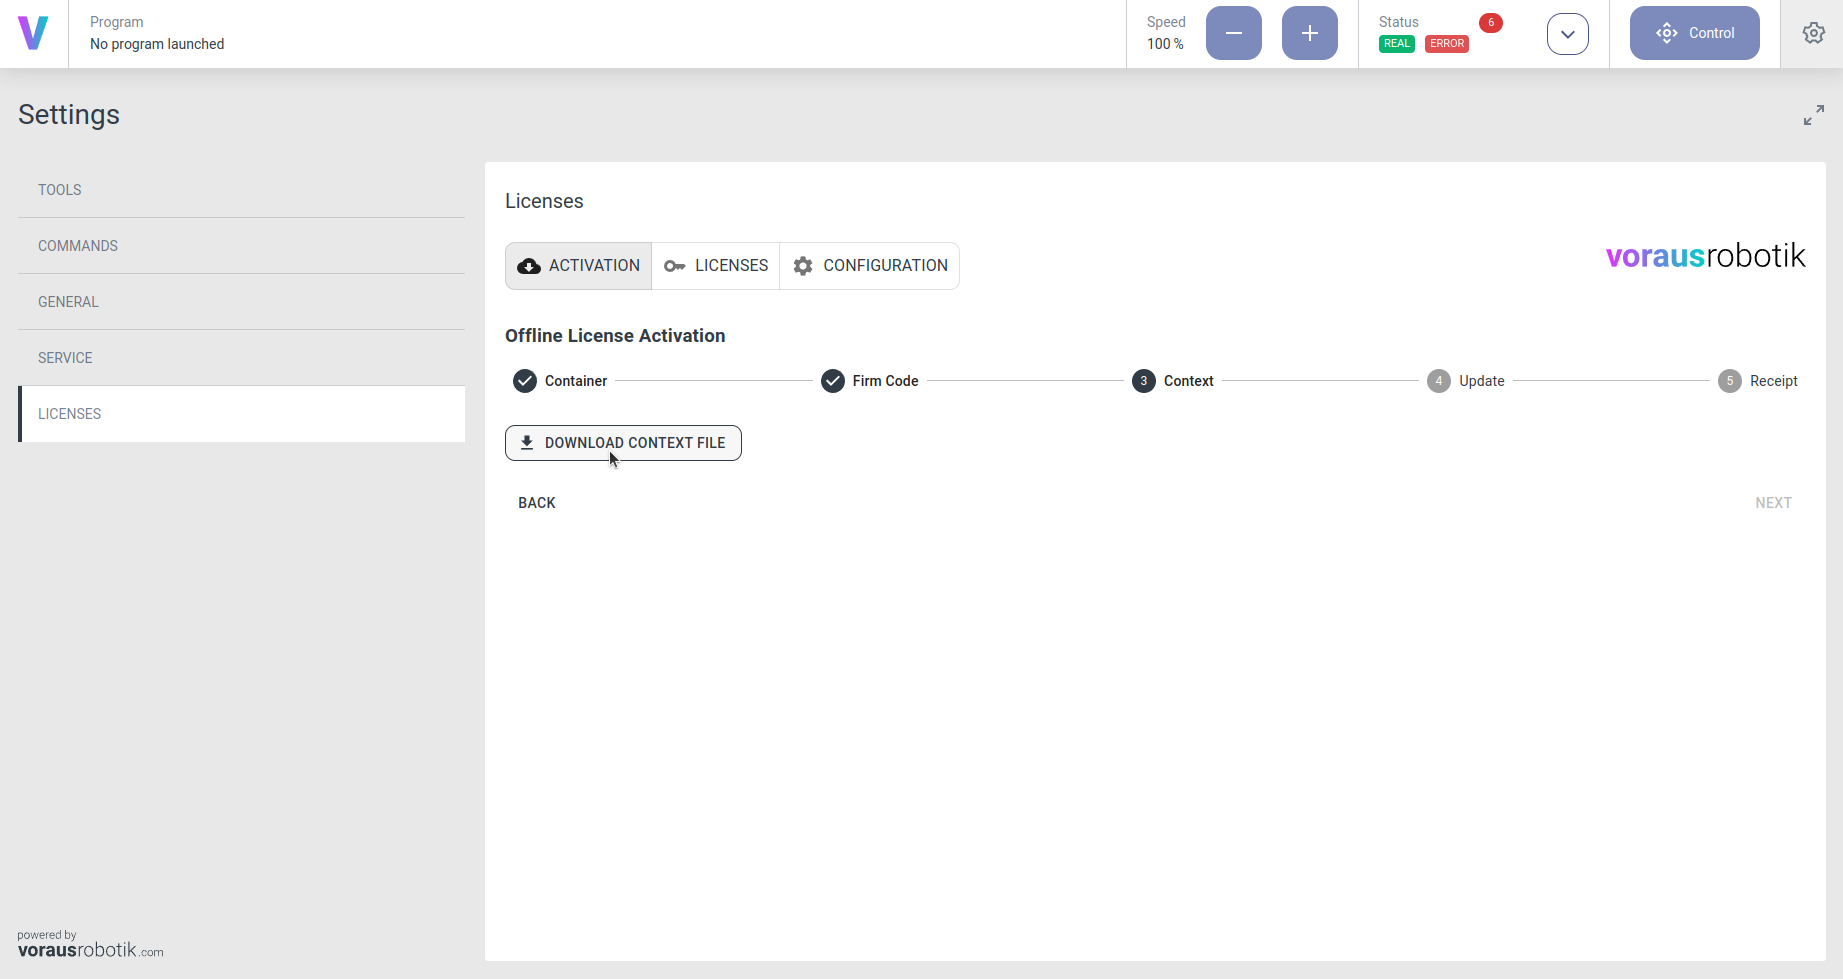
Click DOWNLOAD CONTEXT FILE and click NEXT when the file has been downloaded (Fig. 40).
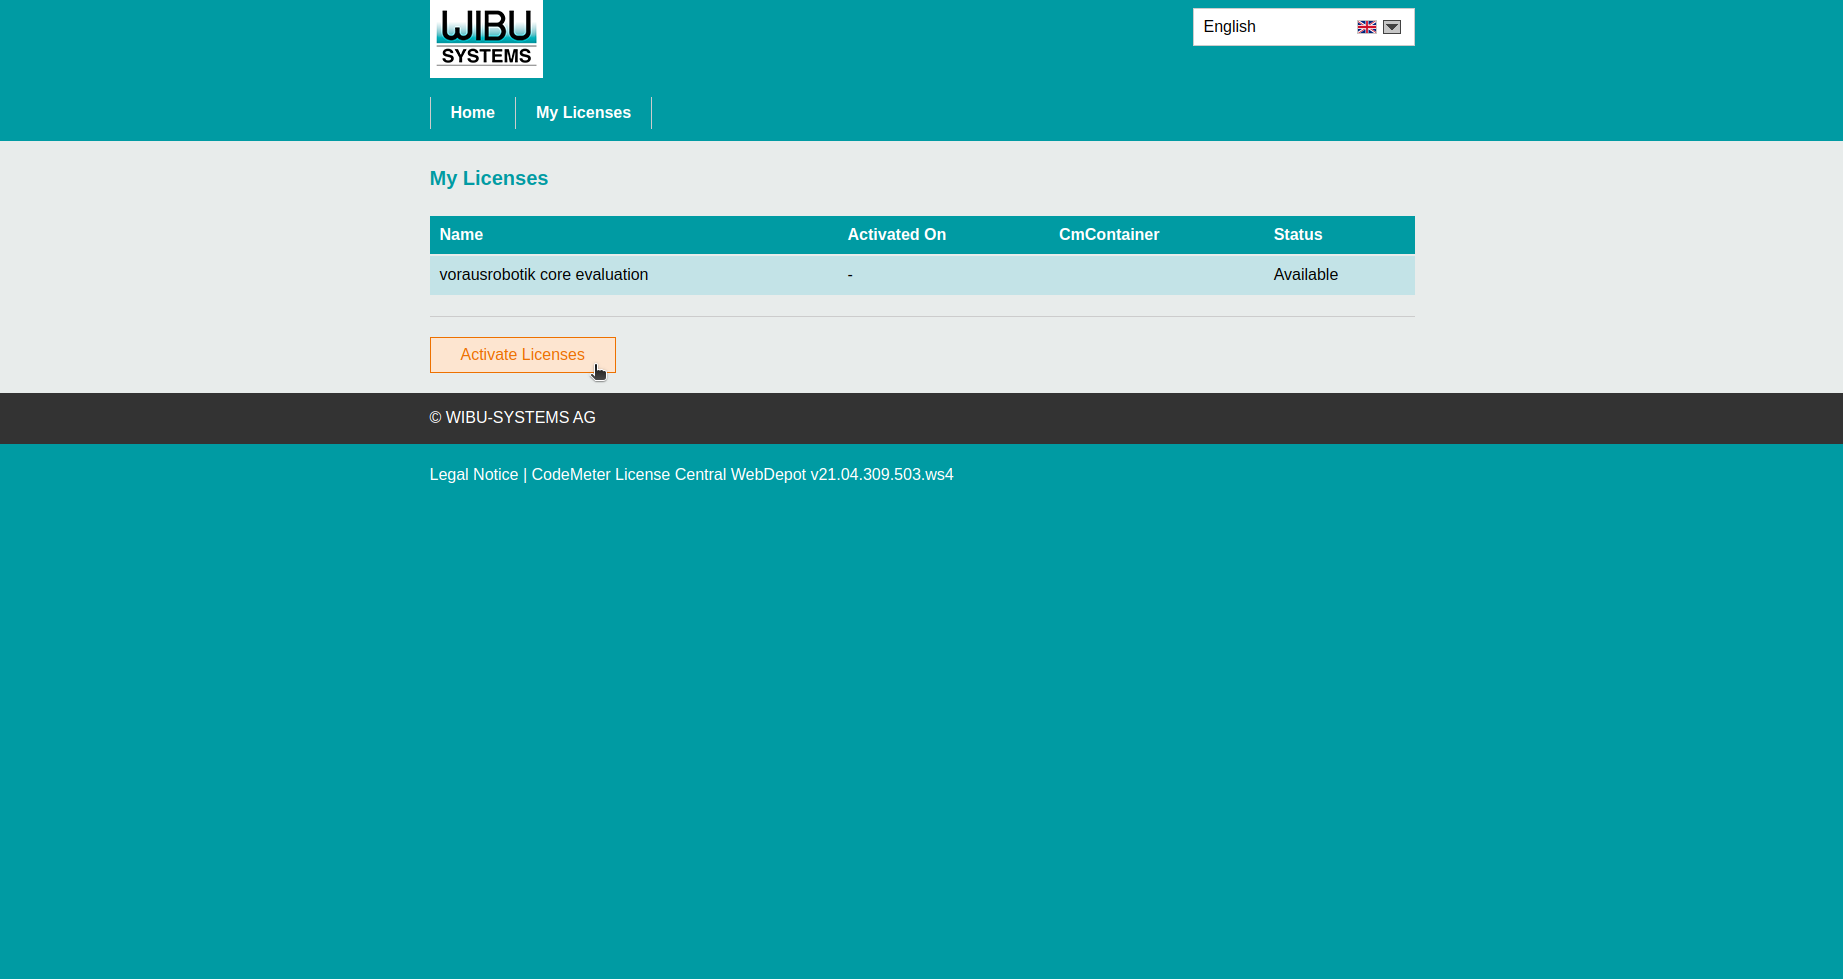
The licenses in the ticket are shown, click Activate Licenses (Fig. 42).
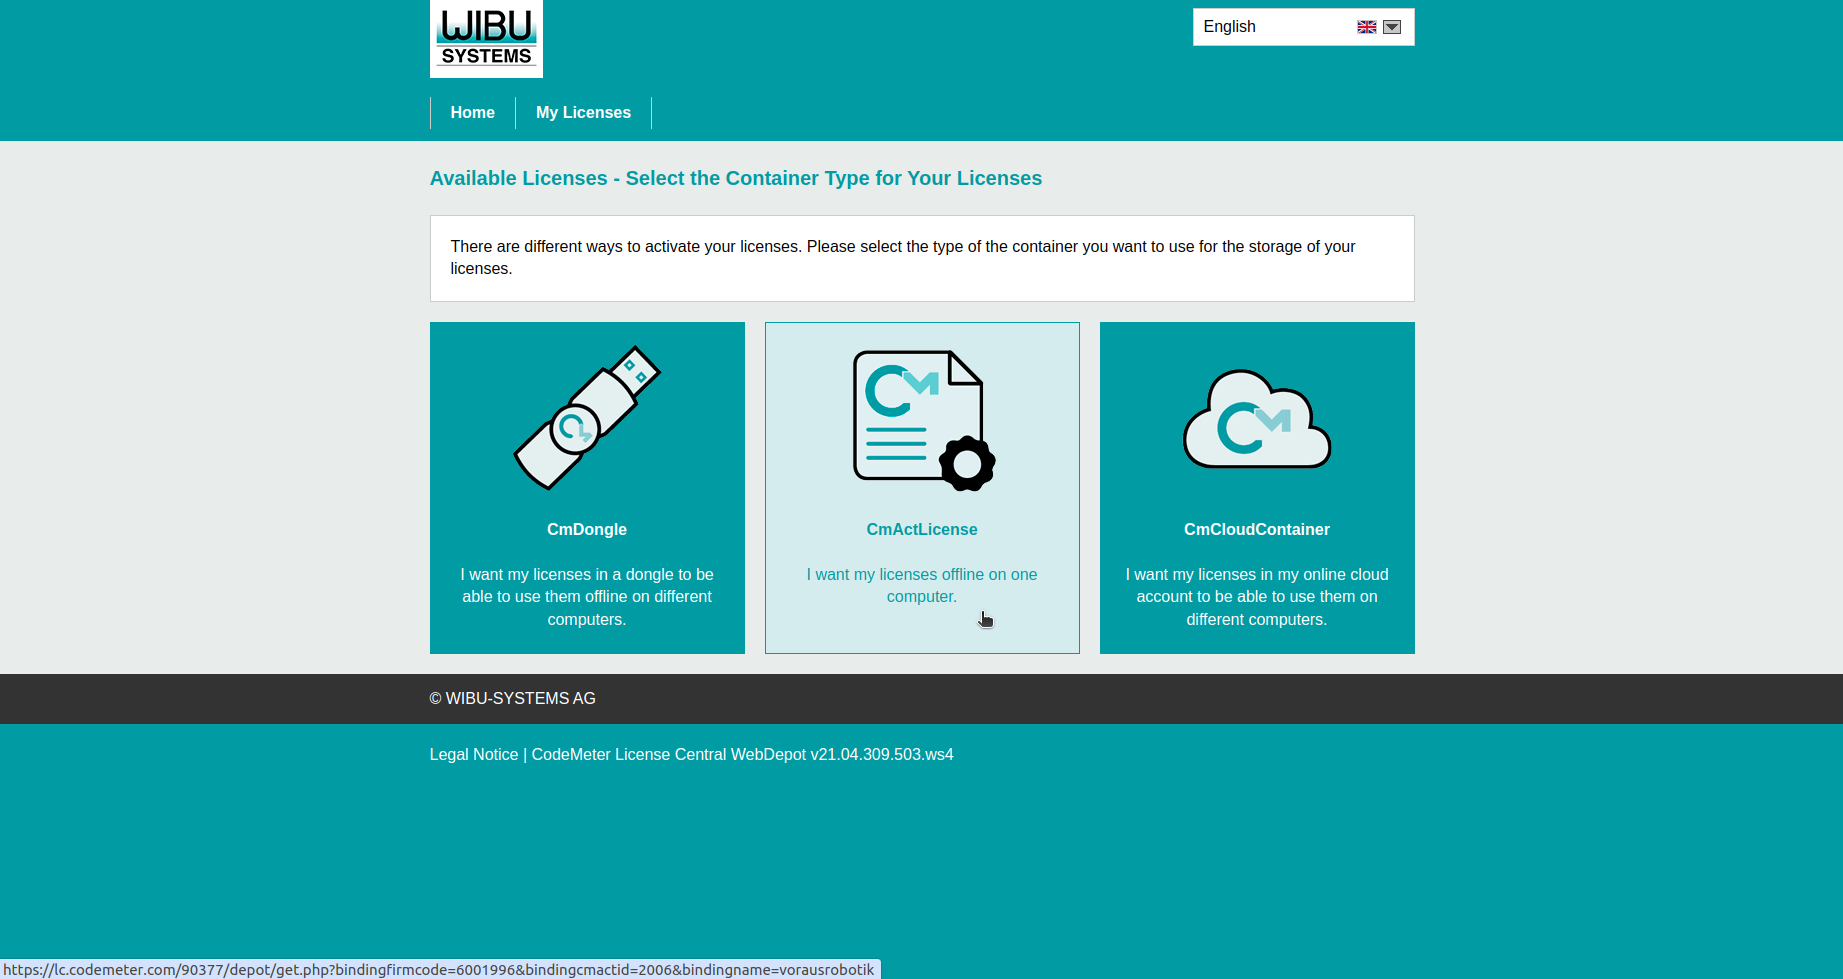
Click CmActLicense (Fig. 43).
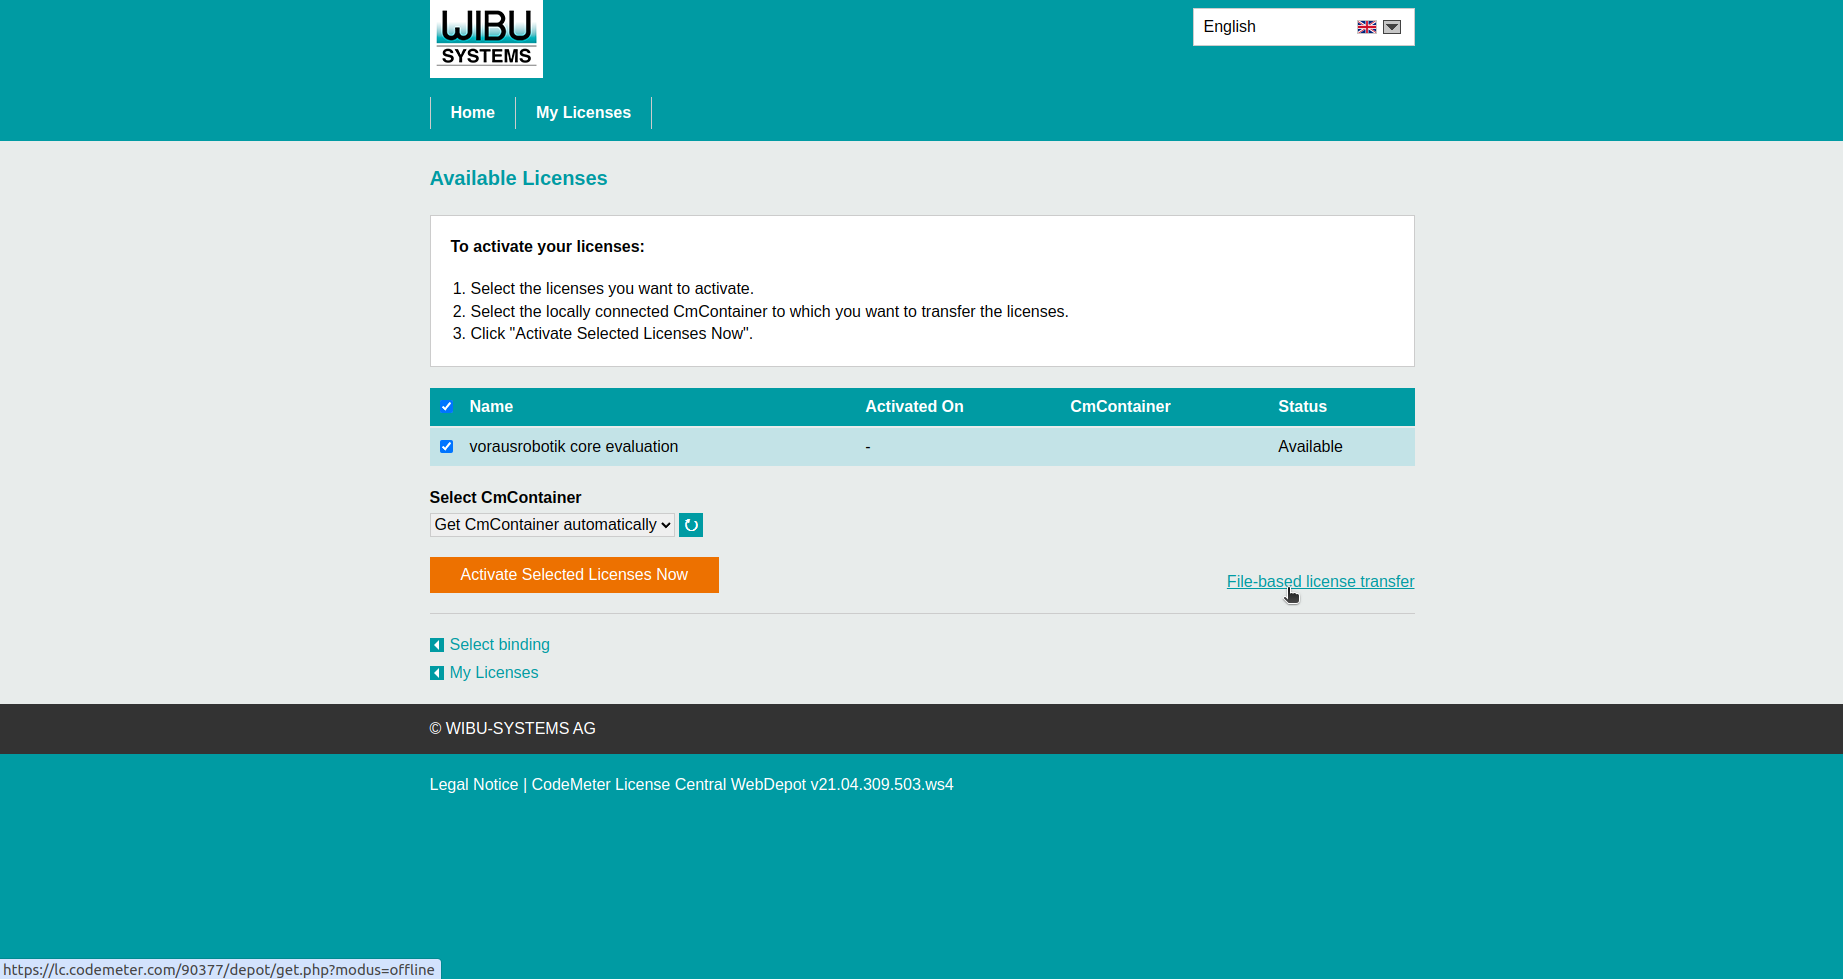
Click File-based license transfer (Fig. 44).
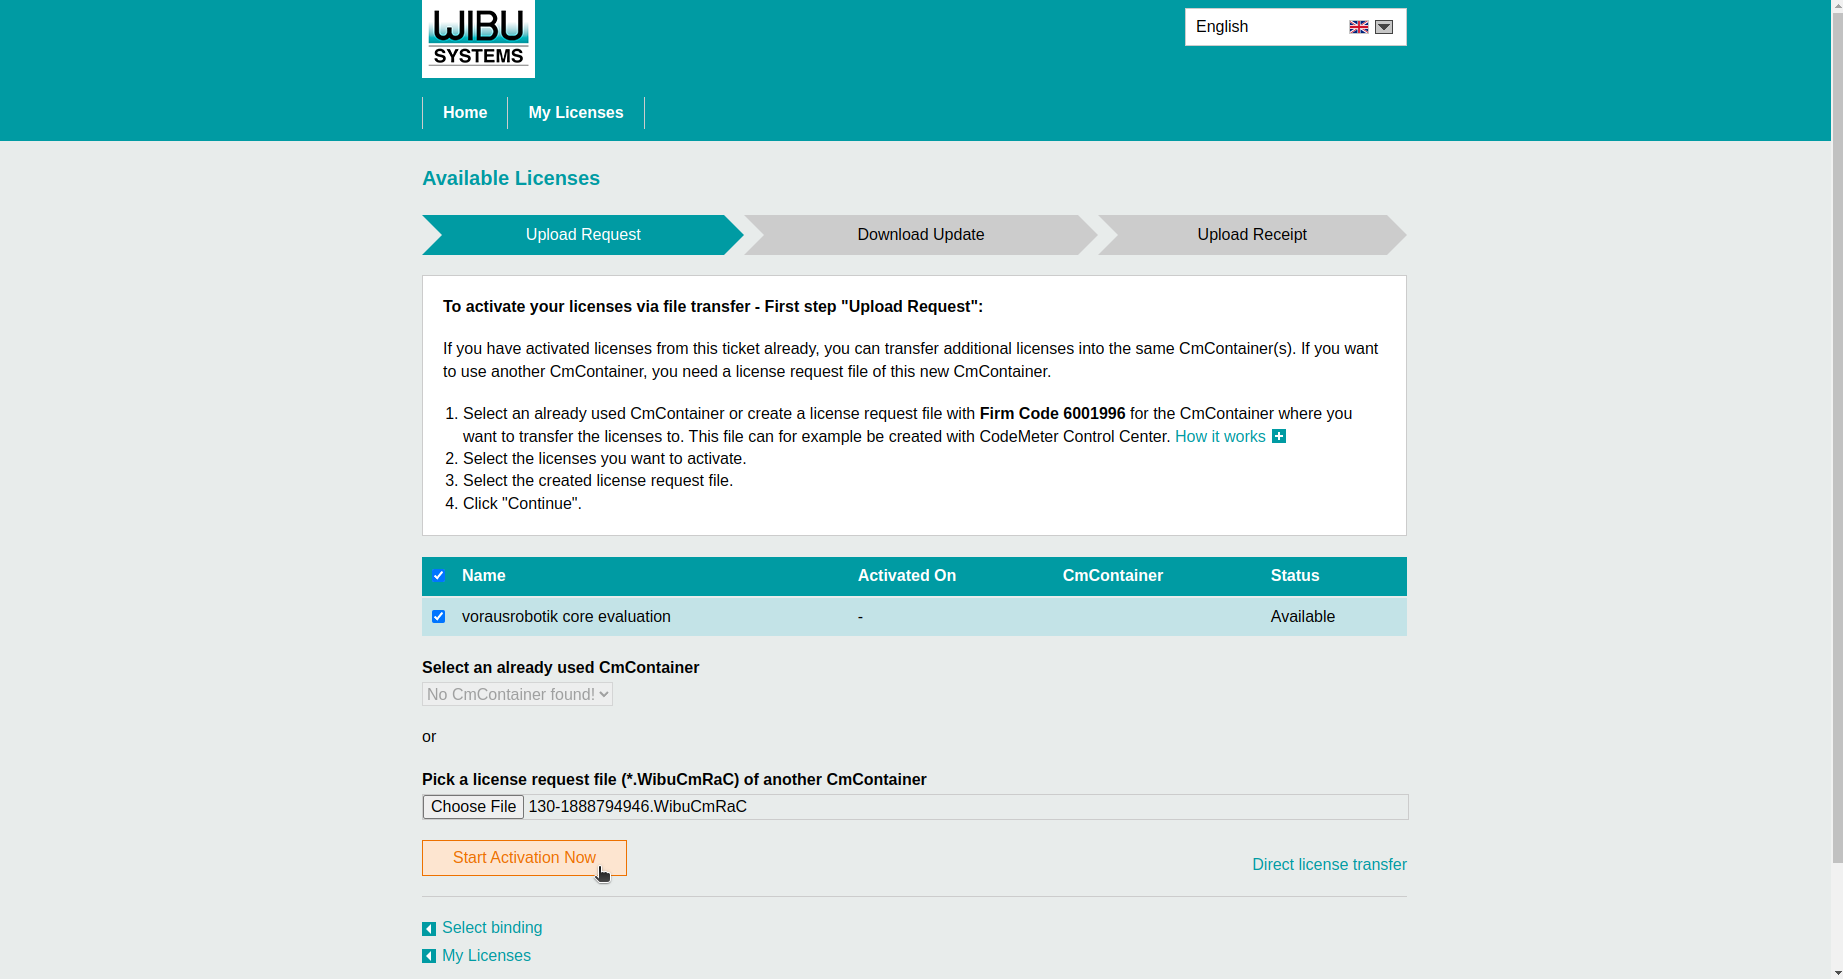
Select the licenses for activation, click Choose File and select the context file (
WibuCmRac) which has been downloaded previously, click Start Activation Now (Fig. 45).
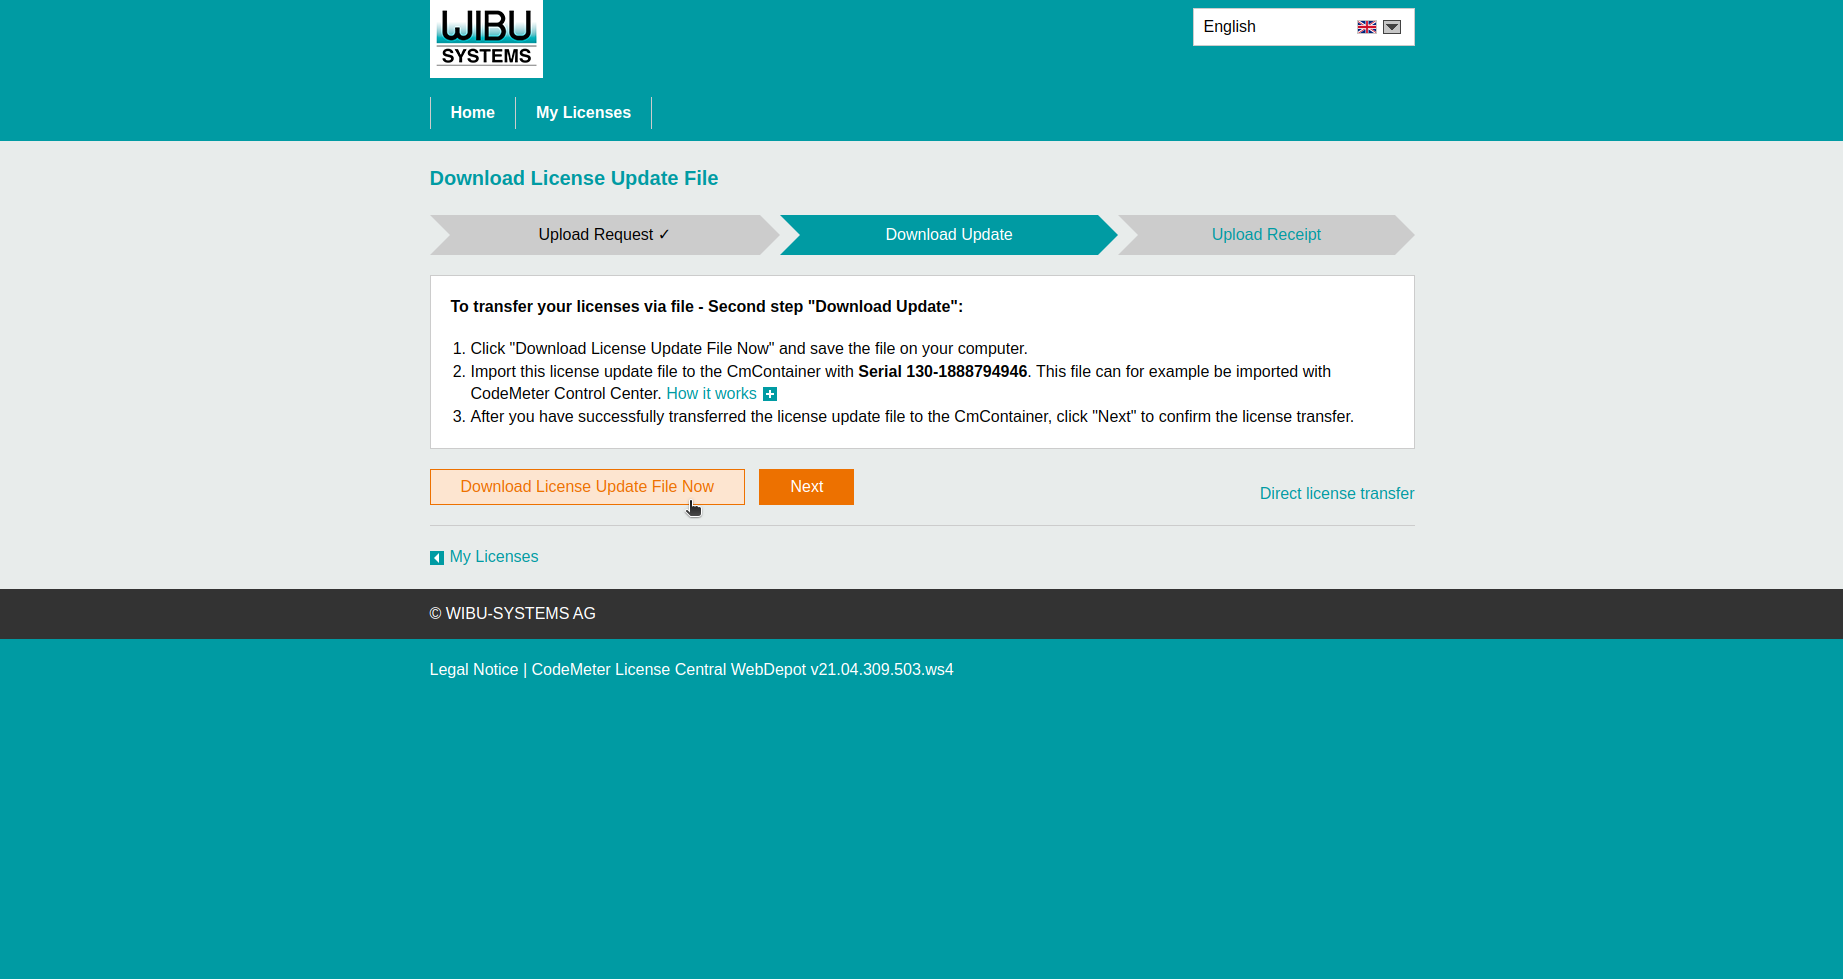
Click Download License Update File Now (Fig. 46).
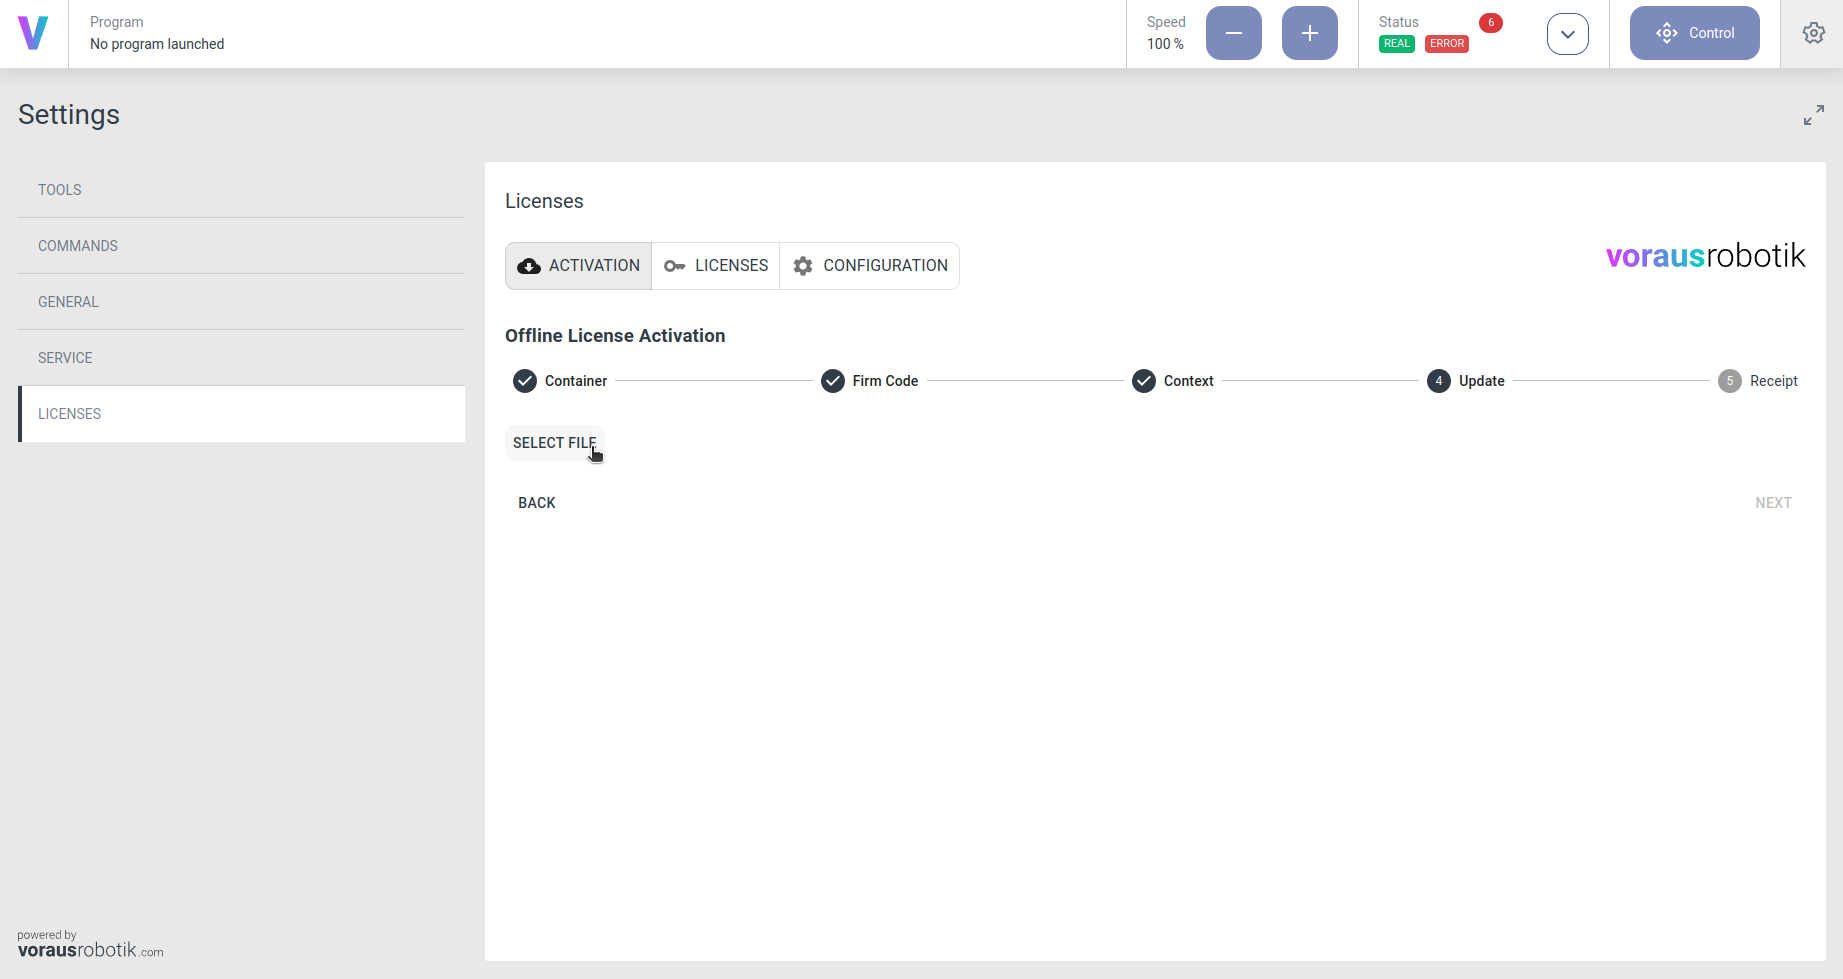
In the voraus.operator click SELECT FILE and select the license update file (
WibuCmRaU) and click NEXT when the update has been loaded successfully (Fig. 47).
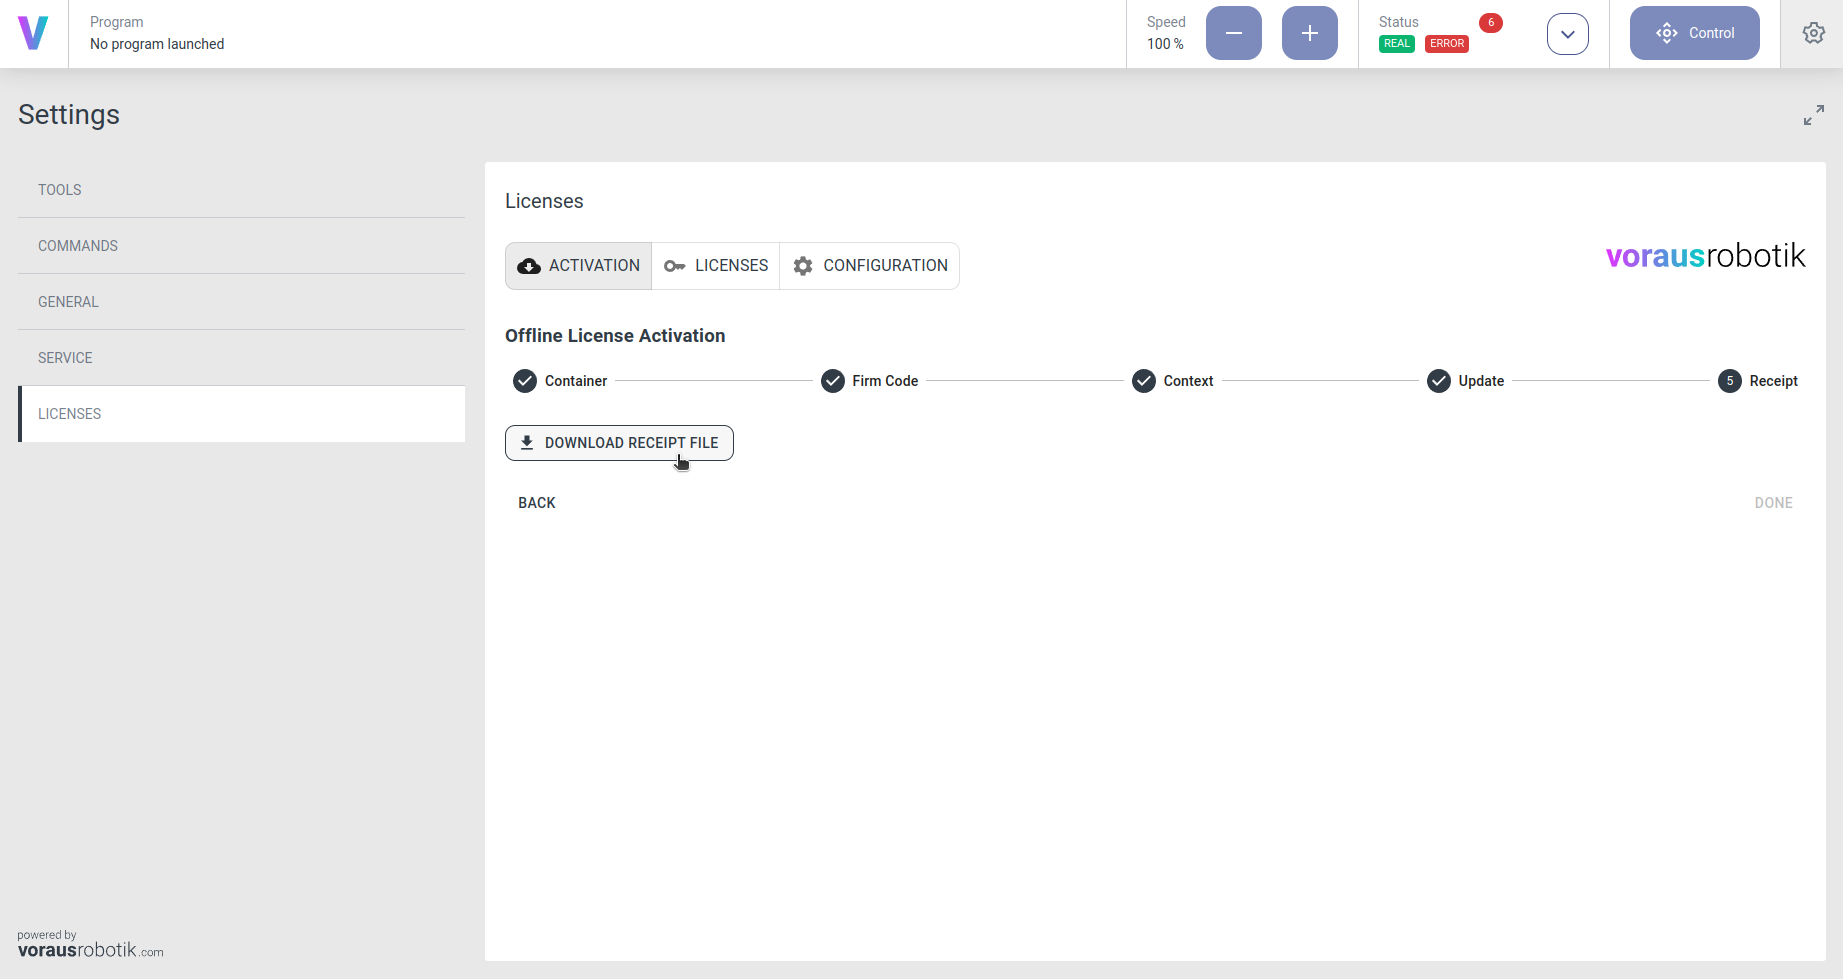
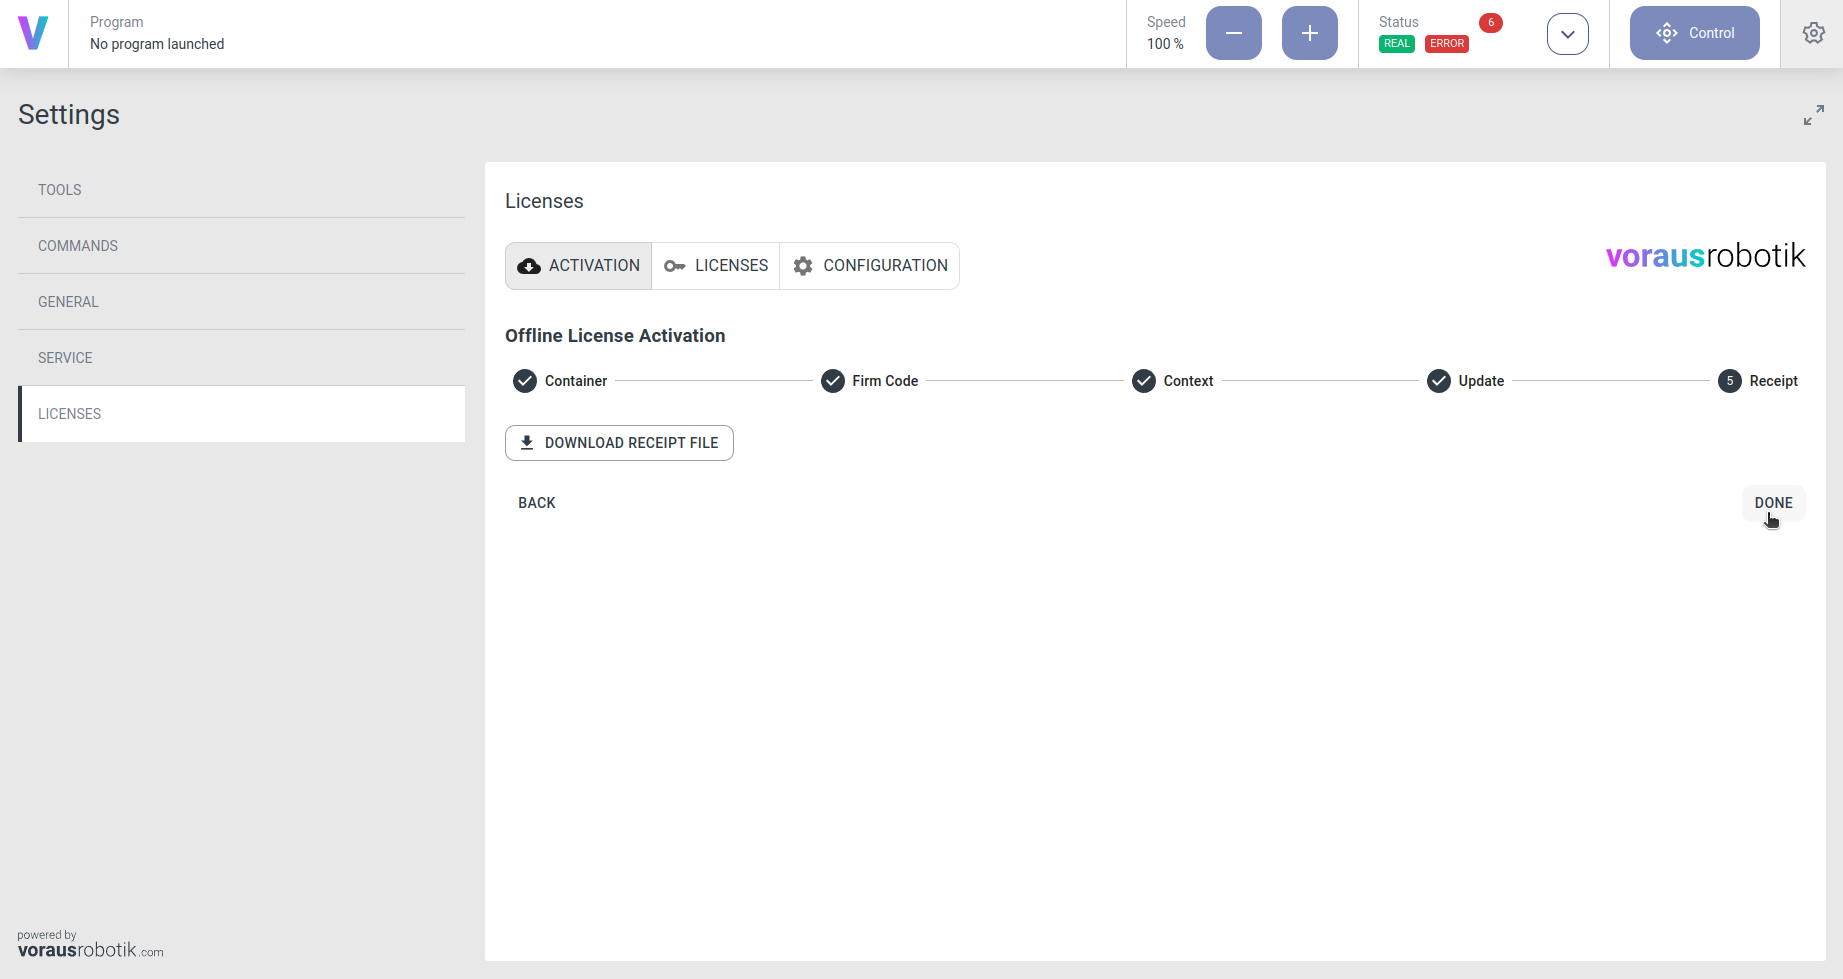
Click DOWNLOAD RECEIPT FILE (Fig. 48).
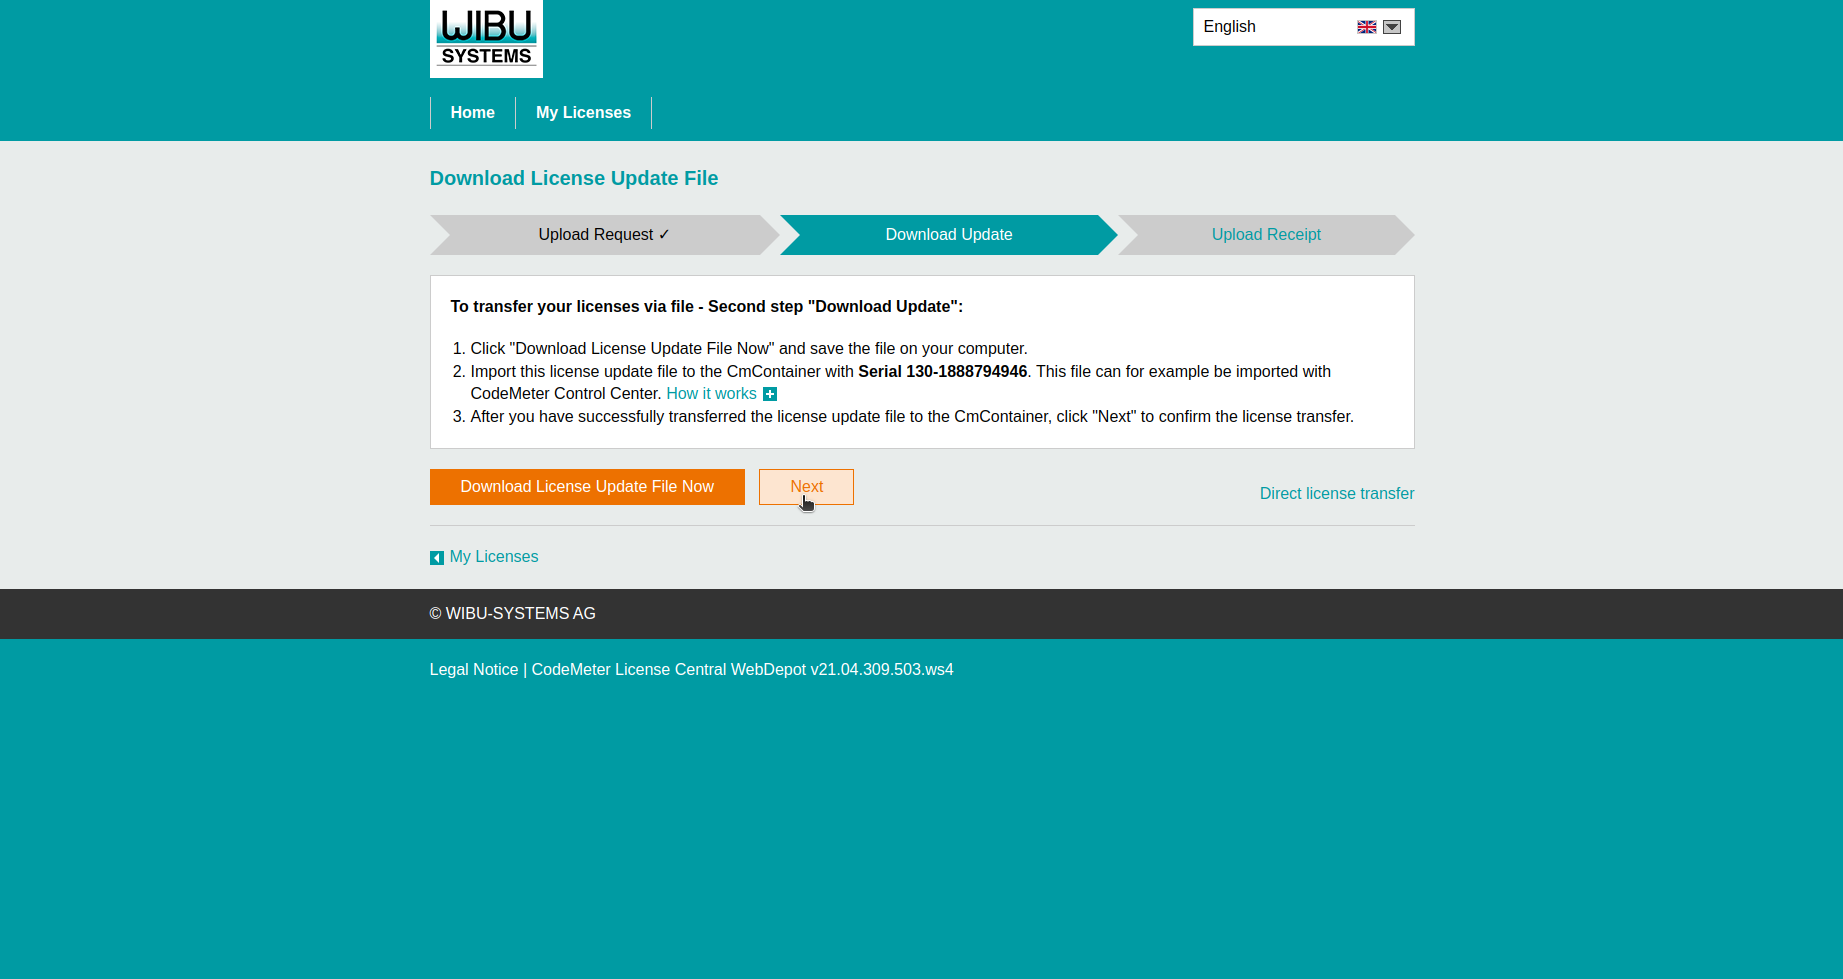
In the Web Depot click Next (Fig. 49).
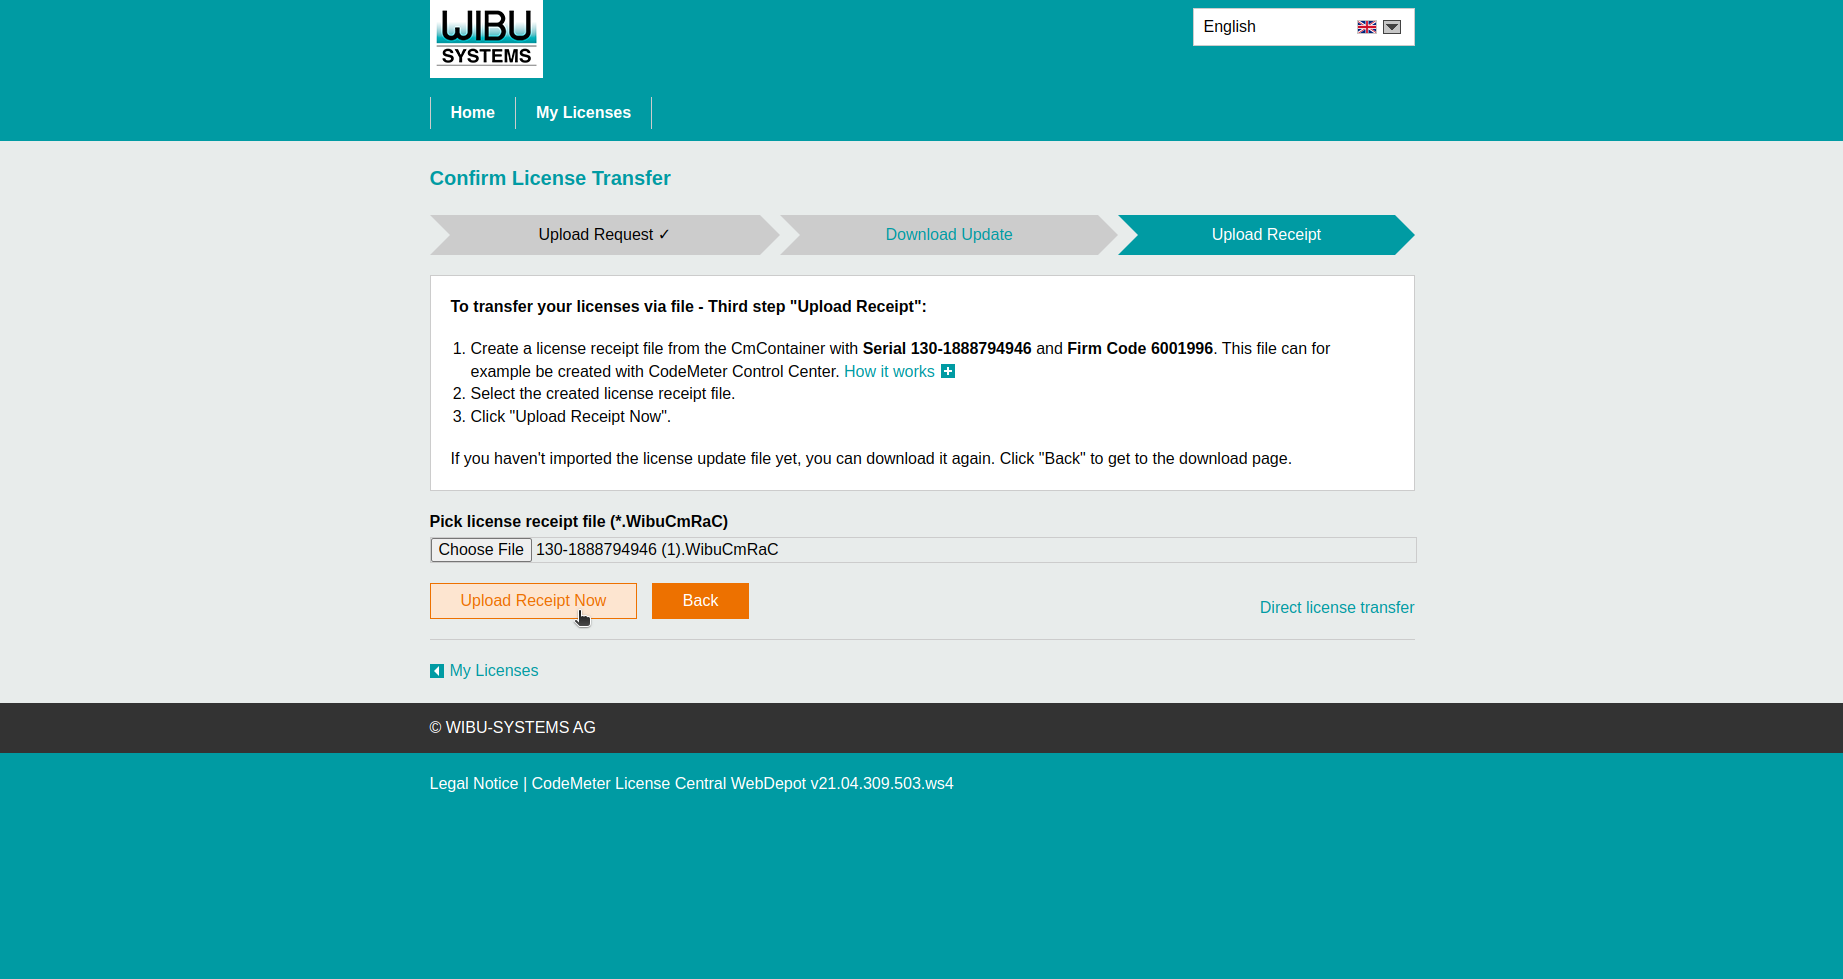
Click Choose File and select the receipt file (
WibuCmRaC), click Upload Receipt Now (Fig. 50).
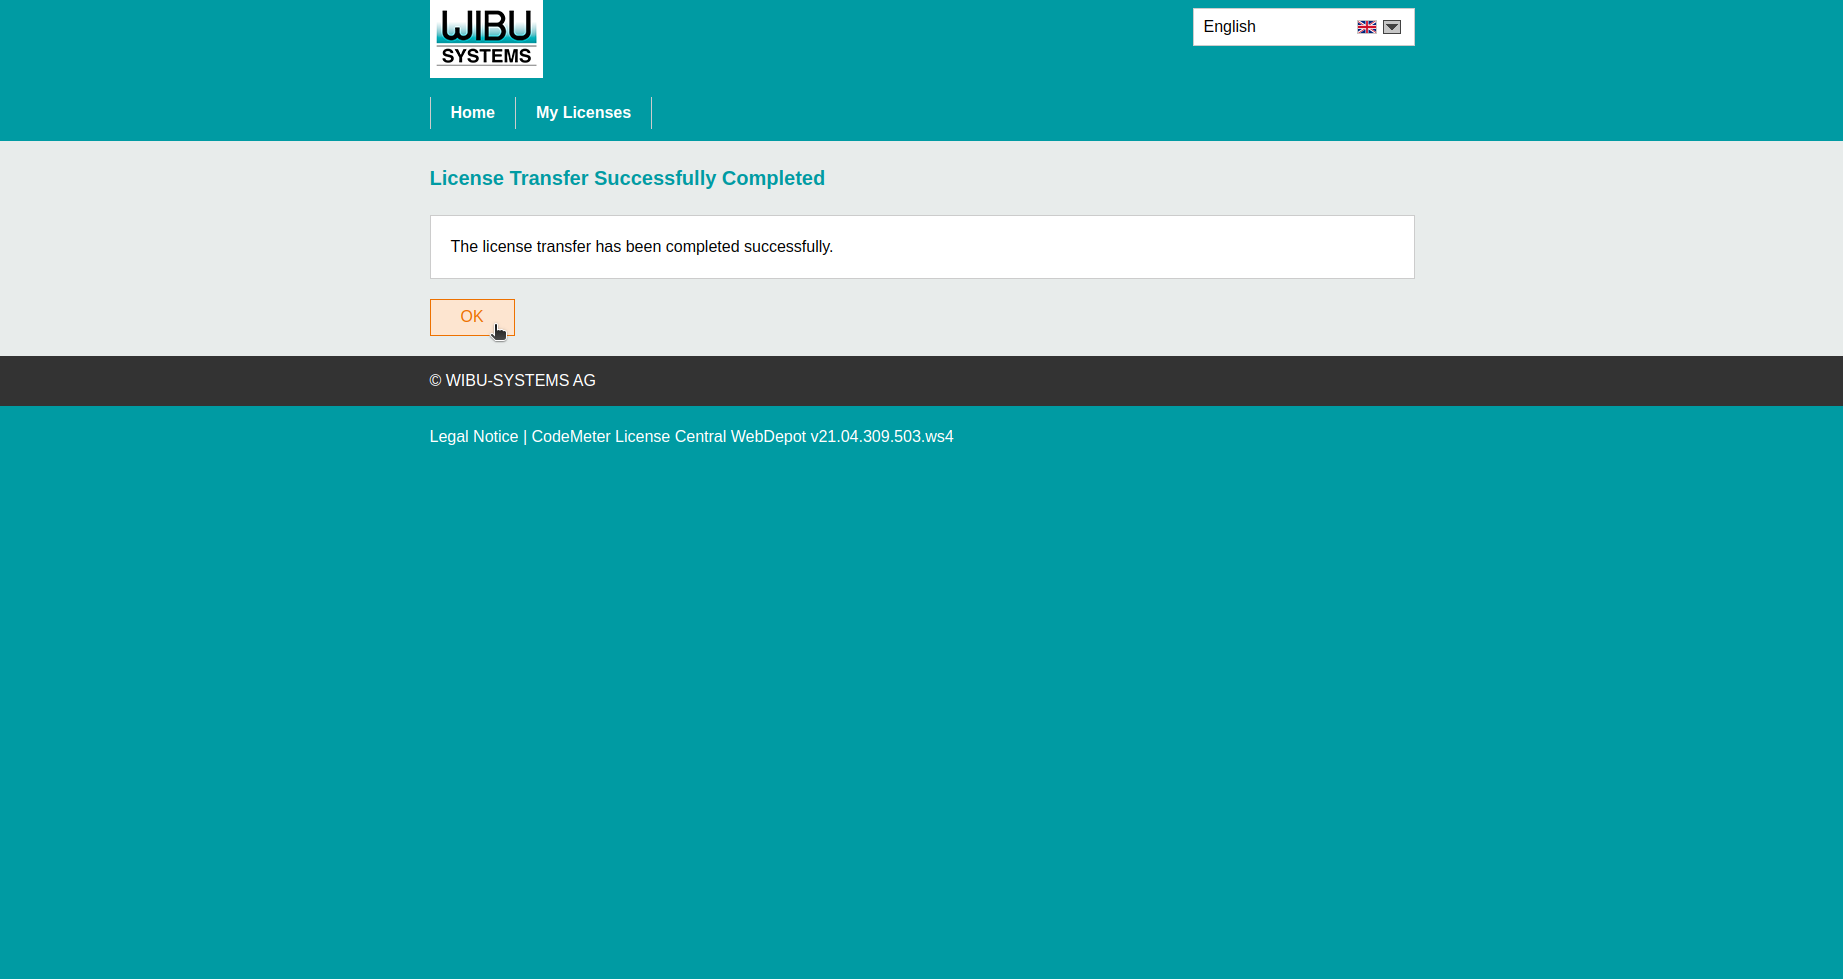
The license transfer has been completed successfully, click OK (Fig. 51).
In the voraus.operator click DONE (Fig. 52).
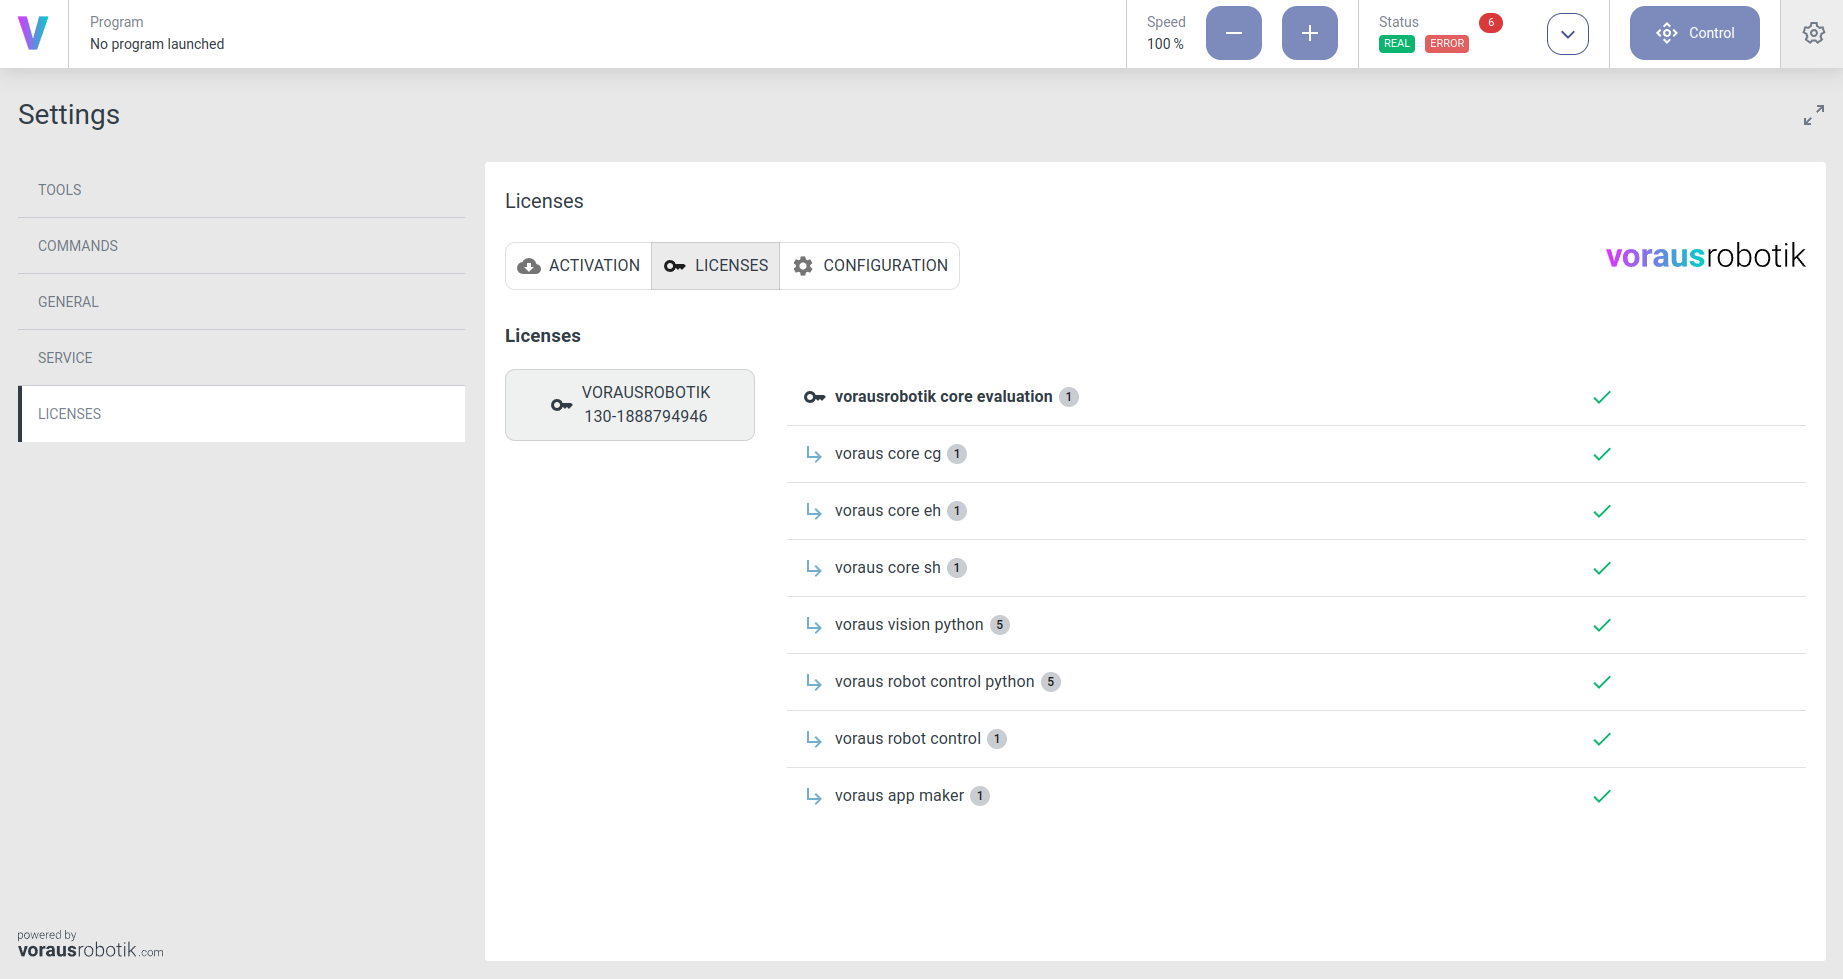
Click on LICENSES to verify the license activation (Fig. 53).
Restart the system by restarting the container or the system. The license is now activated, and the system states are valid.
Dongle License Activation
Requirements
A valid license key with the format
XXXXX-XXXXX-XXXXX-XXXXX-XXXXXA CodeMeter USB license dongle
A laptop or PC with internet connection
Note
If the USB license dongle has already been delivered with activated licenses, it only needs to be connected to the system. Restart the system after plugging in the USB dongle.
If you have received an empty USB license dongle or would like to activate additional licenses on an already used dongle, follow the steps below.
Instructions
Stop the system and bring it into a safe state.
Remove the USB license dongle from the system and connect it to a laptop or PC with an internet connection.
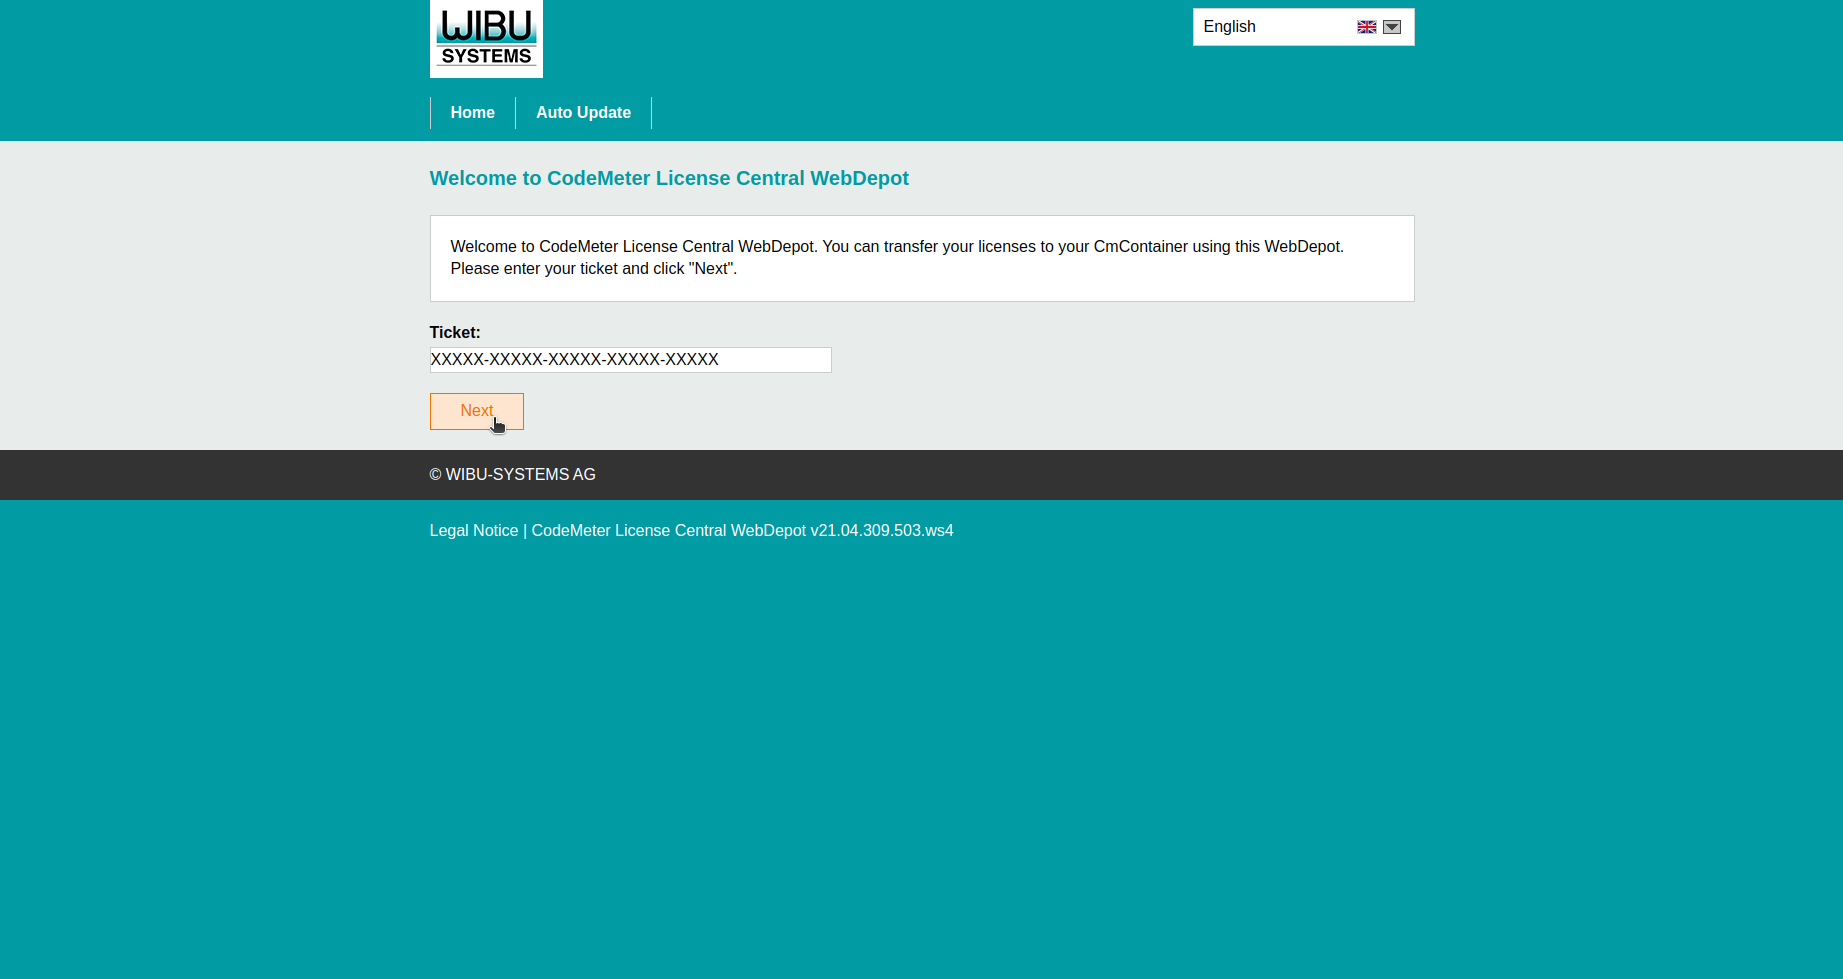
Open the Web Depot and enter the ticket ID (license key), click Next (Fig. 54).
The licenses in the ticket are shown, click Activate Licenses (Fig. 55).
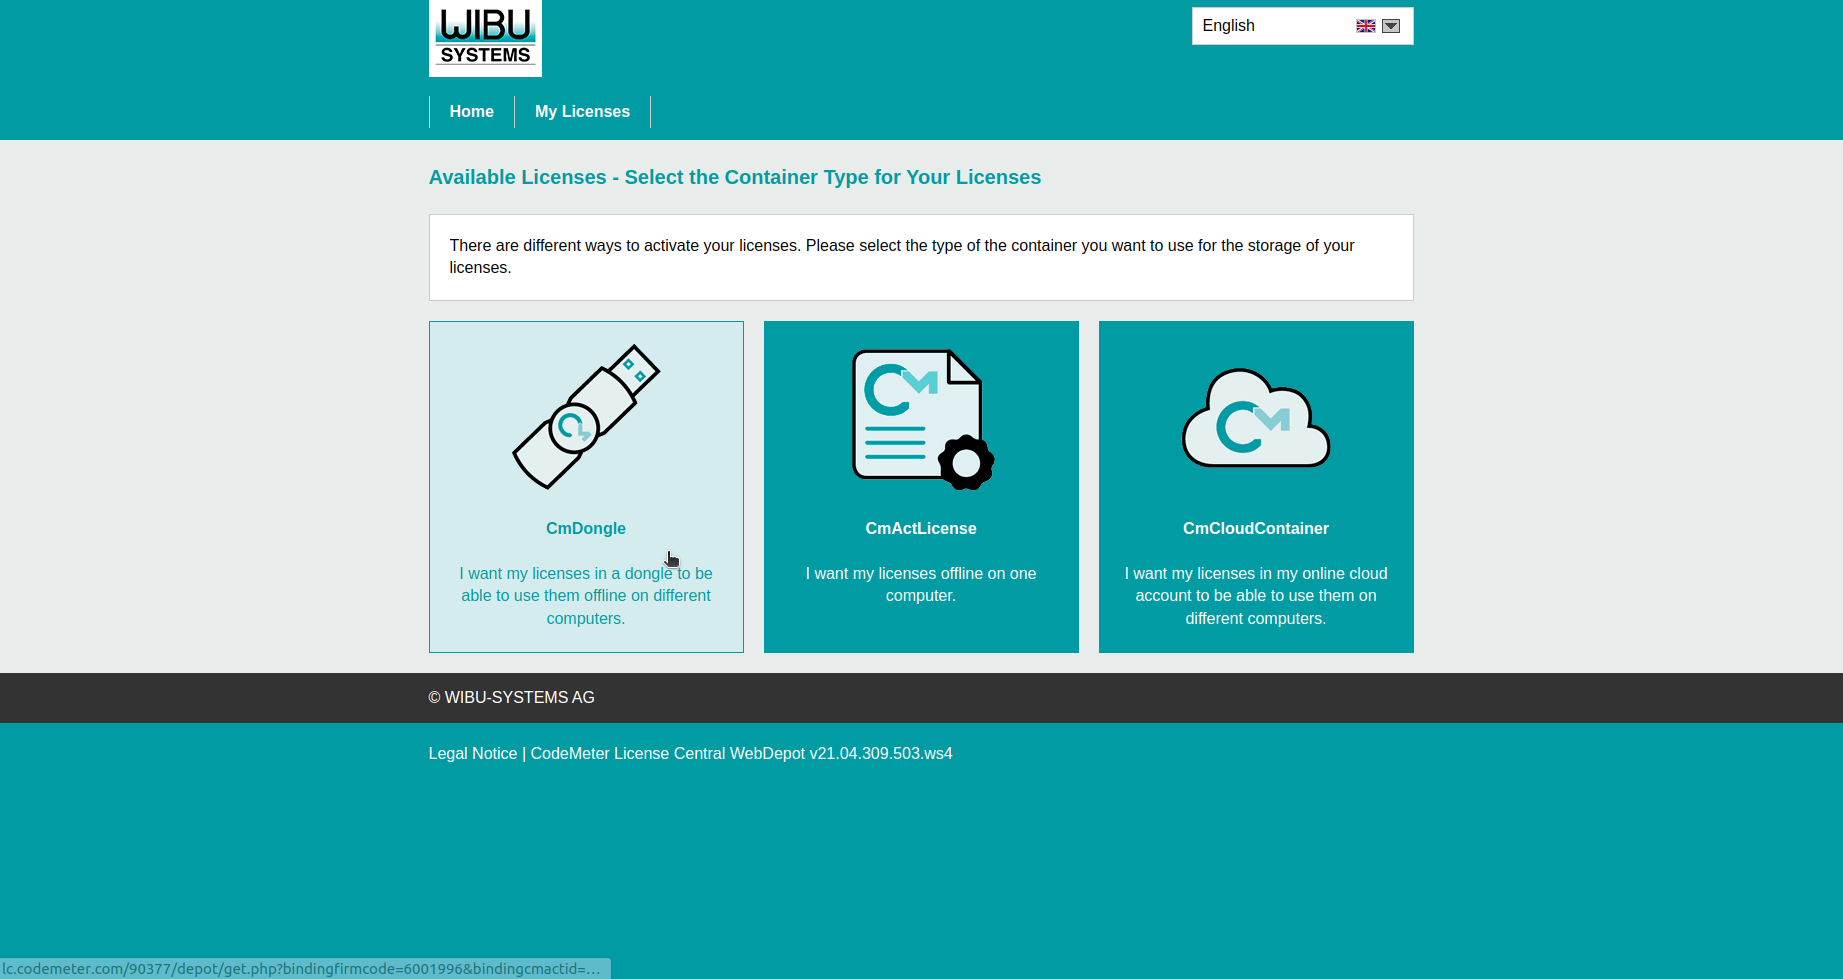
Click CmDongle (Fig. 56).
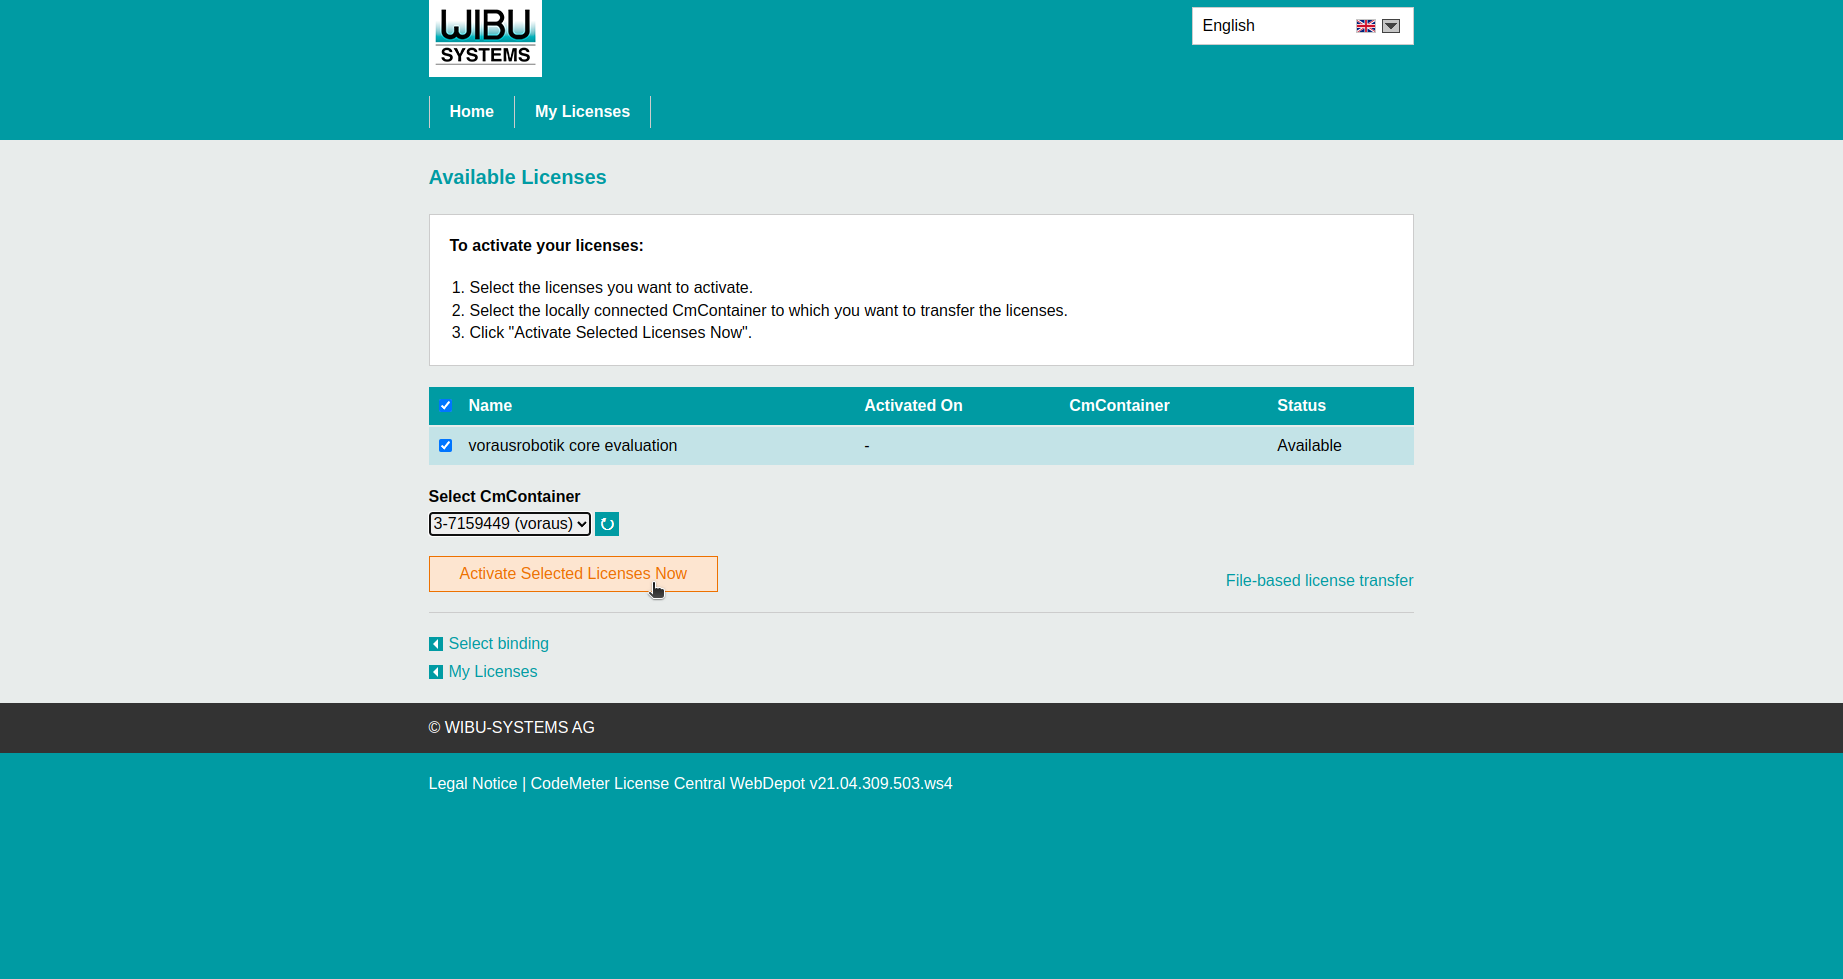
Select the USB Dongle serial number and click Activate Selected Licenses Now (Fig. 57).
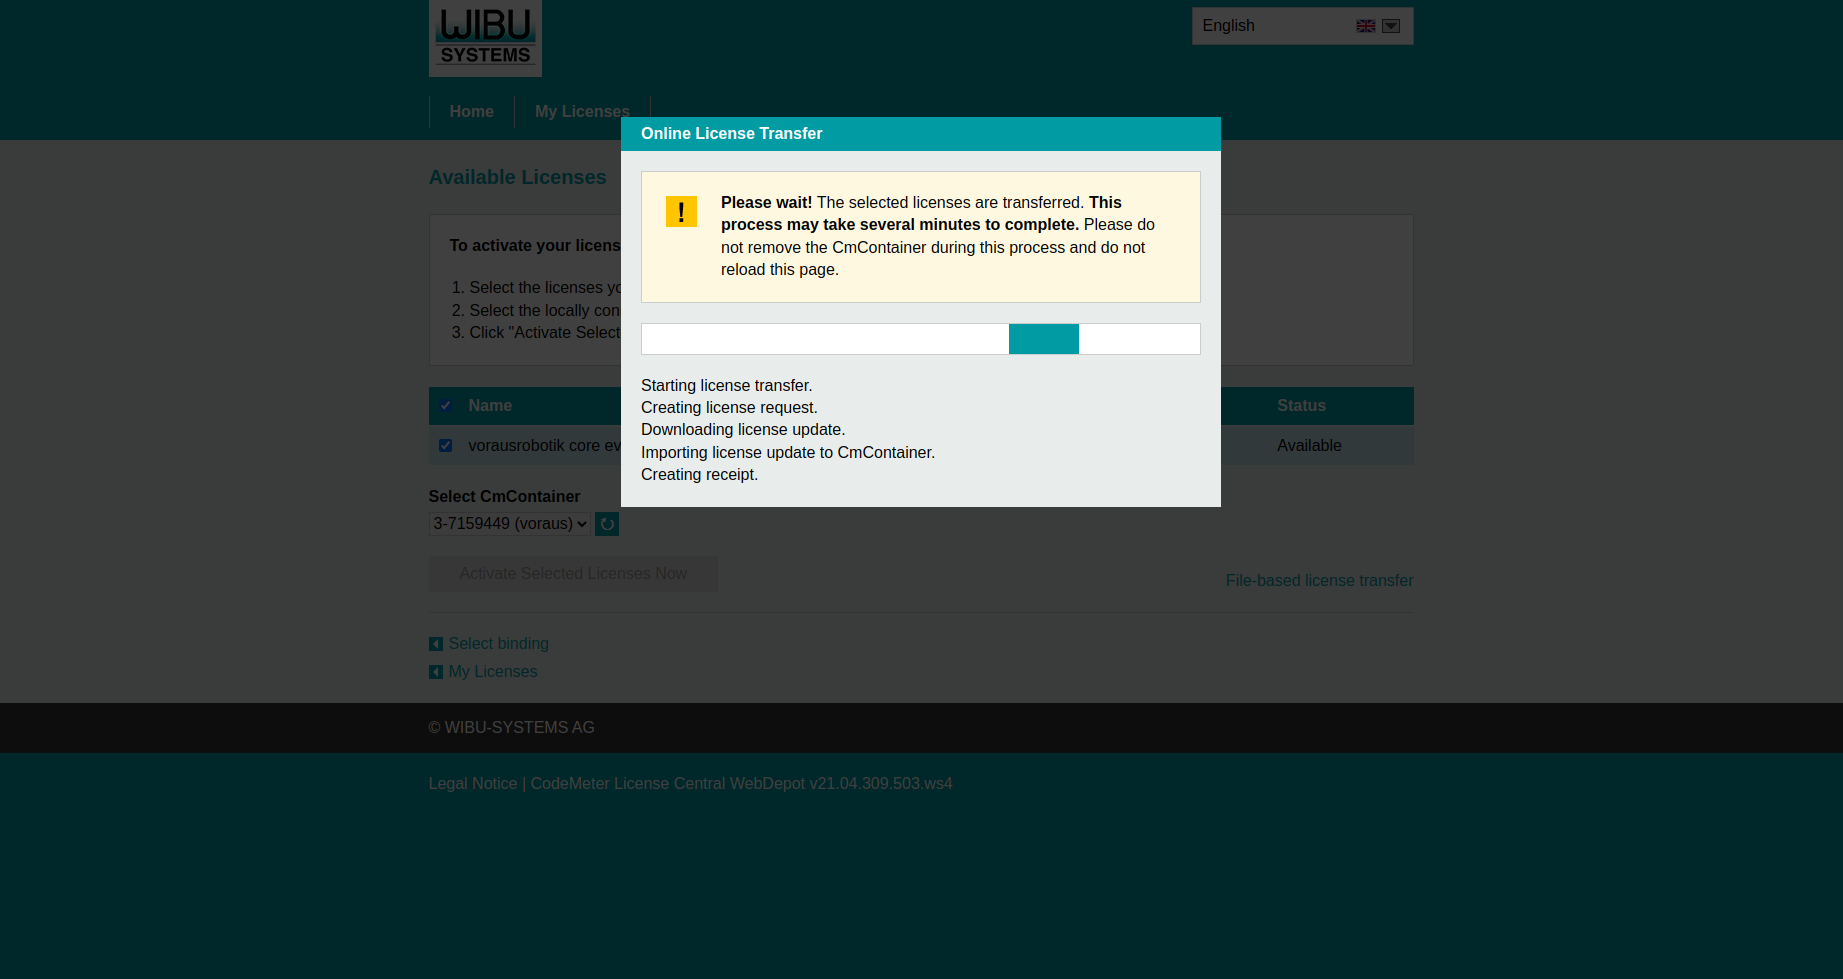
Wait until the license transfer has been completed (Fig. 58).
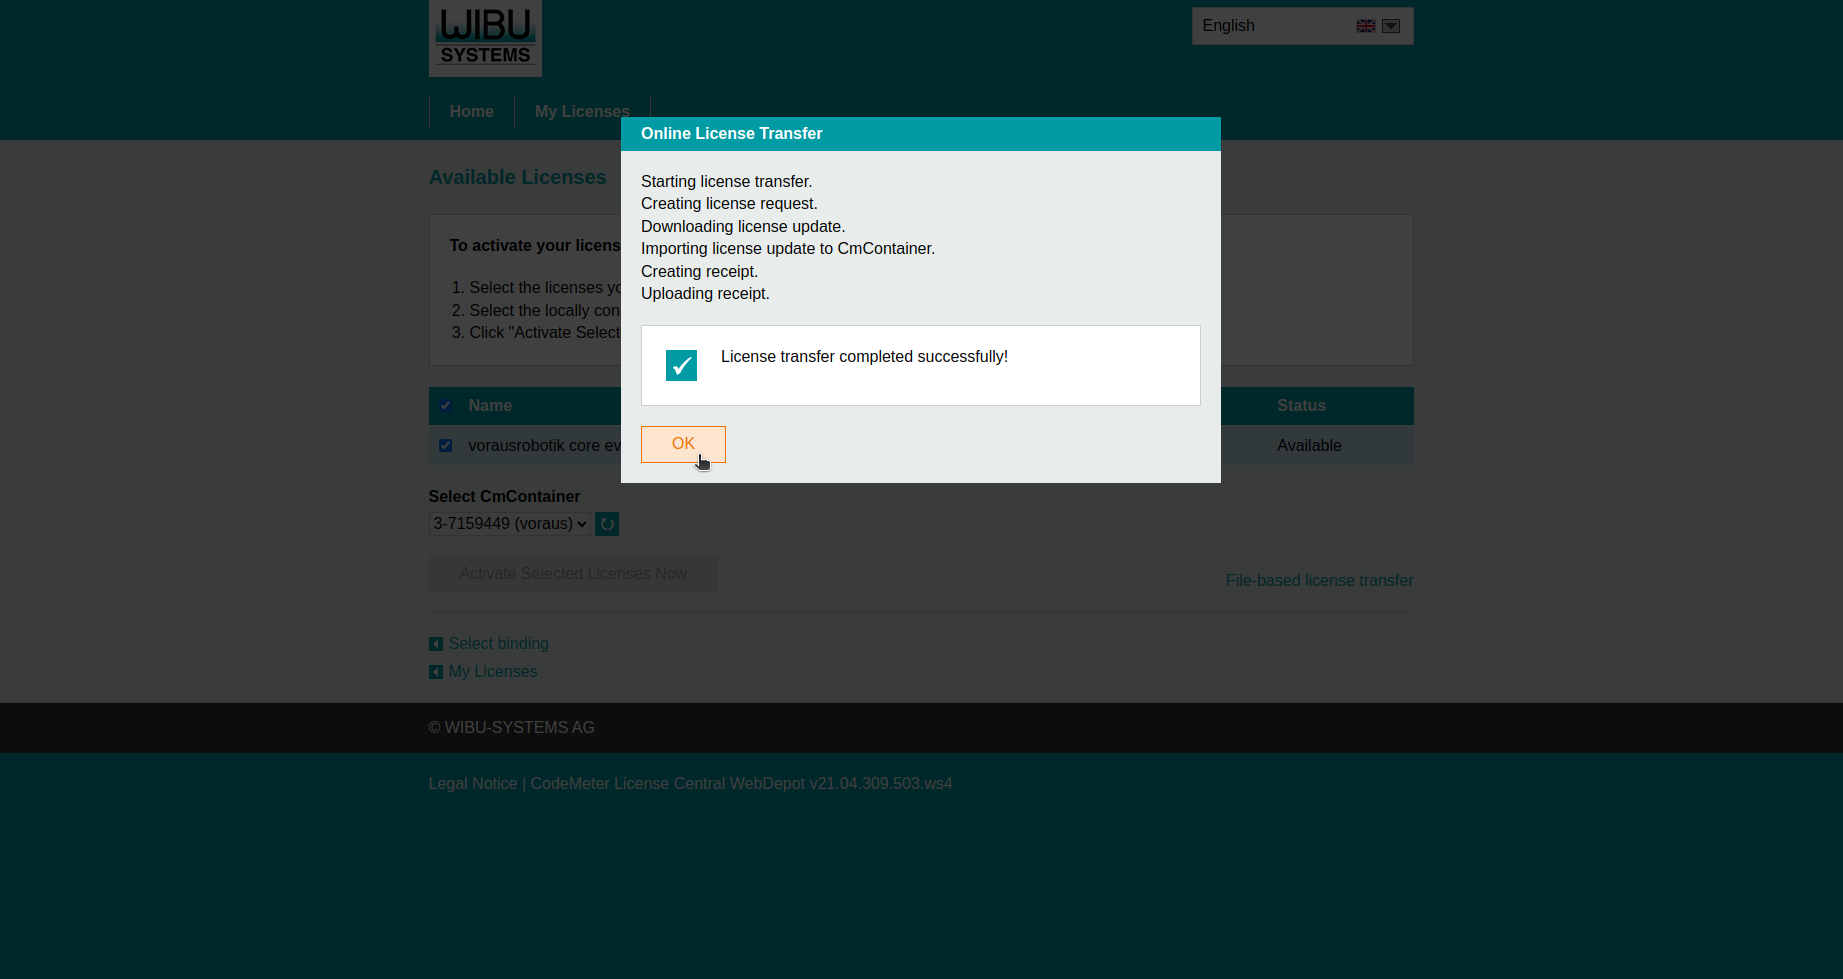
License transfer has been completed successfully, click OK (Fig. 59).
Reconnect the USB license dongle to the system.
Restart the vorausrobotik software or the system.
Note
If dongle activation is required but no CodeMeter dongle is part of the setup, please contact the voraus support.
2.4.4. License Overview
To view the active licenses complete the following steps:
Navigate to the Settings menu and click the LICENSES button in the left tab to open the license page.
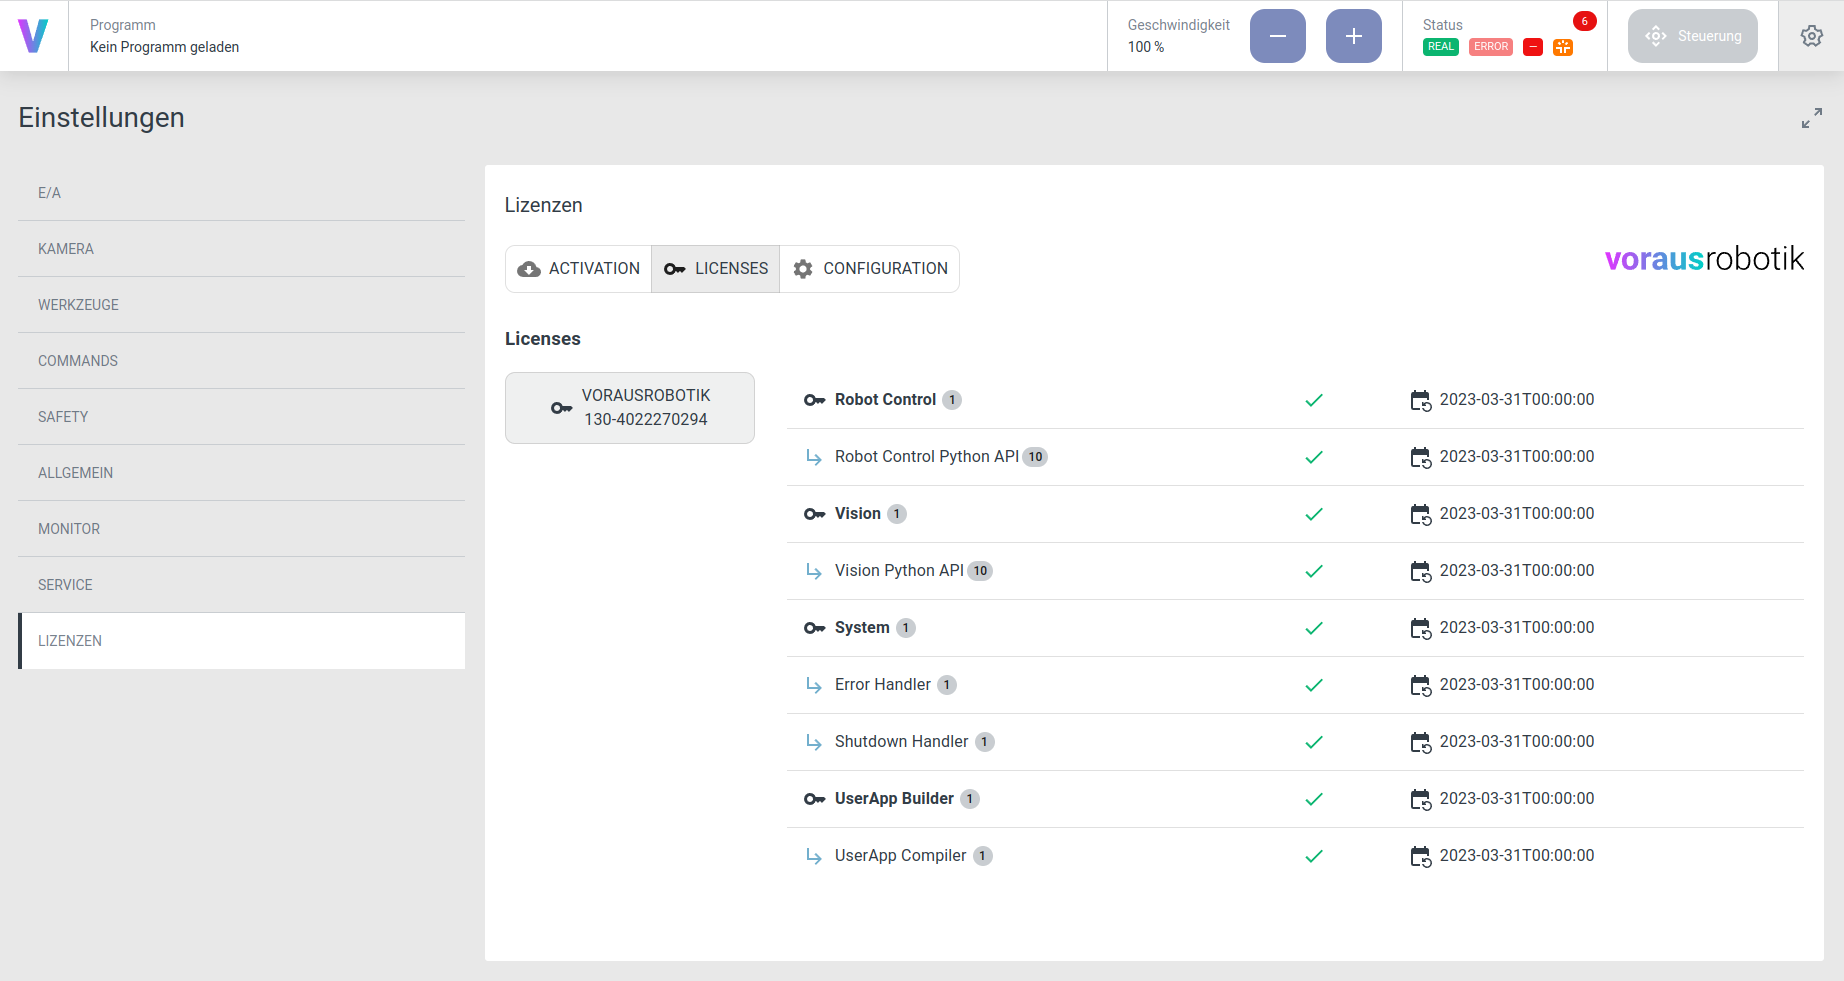
Click on LICENSES to the an overview of the active licenses (Fig. 60).
2.4.5. Logging
Download Log Files via voraus.operator
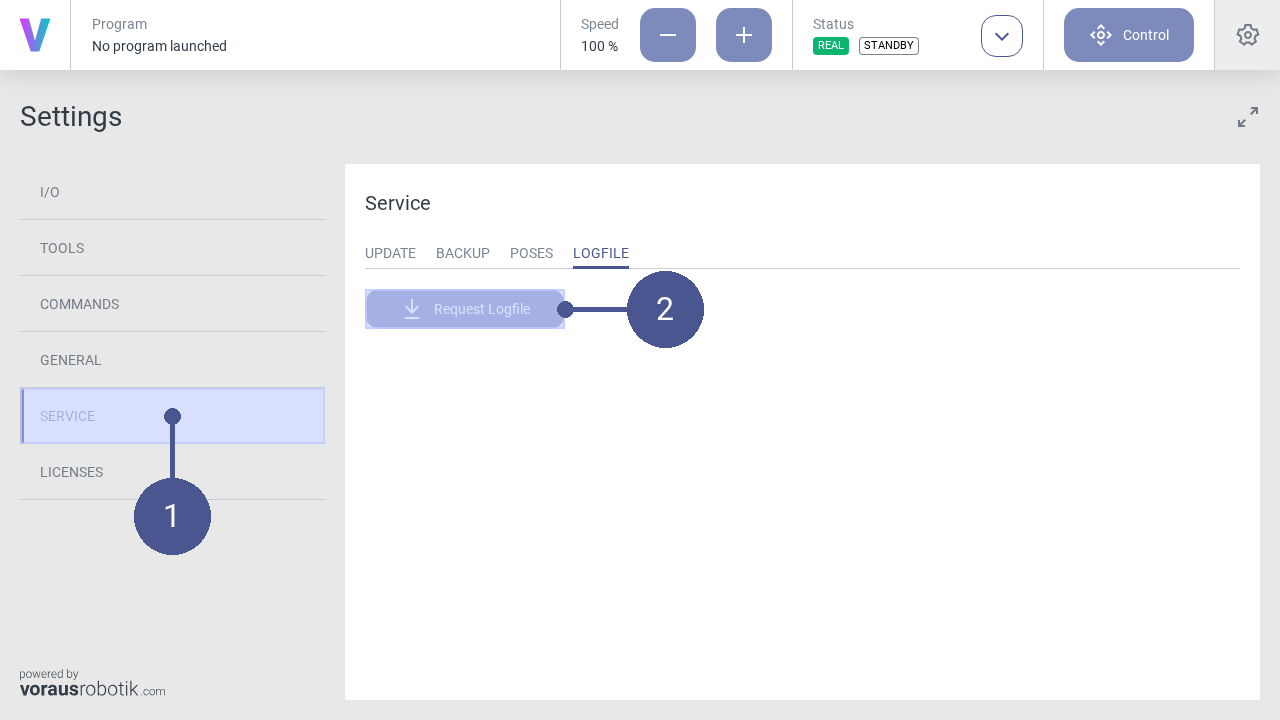
To obtain the current log files, open the Service tab in the settings (Fig. 61/➊) and click on the Request Logfile button (Fig. 61/➋).
The log file (ZIP format) will be downloaded.
Live Log View
If you have access to the advanced settings you can see the live logs of some components directly inside the
voraus.operator. Use the URL parameter ?advanced to enable the ADVANCED tab in the settings page and enter
the password to get to the advanced settings page. The logs can be found in the LOG tab and the component can be
selected via the dropdown menu (Fig. 62). If you do not have the password for this option, please contact
the voraus support.
.. note:
Not all components might be available for all robot types.
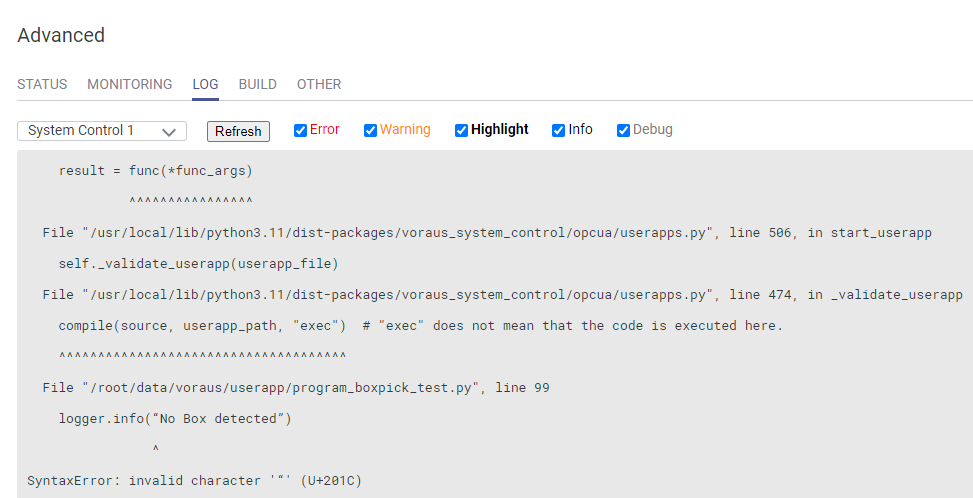
Fig. 62 Live logs of System Control to see the cause of a Python syntax error
Accessing the File System
Docker volumes are stored on the file system of the Docker host machine, so they can be directly accessed
by the host (assuming you have root rights on the Docker host).
On Linux, the content of Docker volumes is stored under /var/lib/docker/volumes/.
You should not modify anything here, as it can lead to unexpected behavior.
However, it can be useful for monitoring log messages, for example, this command will print all logs of the
component voraus-robot-control-py:
sudo tail -f /var/lib/docker/volumes/docker_voraus_log_volume/_data/voraus-robot-control.log