
Box Example
In this example, you will load, move and rotate the 3D model of a box in the 3D visualization.
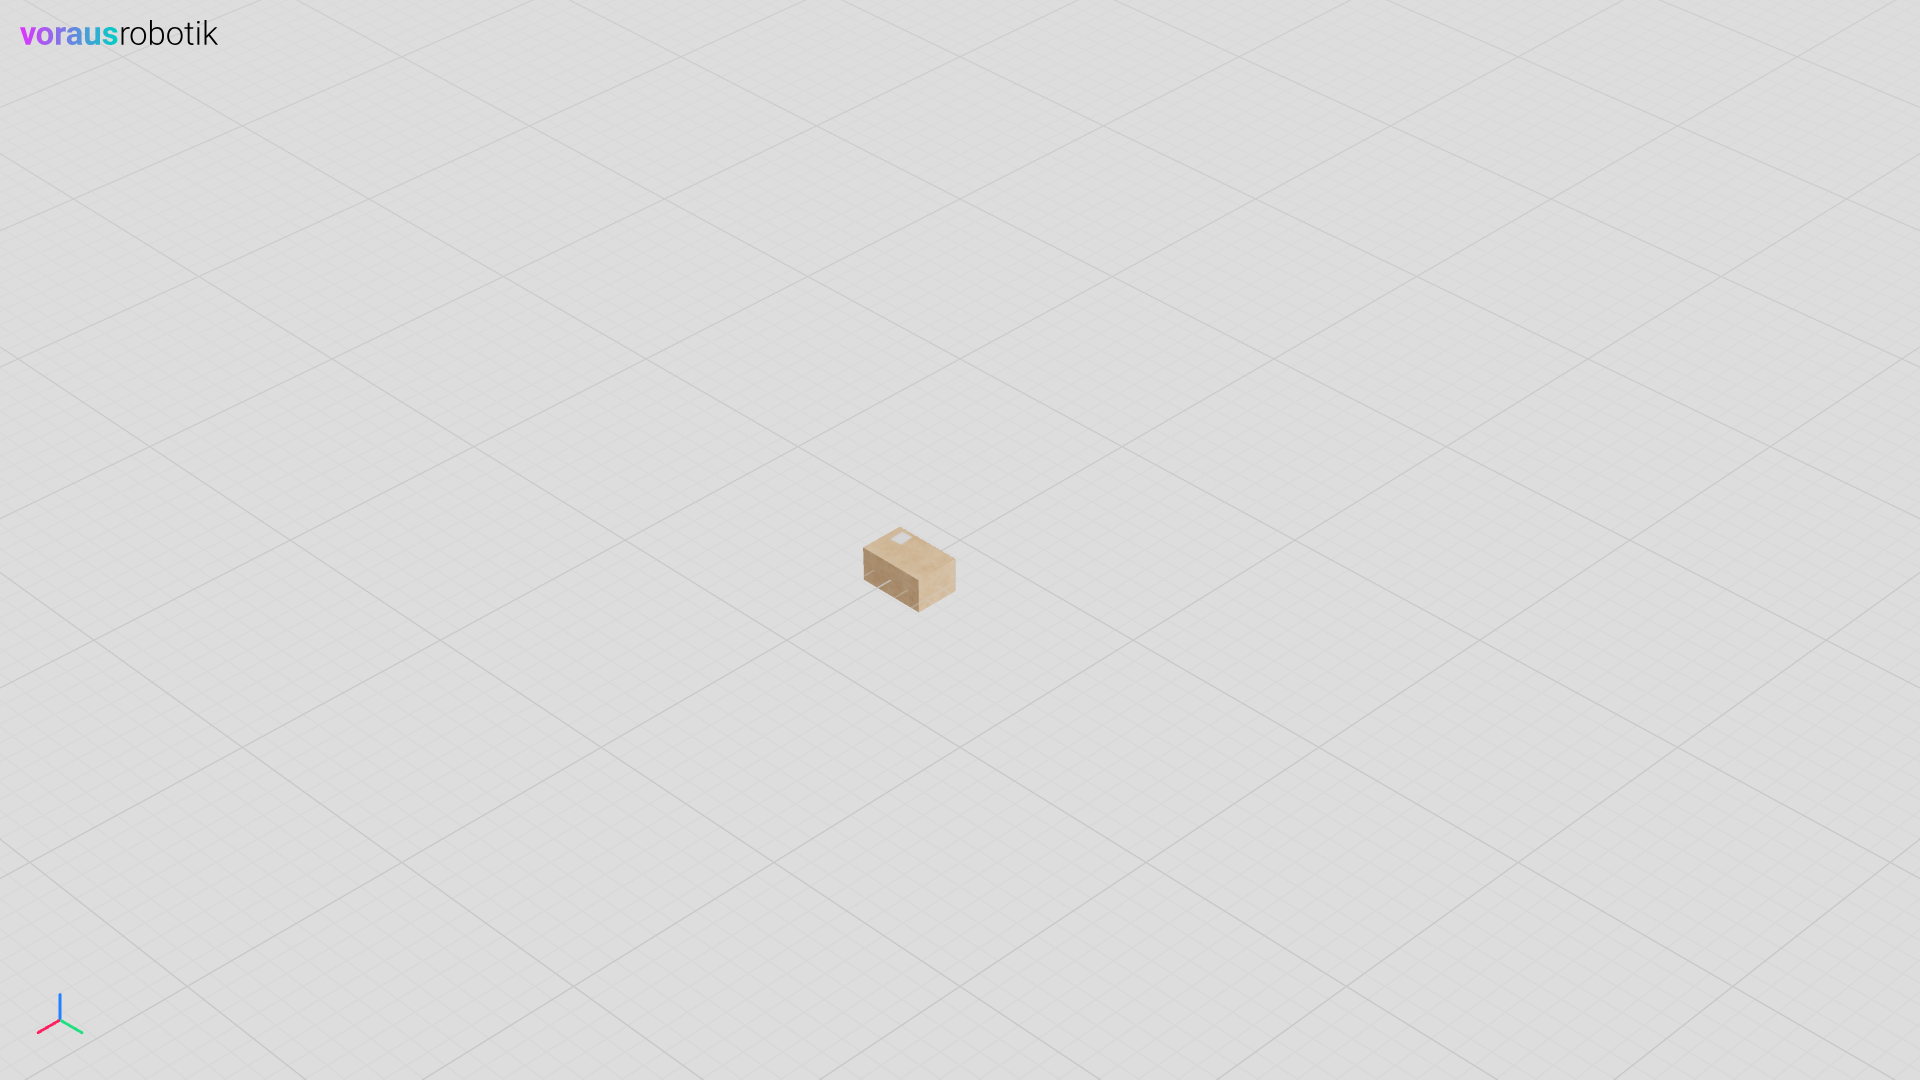
Fig. 3 The box in the 3D visualization as result of this example
Open the Example in VSCode
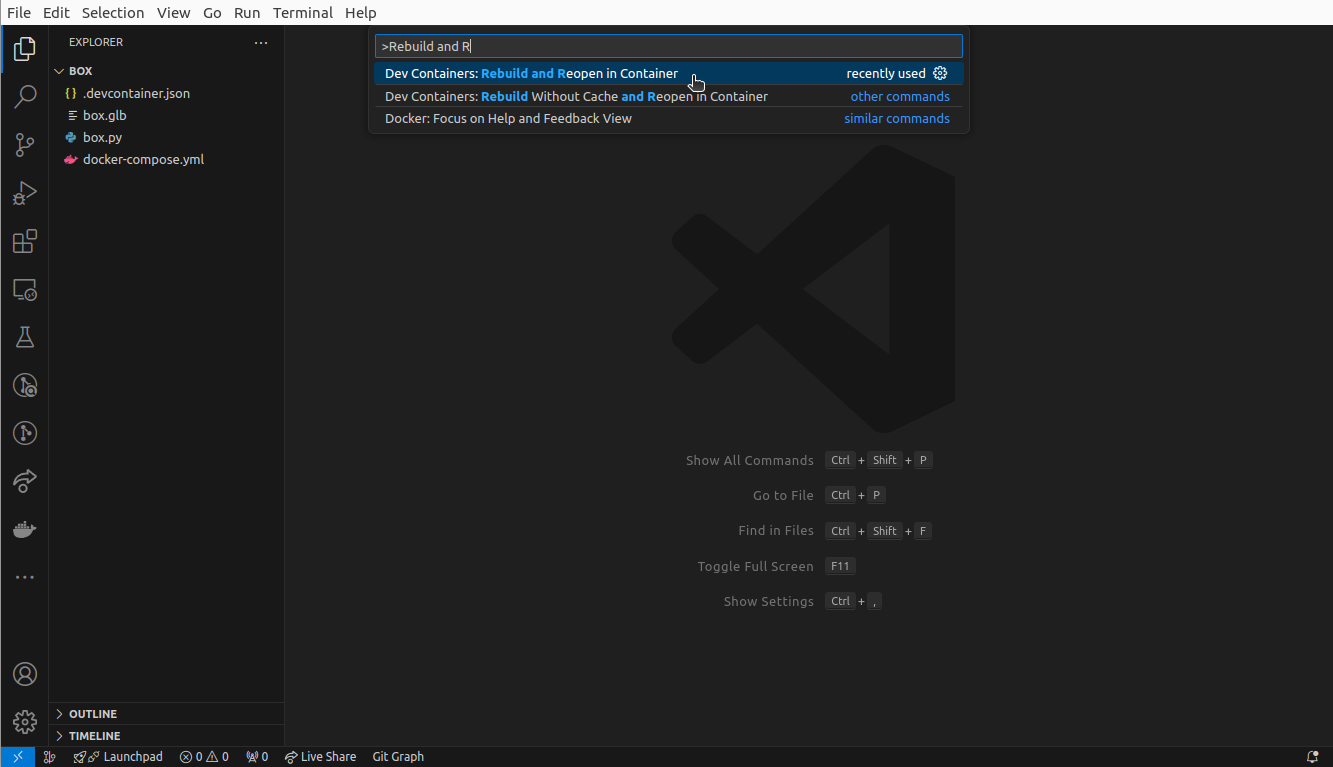
Open the folder /examples/box/ in VSCode, press ctrl + shift + p
and select Dev Containers: Rebuild and Reopen in Container as shown in the figure below.
It takes a moment for the dev container to be started.
Open localhost:8077 in your web browser to display the 3D visualization as shown below.
Load a Model of the Box
The Python file box.py loads the 3D model of the box into the 3D visualization.
"""Example for visualizing a box."""

from pathlib import Path

from voraus_3d_visu import Visu

visu = Visu("http://voraus-3d-visu/", clear_all=True)
model = Path(__file__).parent / "box.glb"


if __name__ == "__main__":
    with visu.connection():
        box = visu.add_model(model, position=[0, 0, 0])
Open a terminal in VSCode and start the box.py Python script with the following command.
python box.py
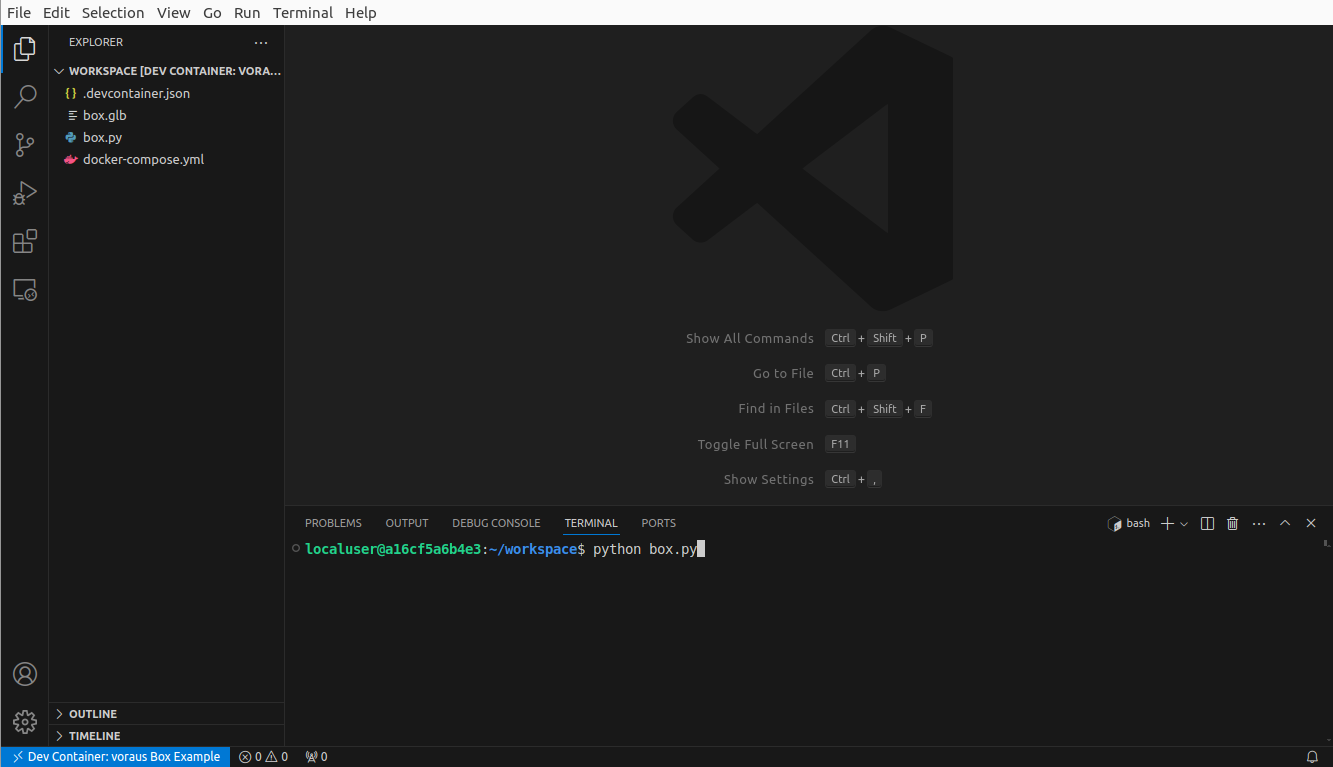
Fig. 6 Running the box example Python script inside the dev container
The box will appear in the 3D visualization in the web browser as shown in the image below.
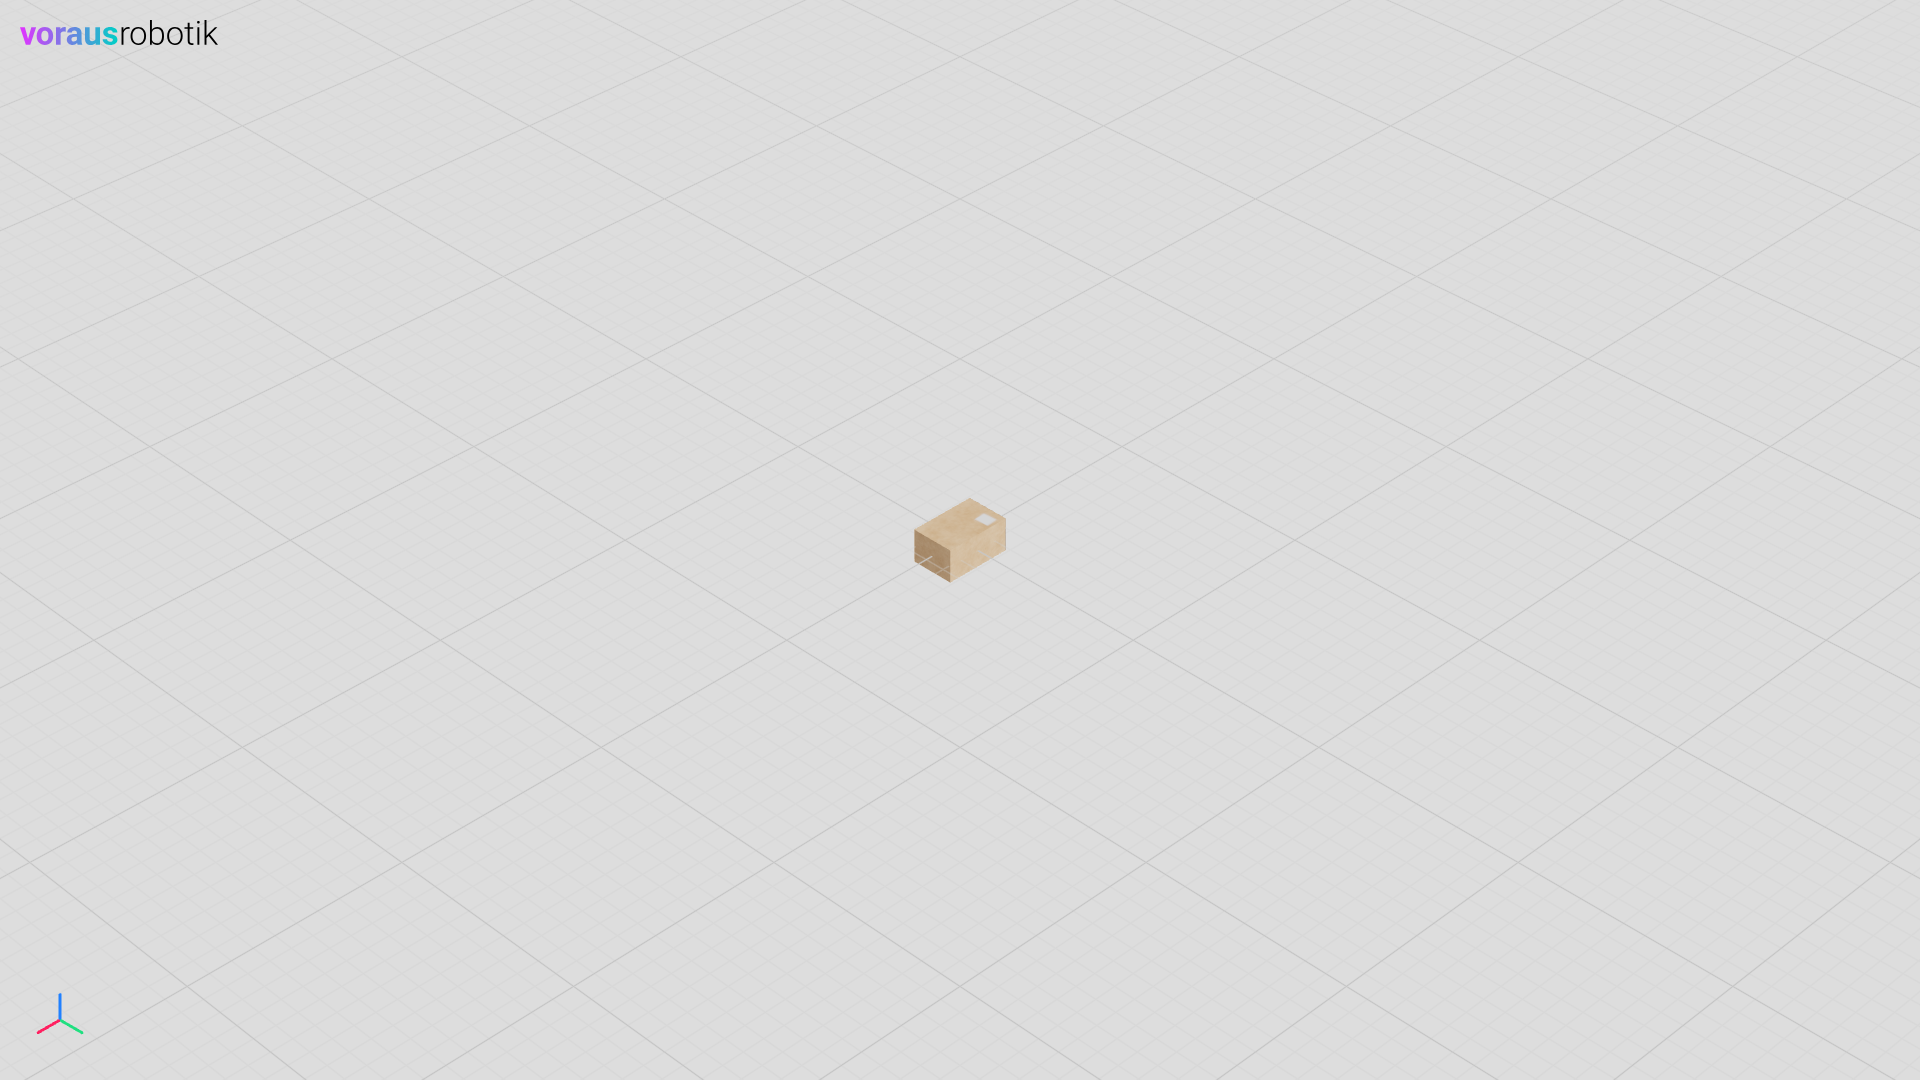
Fig. 7 The loaded box in the 3D visualization in the web browser
Rotate and move the Box
After the box has been loaded, the Python script box.py waits until you press enter.
        input("Press enter to move and rotate the box.")
        visu.update(
            box.position.x(0.3),
            box.rotation.z(1.57),
        )
After you have pressed enter, the box is moved in the x direction and rotated around the z axis. The result is shown in the image below.
Fig. 8 The moved and rotated box in the 3D visualization in the web browser
After the box has been moved and rotated, the Python script box.py waits until you press enter.
        input("Press enter to make the box invisible.")
        visu.update(box.visible(False))
After you have pressed enter, the box will disappear from the 3D visualization.
Fig. 9 The invisible box in the 3D visualization in the web browser
After the box has disappeared, the Python script box.py waits until you press enter.
        input("Press enter to make the box visible.")
        visu.update(box.visible(True))
After you have pressed enter, the box will reappear in the 3D visualization.
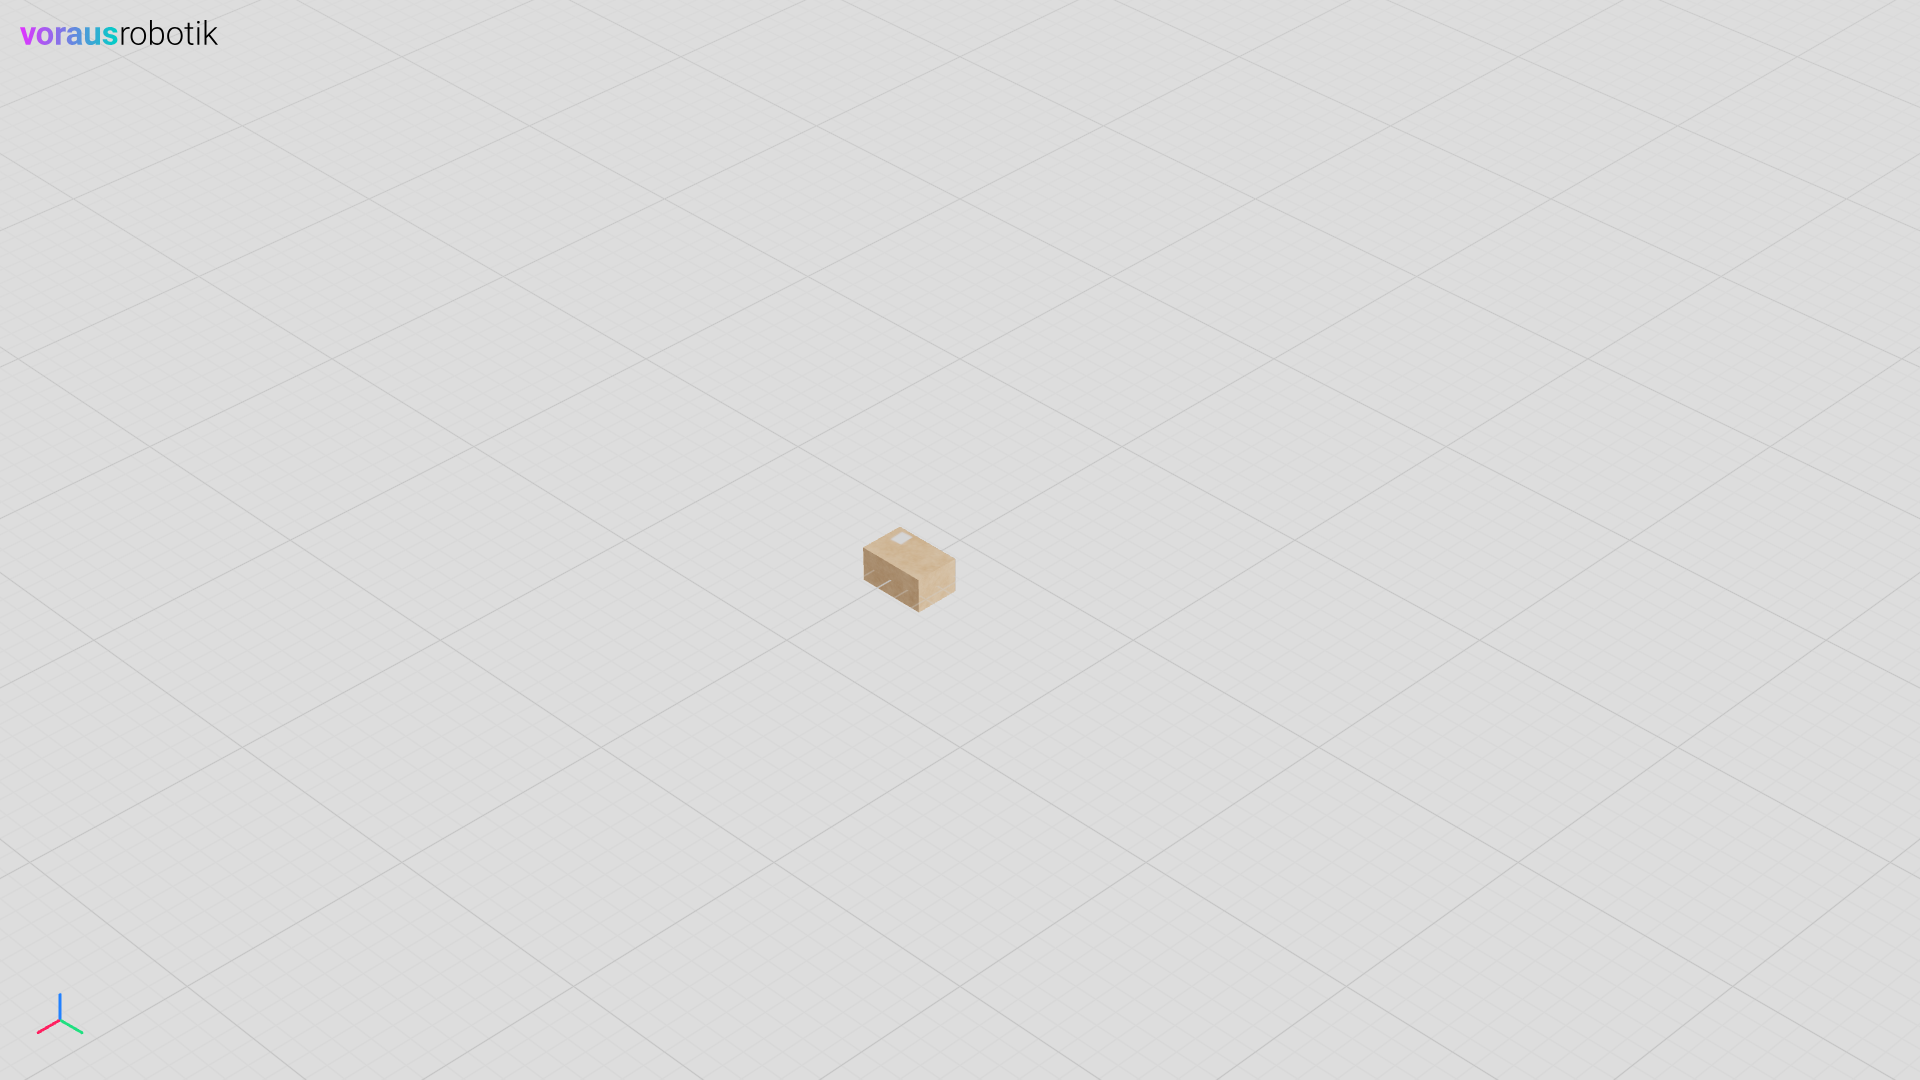
Fig. 10 The visible box in the 3D visualization in the web browser
After the box has reappeared, the Python script box.py waits until you press enter.
        input("Press enter to add axes helpers and parent them to the box.")
        axes_object = visu.add_axes(position=[0.3, 0, 0], rotation=[0, 0, 1.57], scale=[0.5, 0.5, 0.5])
        visu.update(axes_object.parent(box))
After you have pressed enter, axes helper will be added to the 3D visualization as a child of the box.
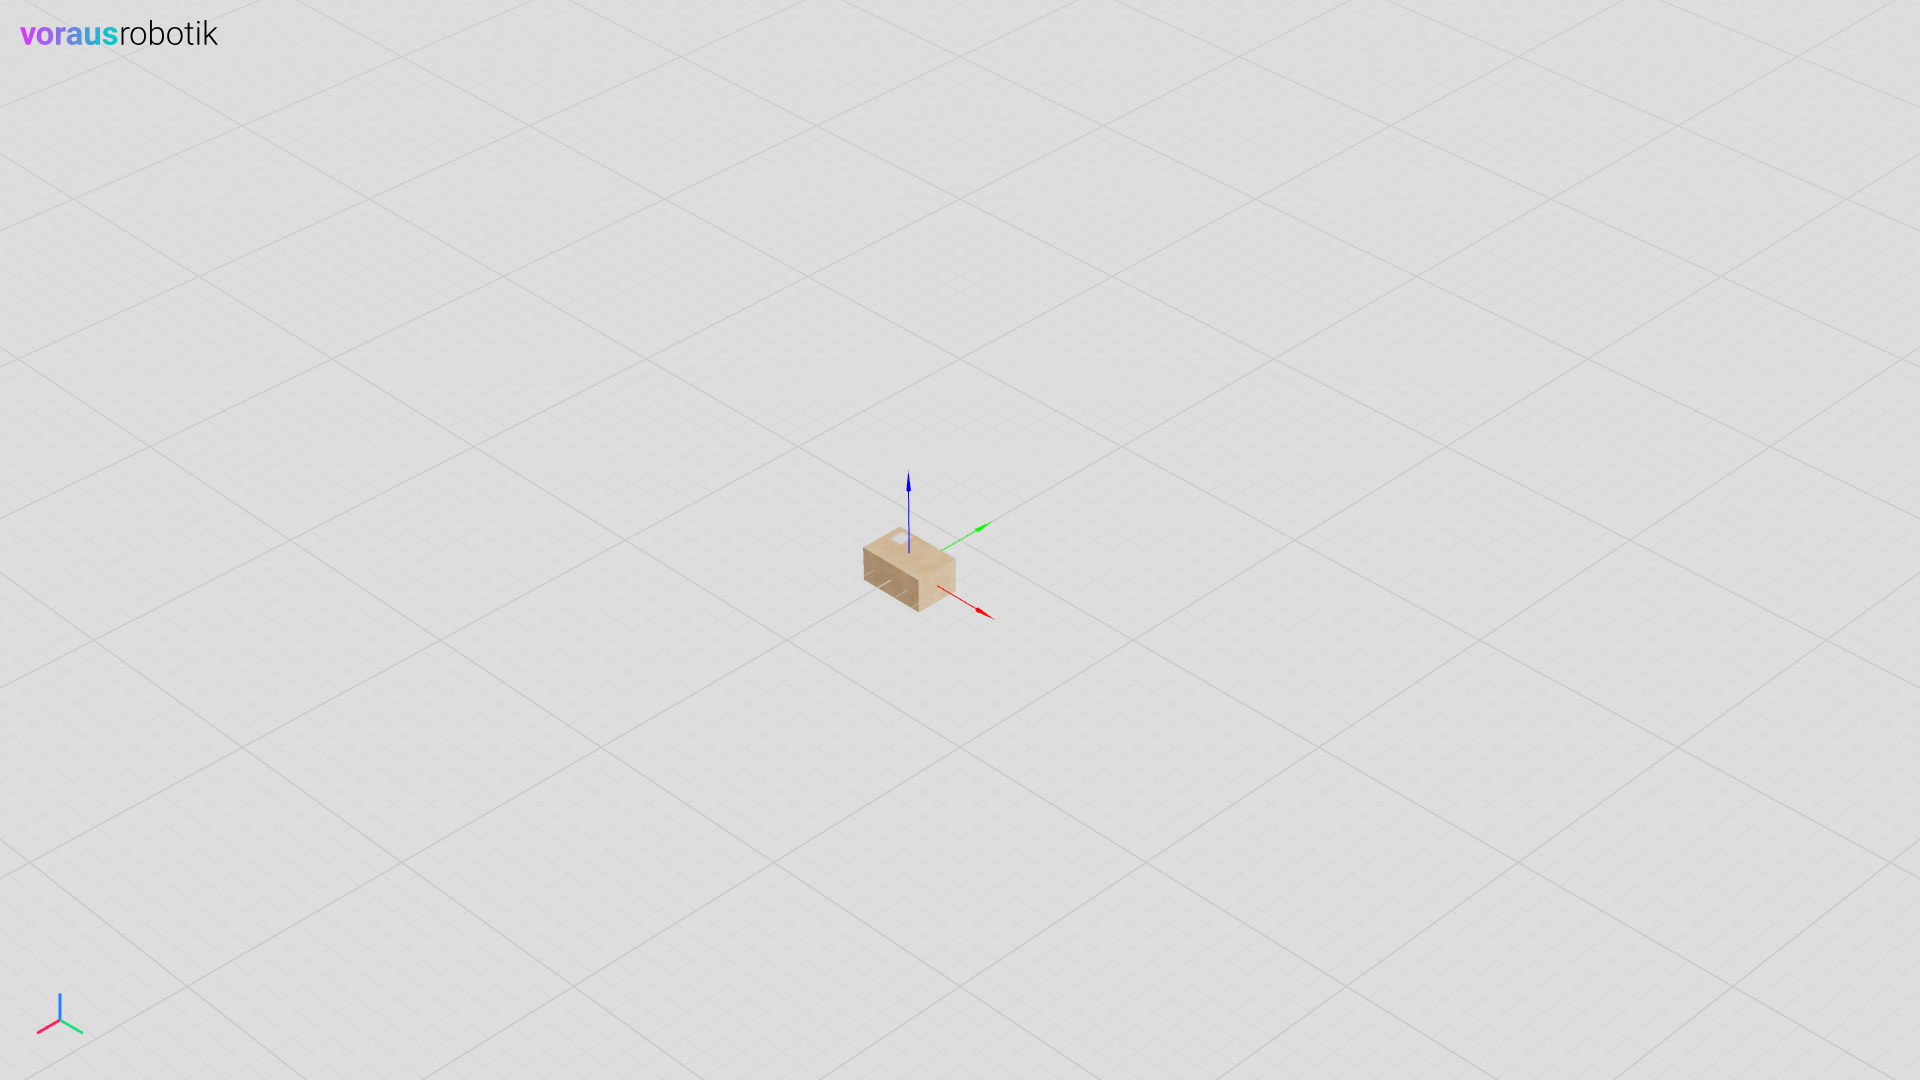
After the axes helper has been added, the Python script box.py waits until you press enter.
        input("Press enter to add another invisible box.")
        box2 = visu.add_model(model, position=[1, 0, 0], visible=False)
After you have pressed enter, a second invisible box will be added to the 3D visualization.
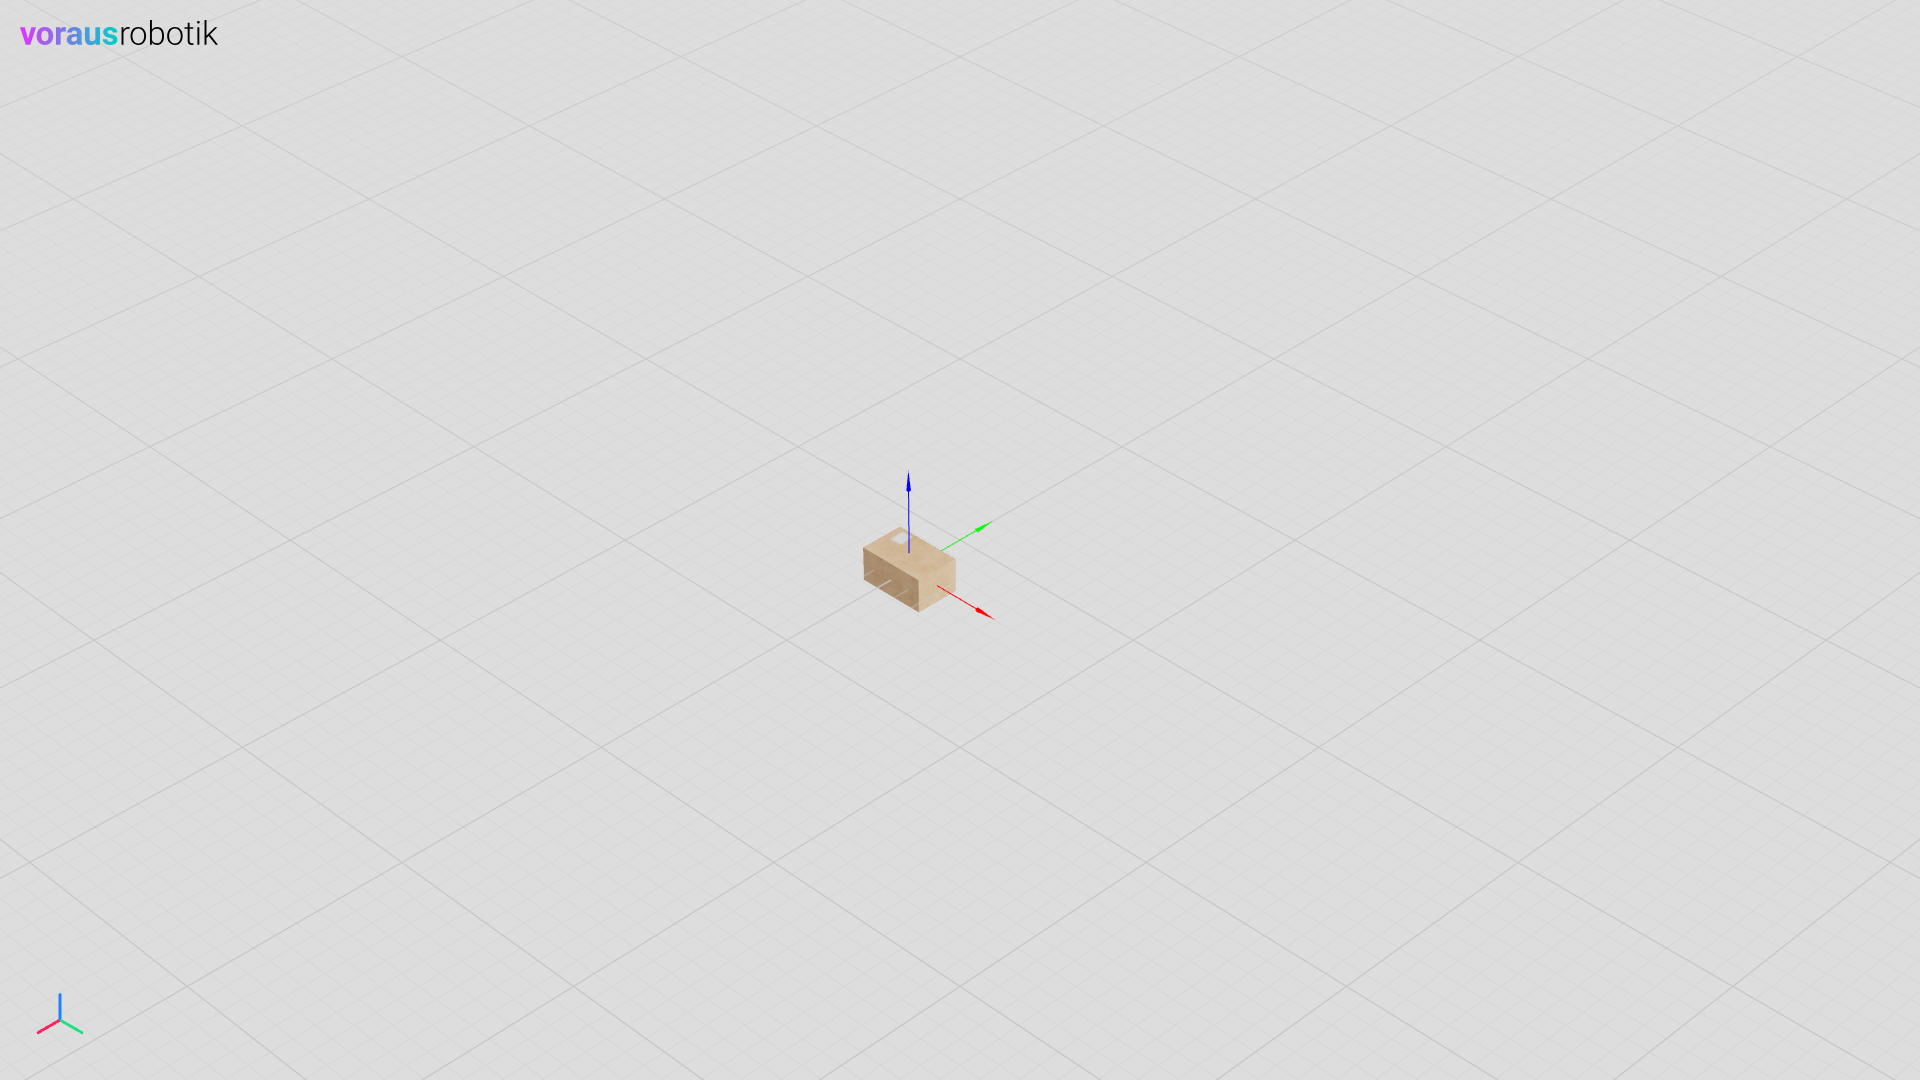
Fig. 12 The second box which is invisible in the 3D visualization
After the second invisible box has been added, the Python script waits until you press enter.
        input("Press enter to make the second box visible.")
        visu.update(box2.visible(True))

        input("Press enter to add a text panel")
        text_panel = visu.add_text_panel(text="Position [-1, 0, 0]", position=[-1, 0, 0])

        input("Press enter to reference the text panel to the box")
        visu.update(text_panel.parent(box), text_panel.position.xyz(0, 0, 0), text_panel.text("Box"))

        input("Press enter to hide the text panel")
        visu.update(text_panel.visible(False))
After you have pressed enter, the second box will appear in the 3D visualization.
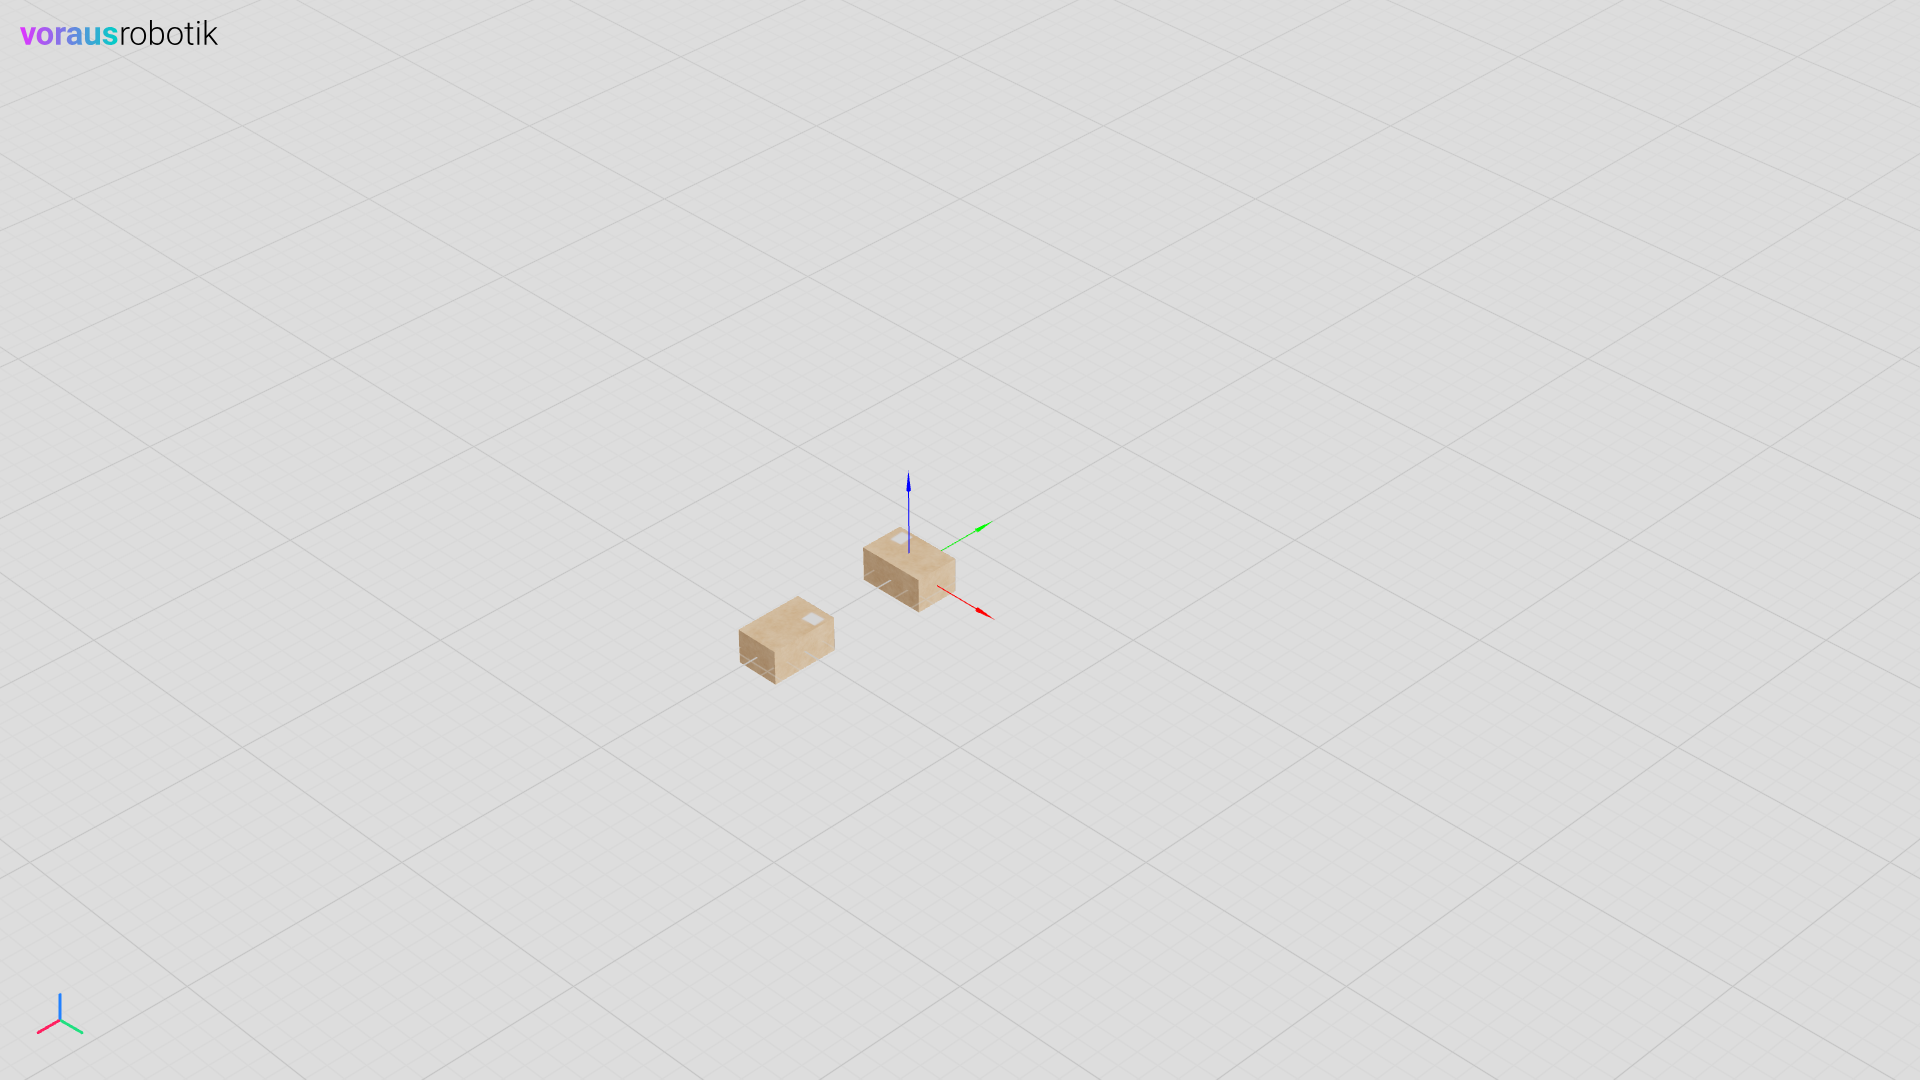
Fig. 13 The second visible box in the 3D visualization in the web browser
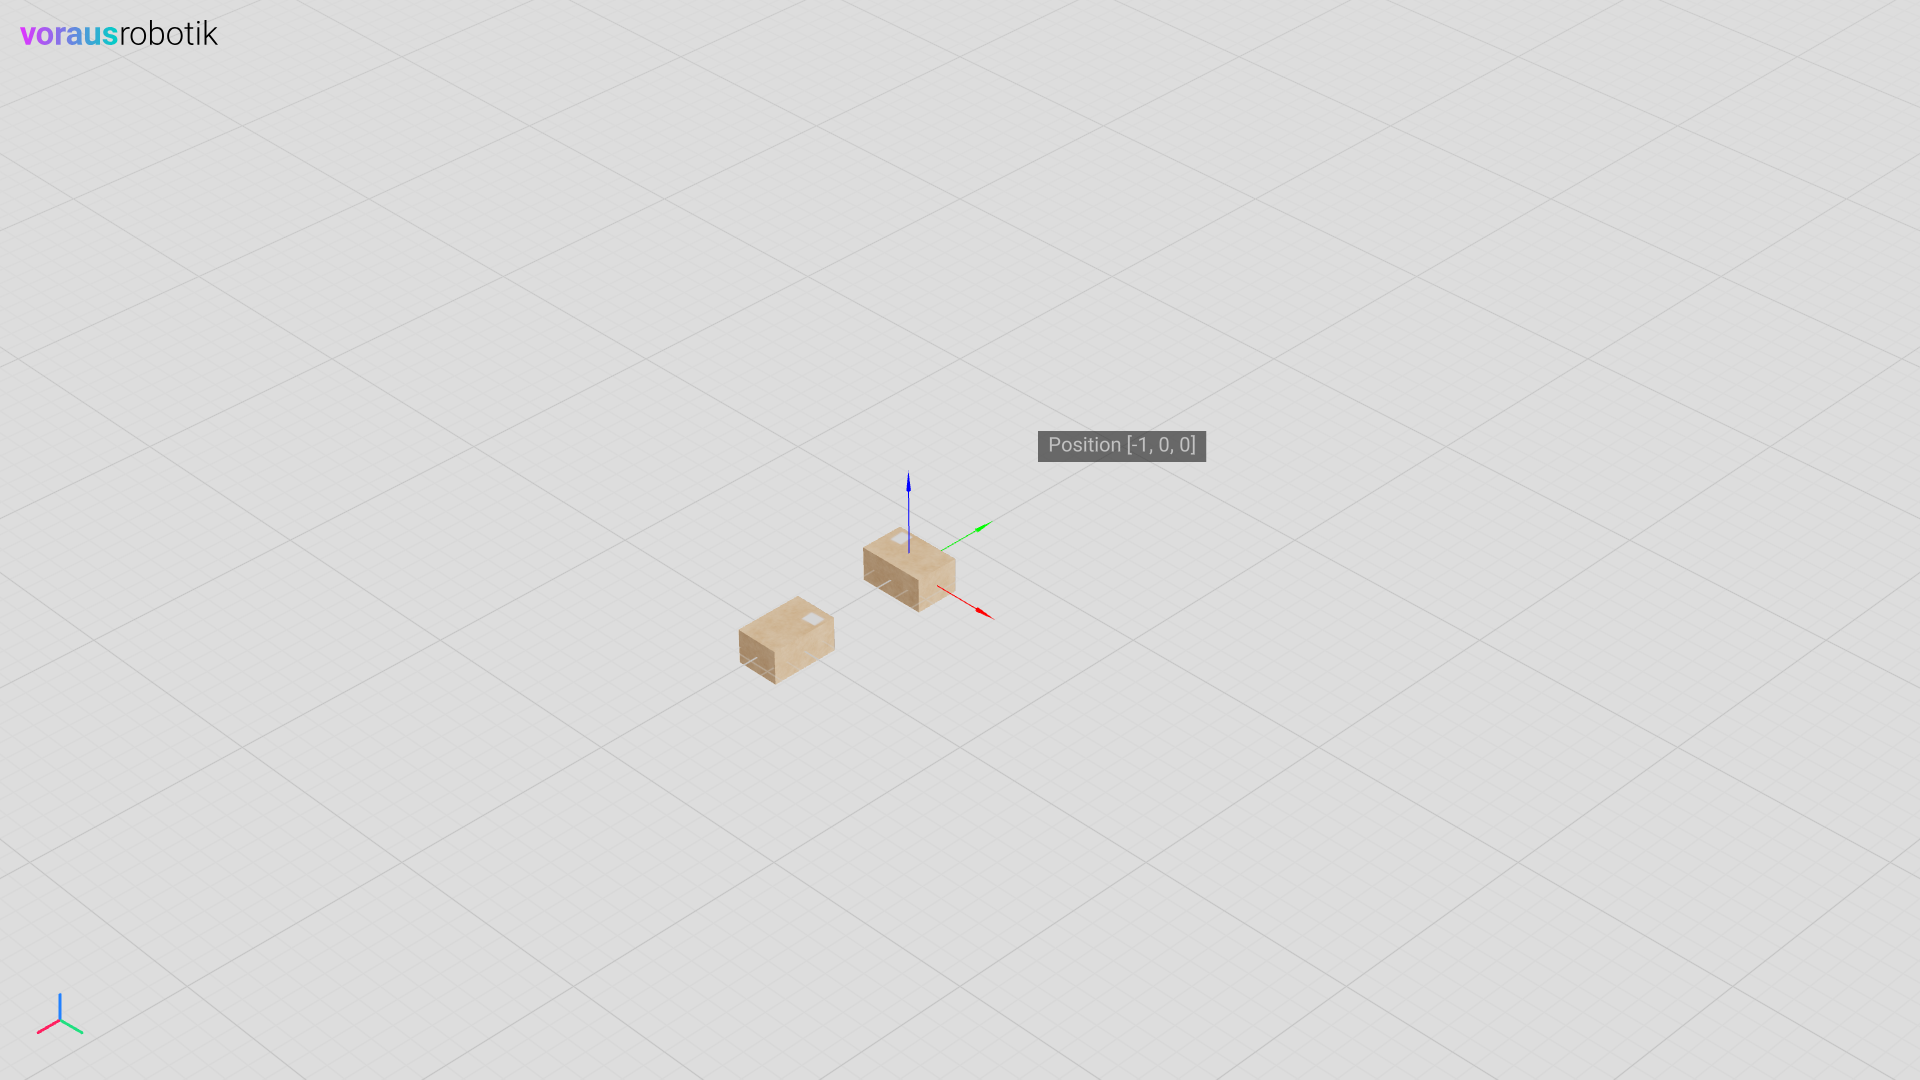
Fig. 14 The text panel in the 3D visualization in the web browser
After you have pressed enter, a text label with the text “Position [-1, 0, 0]” is displayed at the specific pose.
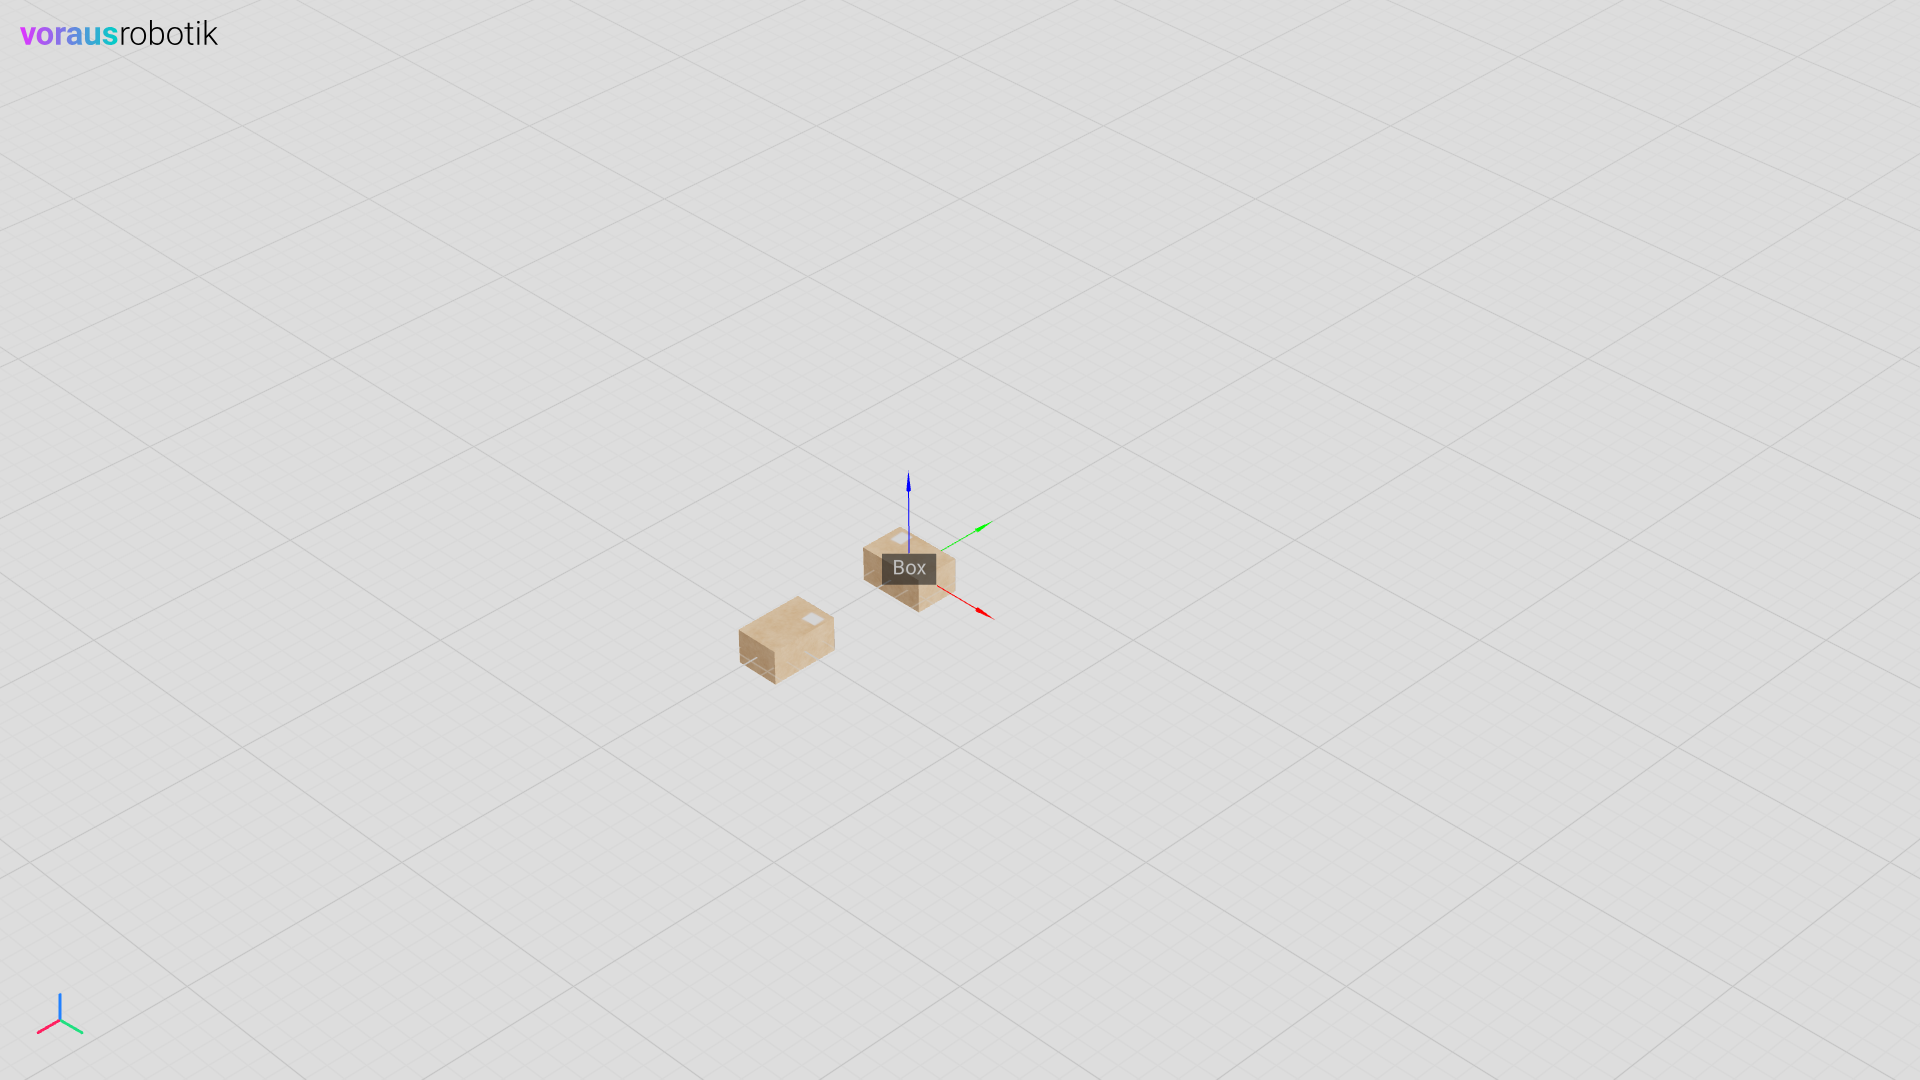
Fig. 15 The text panel with the text “Box” above the first box
After you have pressed enter, the text will move above box2 with the text “Box”.
Add Hash Instructions
Hash instructions are instructions that are only executed in the web client. They are defined in Python and can be triggered via the hash value of the URL without reloading of the page.
        visu.add_hash_instruction("invisible", box.visible(False), box.position.x(-5), box.scale.z(0.2))
        visu.add_hash_instruction("visible", box.visible(True))
Add #invisible to the URL in your webbrowser (localhost:8077#invisible) to trigger the invisible instruction which was previously defined in the Python code.
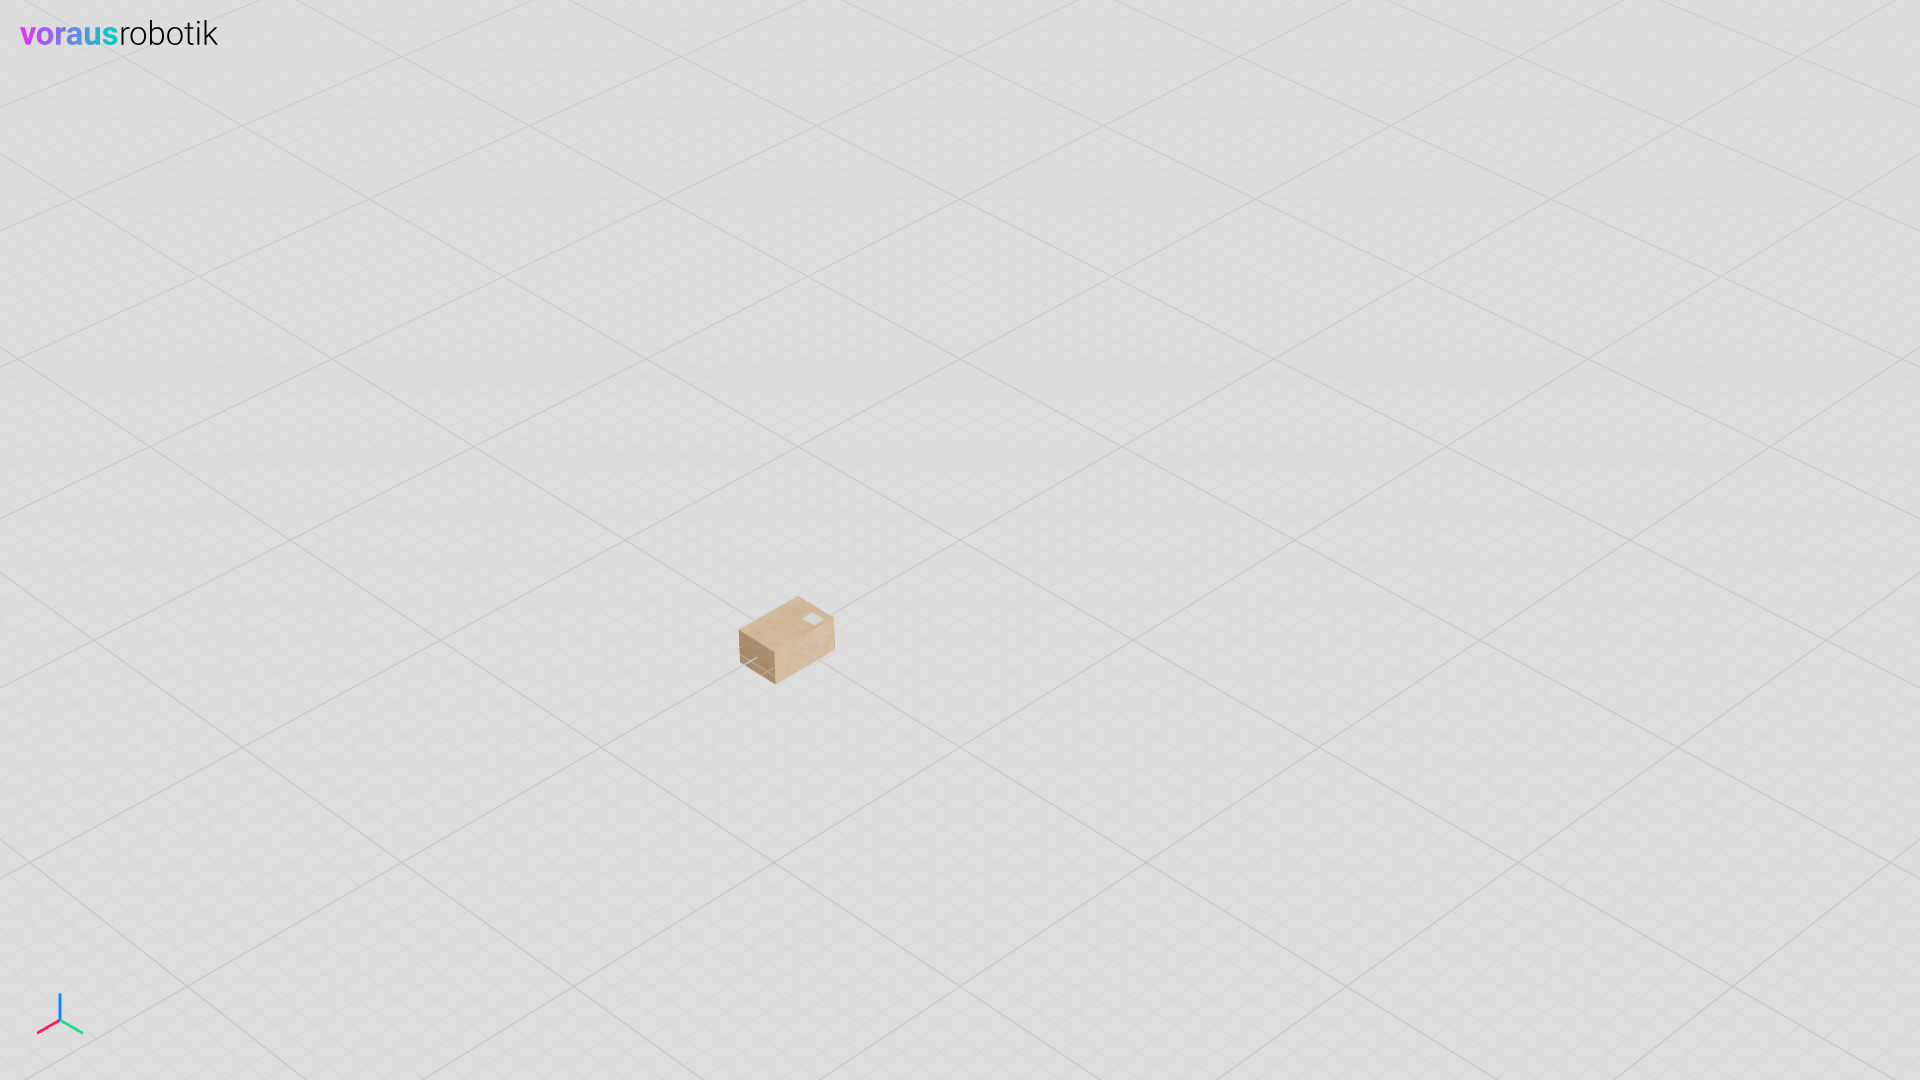
Fig. 16 The first box visibility was set to false using the hash value of the URL
Change the end of the URL to #visible in your webbrowser (localhost:8077#visible) to trigger the visible instruction which was previously defined in the Python code. The scaling and translation from the previous invisible instruction is now also visible.
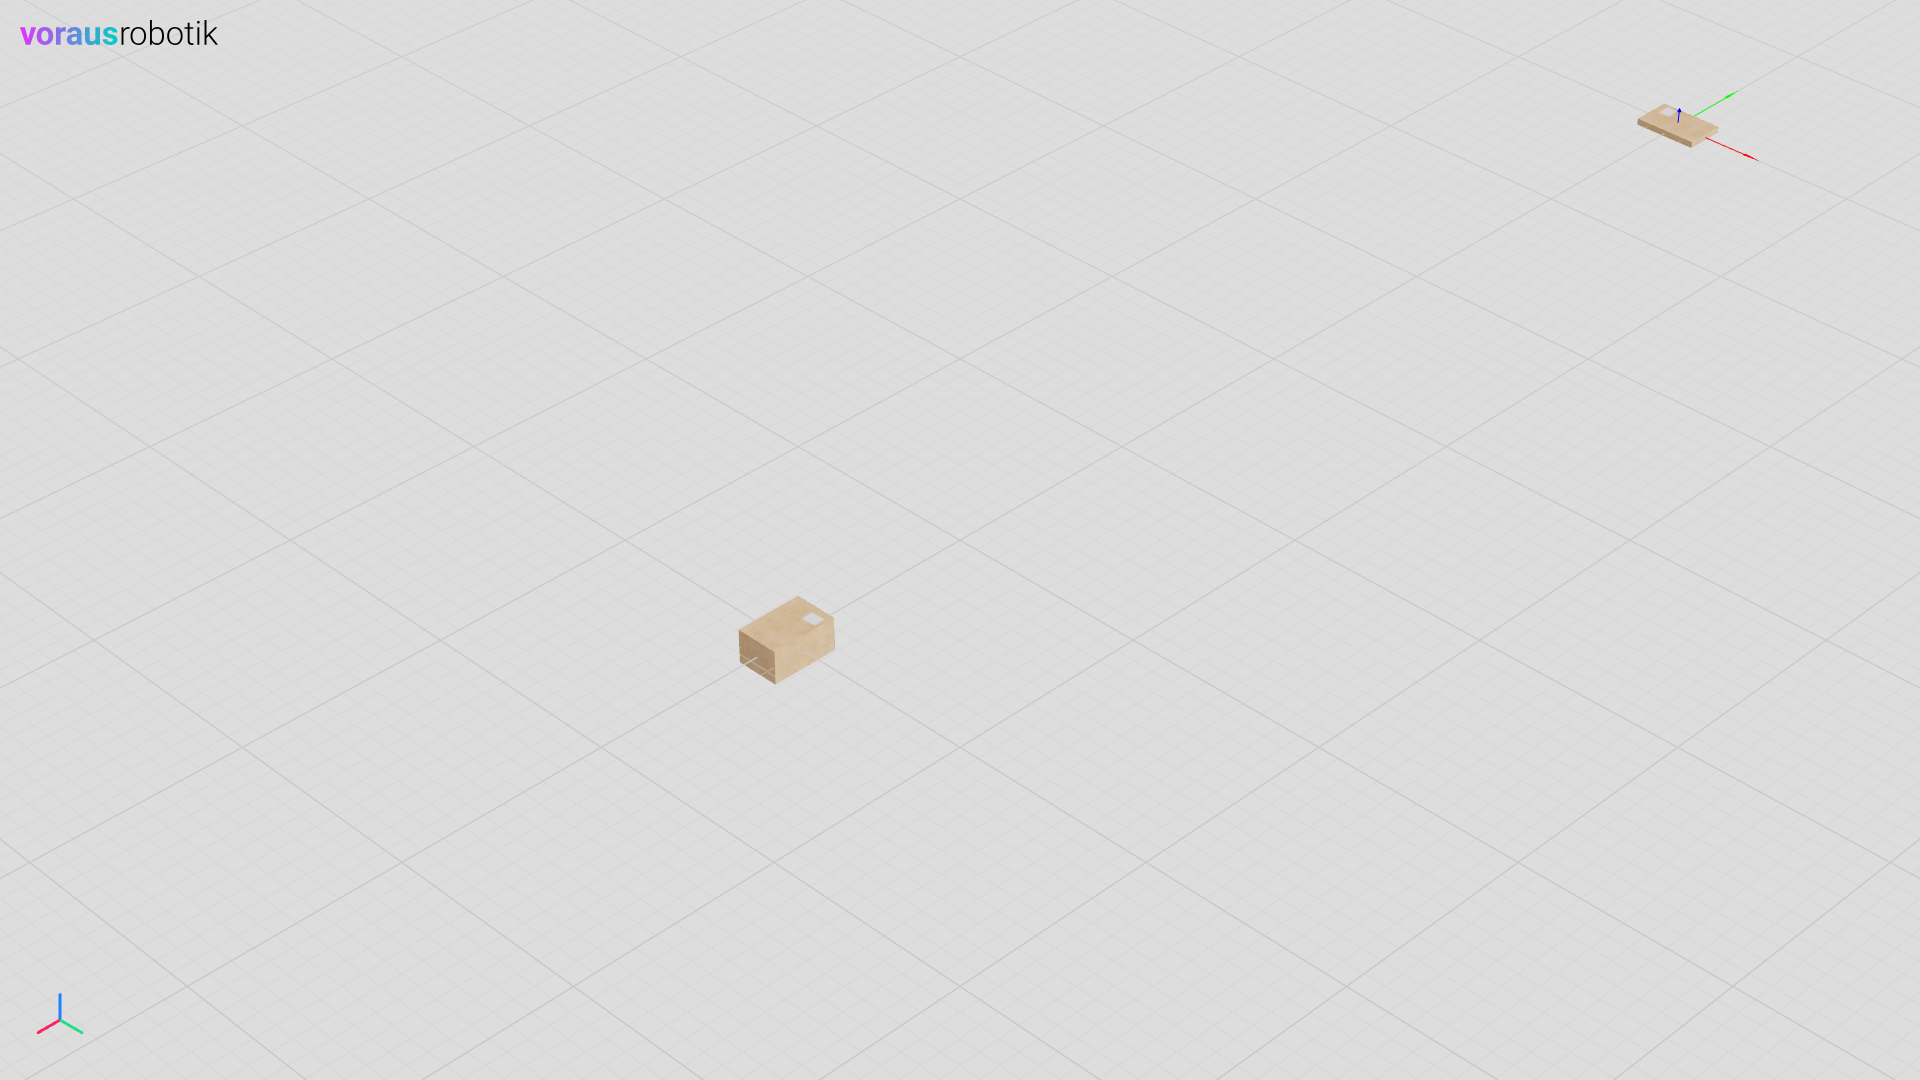
Fig. 17 The first box visibility was set to true using the hash value of the URL
The Docker compose File
Three services (Docker containers) are defined in the docker-compose.yml file. The codemeter service is required for licensing the software. The voraus-3d-visu service starts the web-based 3D visualization backend. The devcontainer service is intended for development with VSCode. The complete docker compose file is shown below.
docker-compose.yml
 1services:
 2  codemeter:
 3    hostname: codemeter
 4    image: artifactory.vorausrobotik.com/docker/voraus-codemeter:1.0.0
 5    environment:
 6      LICENSE_SERVER: host.docker.internal
 7    extra_hosts:
 8      - host.docker.internal:host-gateway
 9
10  voraus-3d-visu:
11    image: artifactory.vorausrobotik.com/docker/voraus-3d-visu:0.15.1
12    hostname: voraus-3d-visu
13    ports:
14      - 8077:80
15    environment:
16      CODEMETER_HOST: codemeter
17    depends_on:
18      - codemeter
19
20  devcontainer:
21    image: artifactory.vorausrobotik.com/docker/voraus-3d-visu:0.15.1
22    volumes:
23      - .:/home/localuser/workspace:cached
24    command: /bin/sh -c "while sleep 1000; do :; done"
25    environment:
26      CODEMETER_HOST: codemeter
27    depends_on:
28      - codemeter