Instructions
Instructions can be used to change properties of visualization objects. The instructions affect the properties of an object according to the official three.js documentation.
Position
This instruction updates the position of the object.
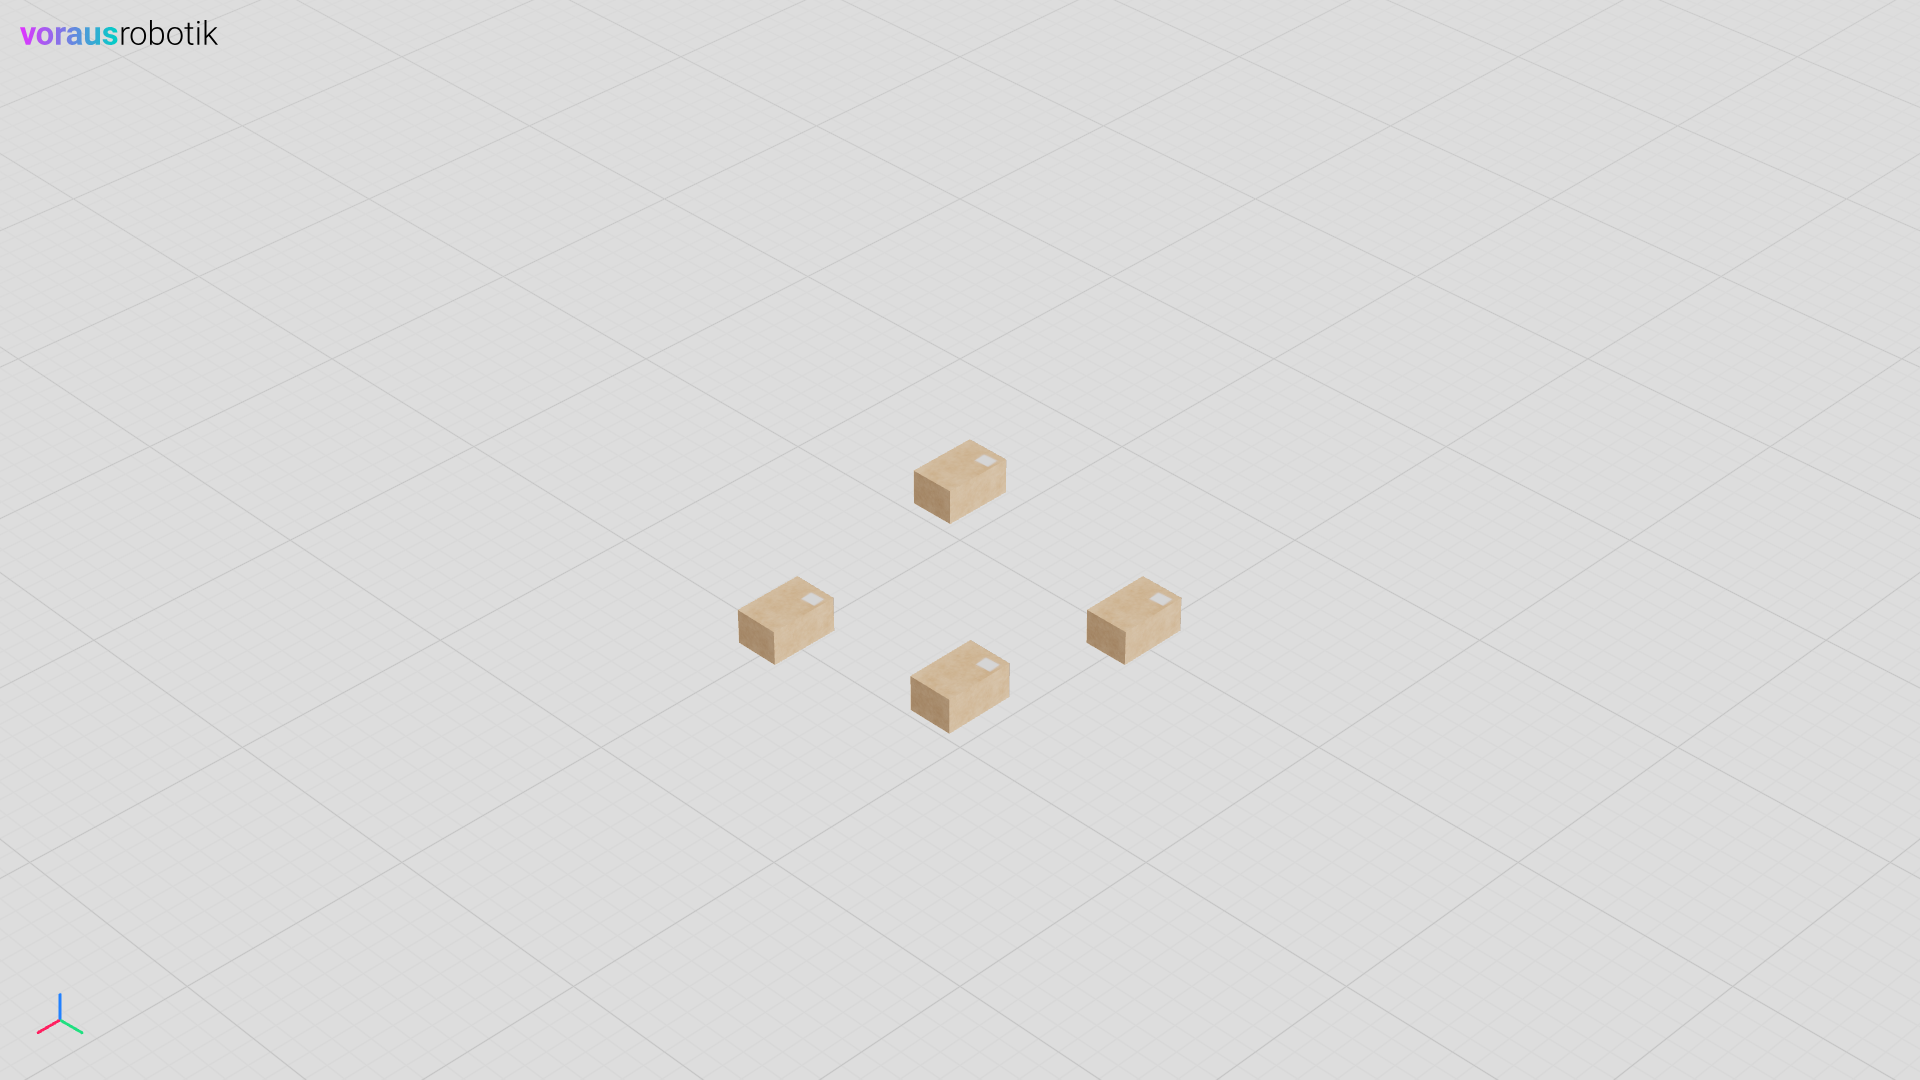
The cartesian position values x, y and z can be updated individually or all together (xyz).
Example:
 1    visu = Visu(voraus_3d_visu, clear_all=True)
 2    box1 = visu.add_model(box_glb, position=[0, 0, 0.1])
 3    box2 = visu.add_model(box_glb, position=[0, 0, 0.1])
 4    box3 = visu.add_model(box_glb, position=[0, 0, 0.1])
 5    box4 = visu.add_model(box_glb, position=[0, 0, 0.1])
 6
 7    with visu.connection():
 8        visu.update(
 9            box1.position.x(1),
10            box2.position.y(1),
11            box3.position.z(0.3),
12            box4.position.xyz(1, 1, 0.3),
13        )
Rotation
This instruction updates the rotation of the object.
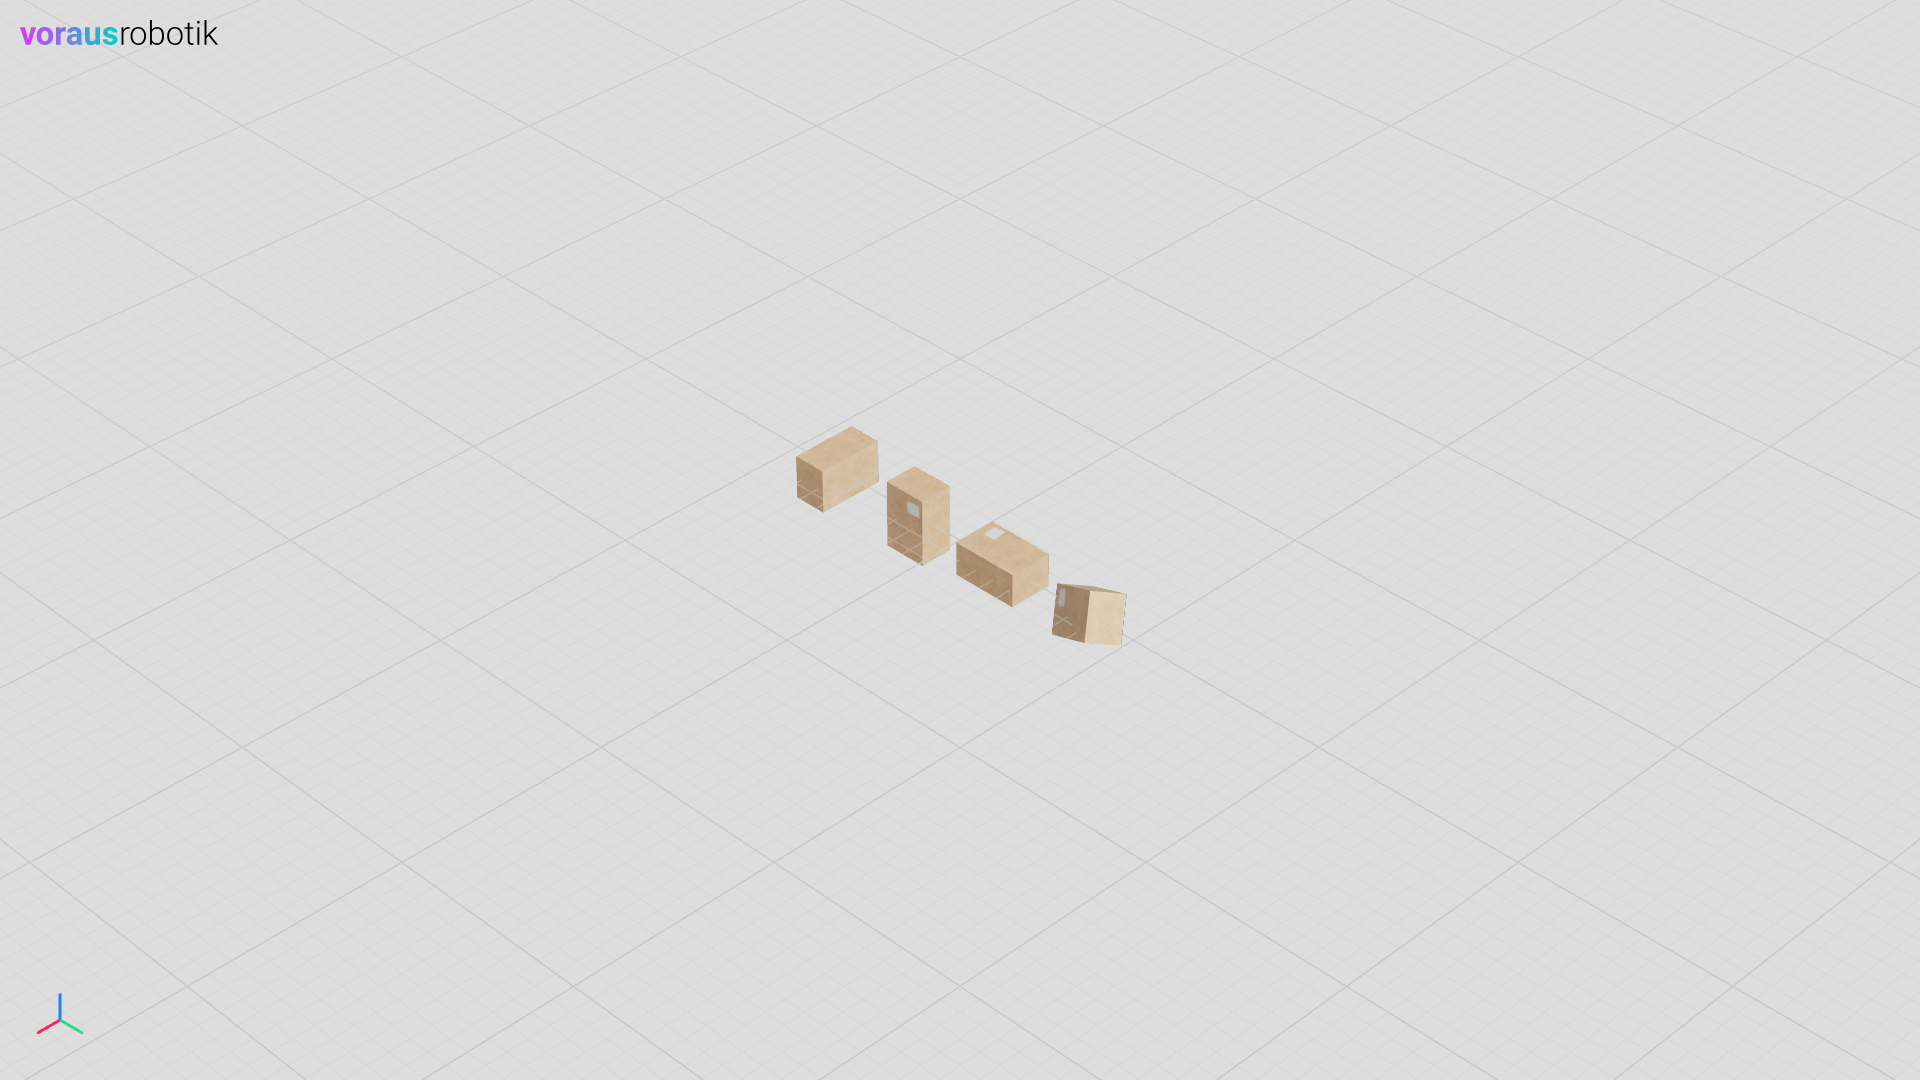
The cartesian rotation values x, y and z can be updated individually or all together (xyz).
Rotations are defined by Euler(XYZ).
Example:
 1    visu = Visu(voraus_3d_visu, clear_all=True)
 2    box1 = visu.add_model(box_glb, position=[0, -0.75, 0])
 3    box2 = visu.add_model(box_glb, position=[0, -0.25, 0])
 4    box3 = visu.add_model(box_glb, position=[0, 0.25, 0])
 5    box4 = visu.add_model(box_glb, position=[0, 0.75, 0])
 6
 7    with visu.connection():
 8        visu.update(
 9            box1.rotation.x(1.57),
10            box2.rotation.y(1.57),
11            box3.rotation.z(1.57),
12            box4.rotation.xyz(1, 1, 1),
13        )
Quaternion
This instruction updates the quaternions of the object.
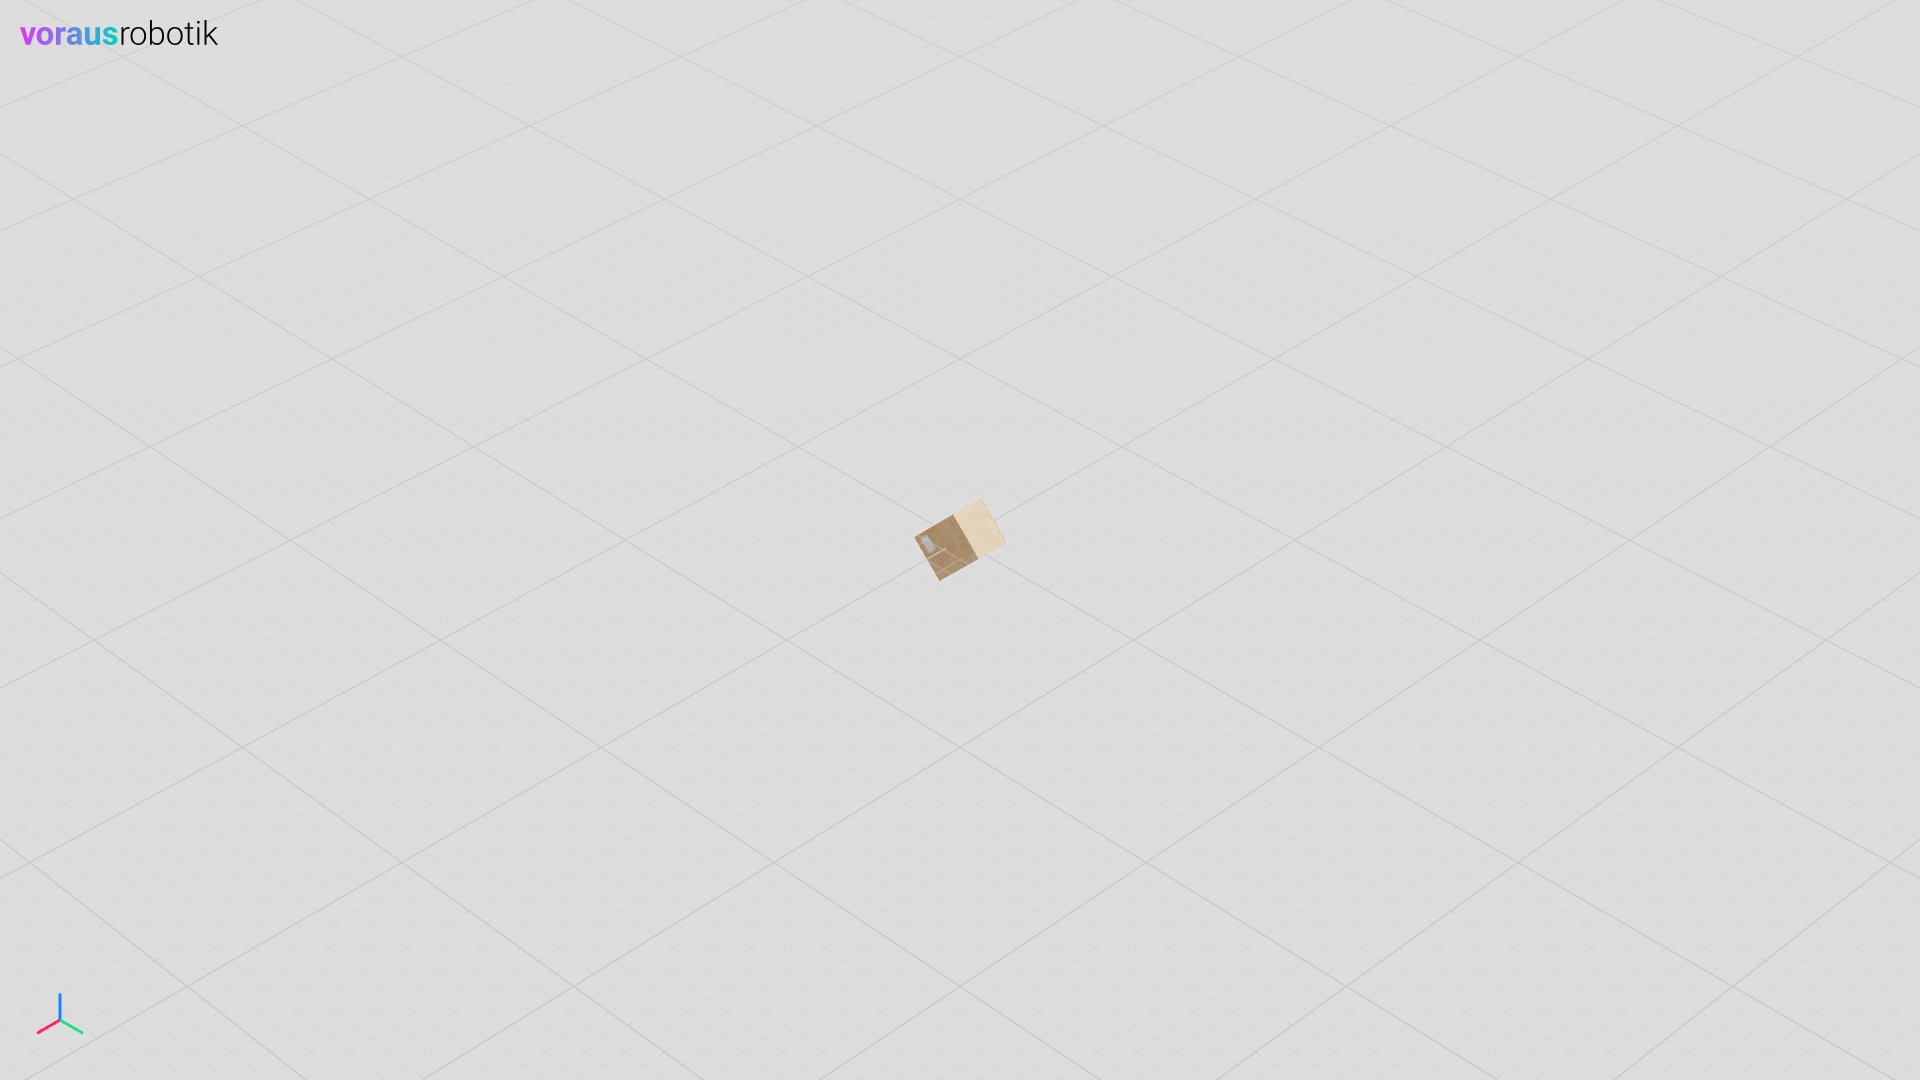
The values x, y, z and w are updated all together.
Example:
1    visu = Visu(voraus_3d_visu, clear_all=True)
2    box = visu.add_model(box_glb, position=[0, 0, 0])
3
4    with visu.connection():
5        visu.update(
6            box.quaternion.xyzw(0.653012, 0.270728, 0.6532274, 0.2712483),
7        )
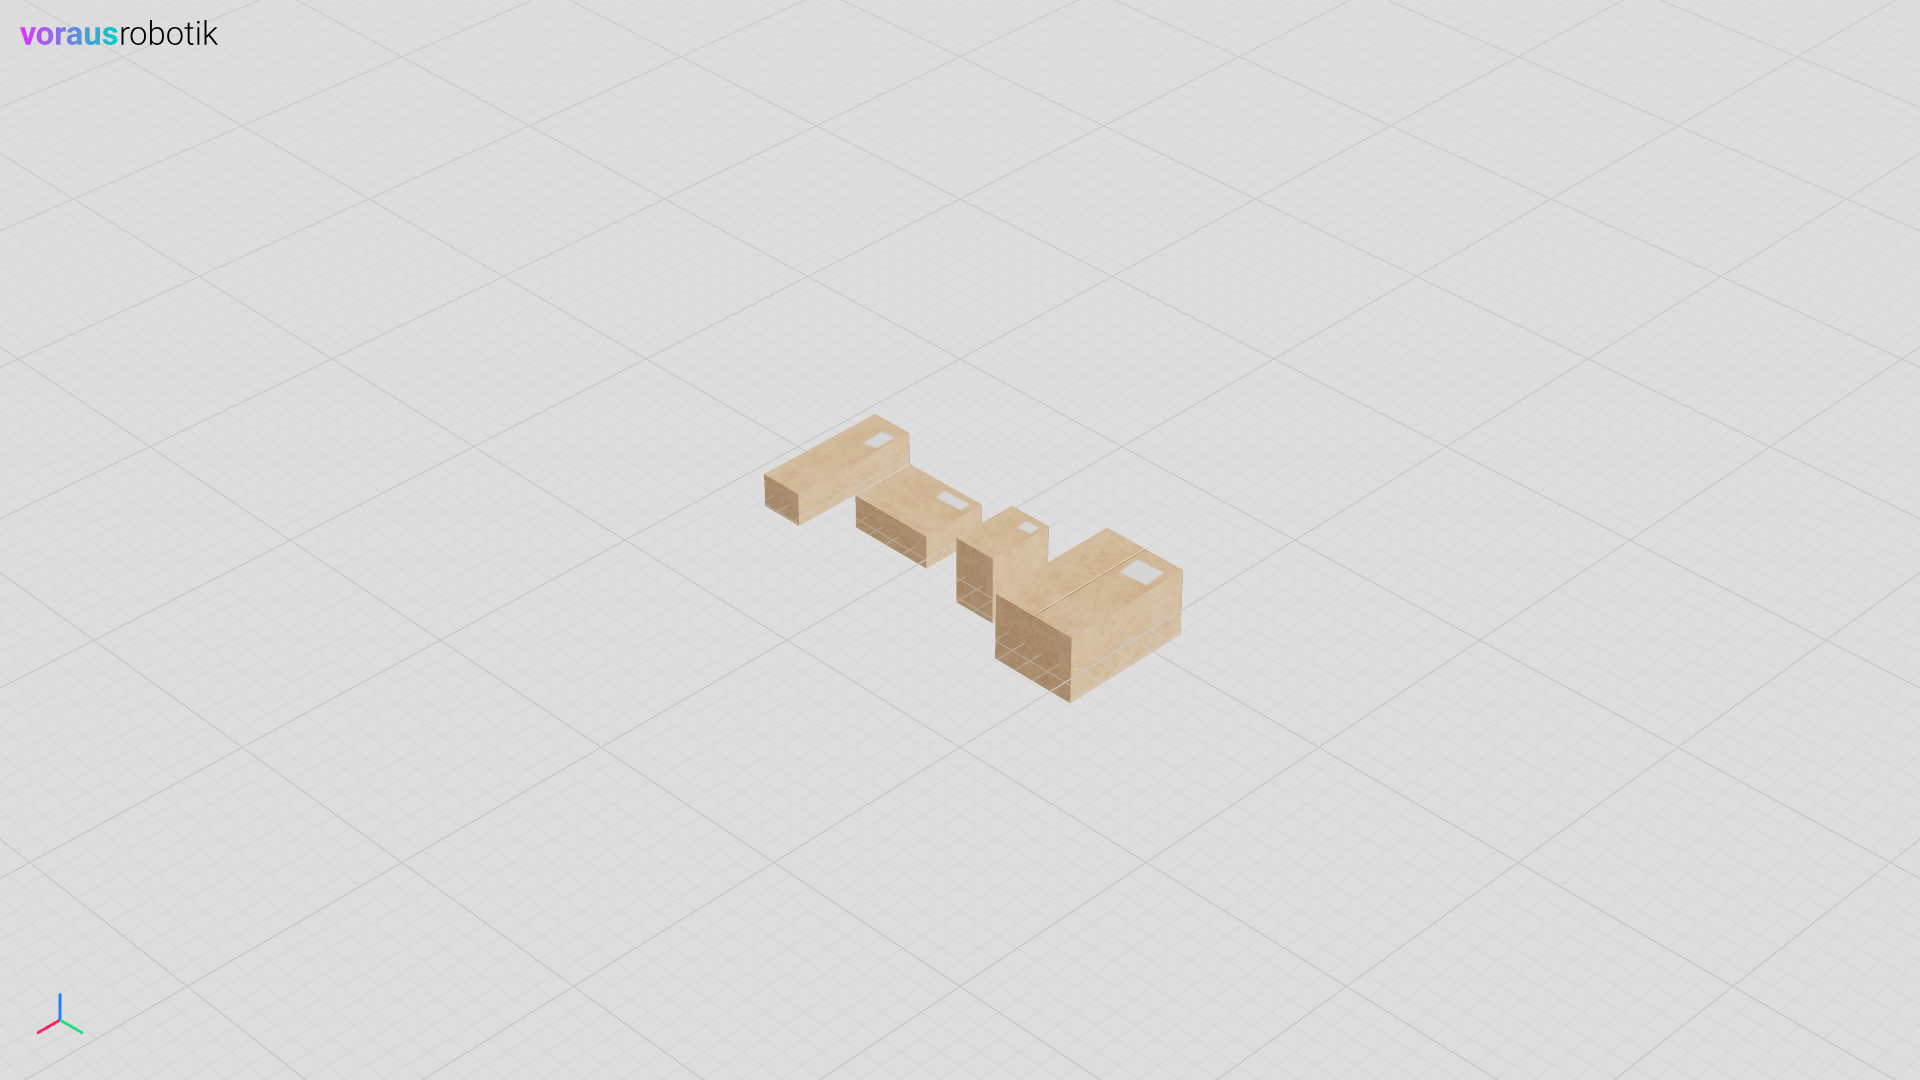
Scale
This instruction updates the scaling of the object.
The cartesian scaling parameters x, y and z can be updated individually or all together (xyz).
Example:
 1    visu = Visu(voraus_3d_visu, clear_all=True)
 2    box1 = visu.add_model(box_glb, position=[0, -0.75, 0])
 3    box2 = visu.add_model(box_glb, position=[0, -0.25, 0])
 4    box3 = visu.add_model(box_glb, position=[0, 0.25, 0])
 5    box4 = visu.add_model(box_glb, position=[0, 0.75, 0])
 6
 7    with visu.connection():
 8        visu.update(
 9            box1.scale.x(2),
10            box2.scale.y(2),
11            box3.scale.z(2),
12            box4.scale.xyz(2, 2, 2),
13        )
Parent
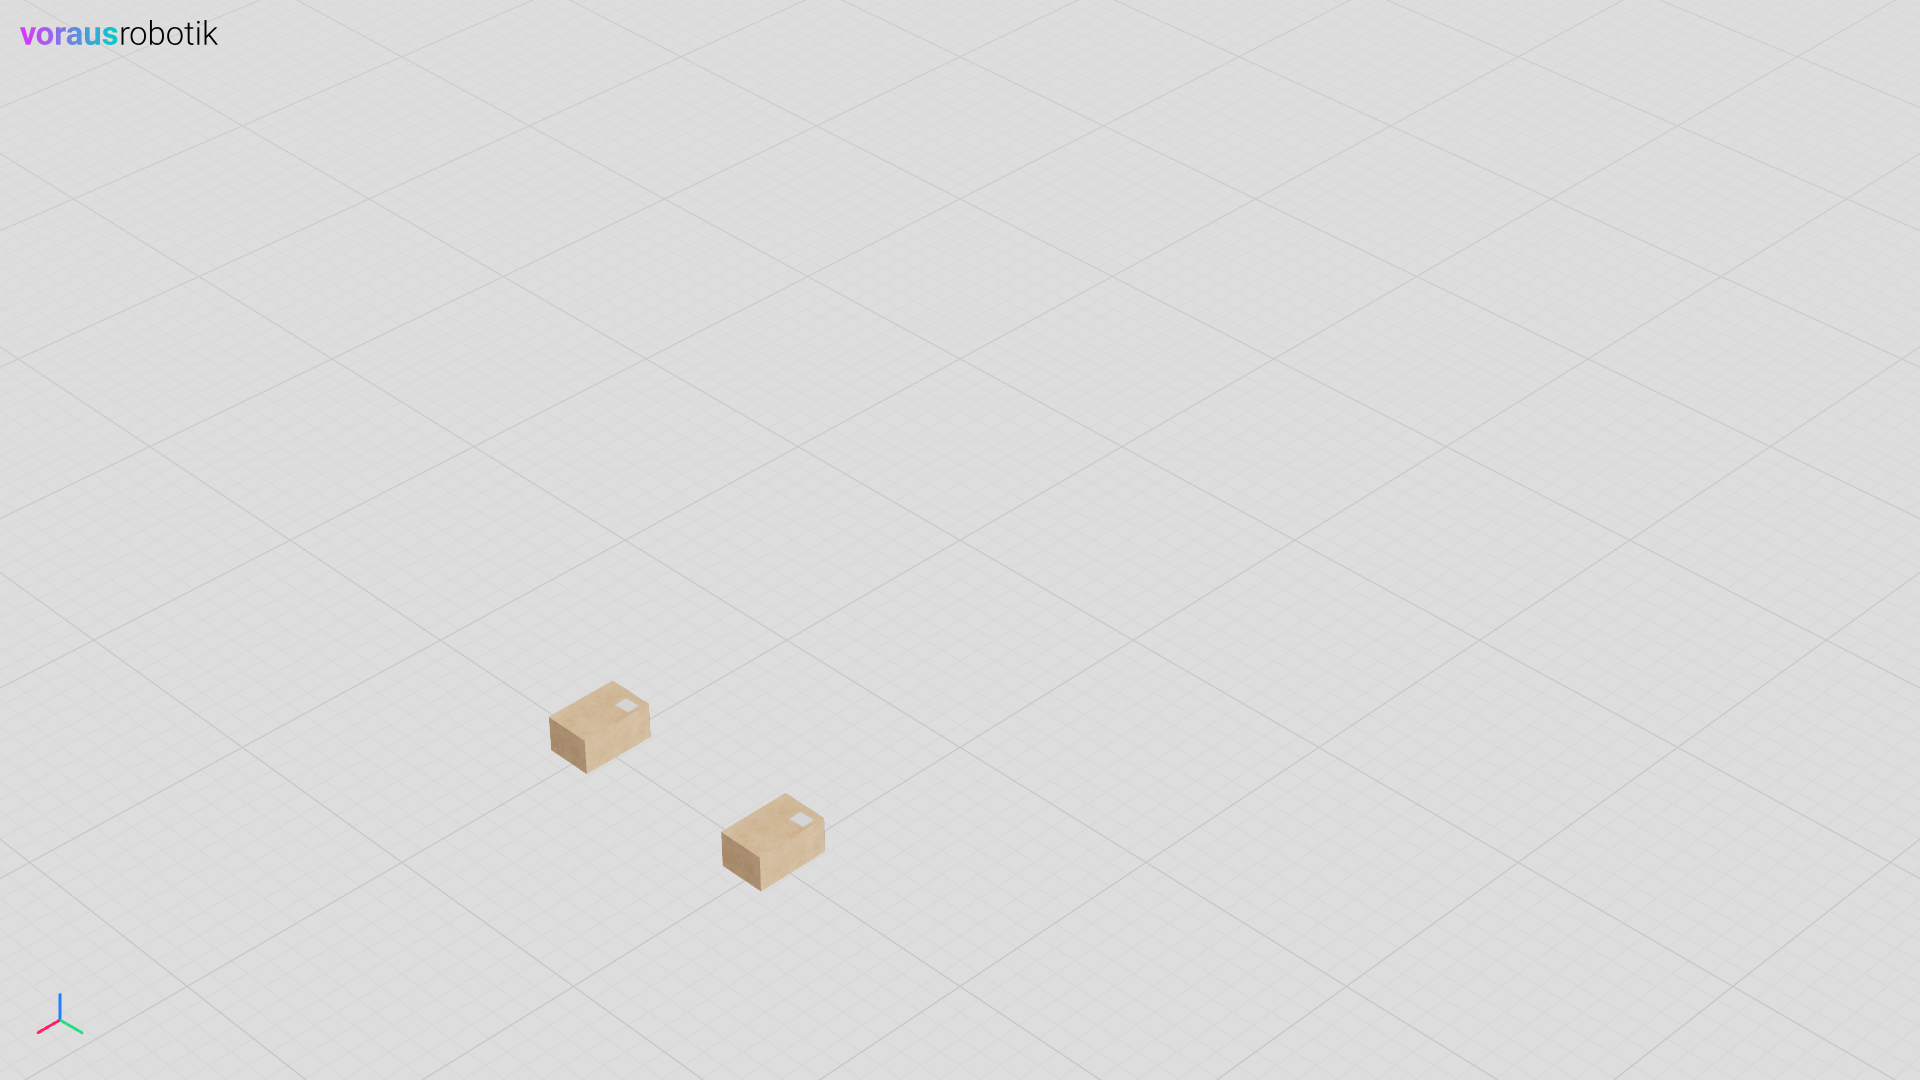
This instruction defines a new parent of the object.
Once coupled, all transformation instructions for a child are applied relative to the origin of the parent object.
Changes to the parent also apply to descending children.
Setting a parent to None decouples a child from its current parent.
Example:
1    visu = Visu(voraus_3d_visu, clear_all=True)
2    box1 = visu.add_model(box_glb, position=[0, 0, 0.1])
3    box2 = visu.add_model(box_glb, position=[0, 1, 0.1])
4
5    with visu.connection():
6        visu.update(
7            box2.parent(box1),
8            box1.position.x(2),
9        )
Child
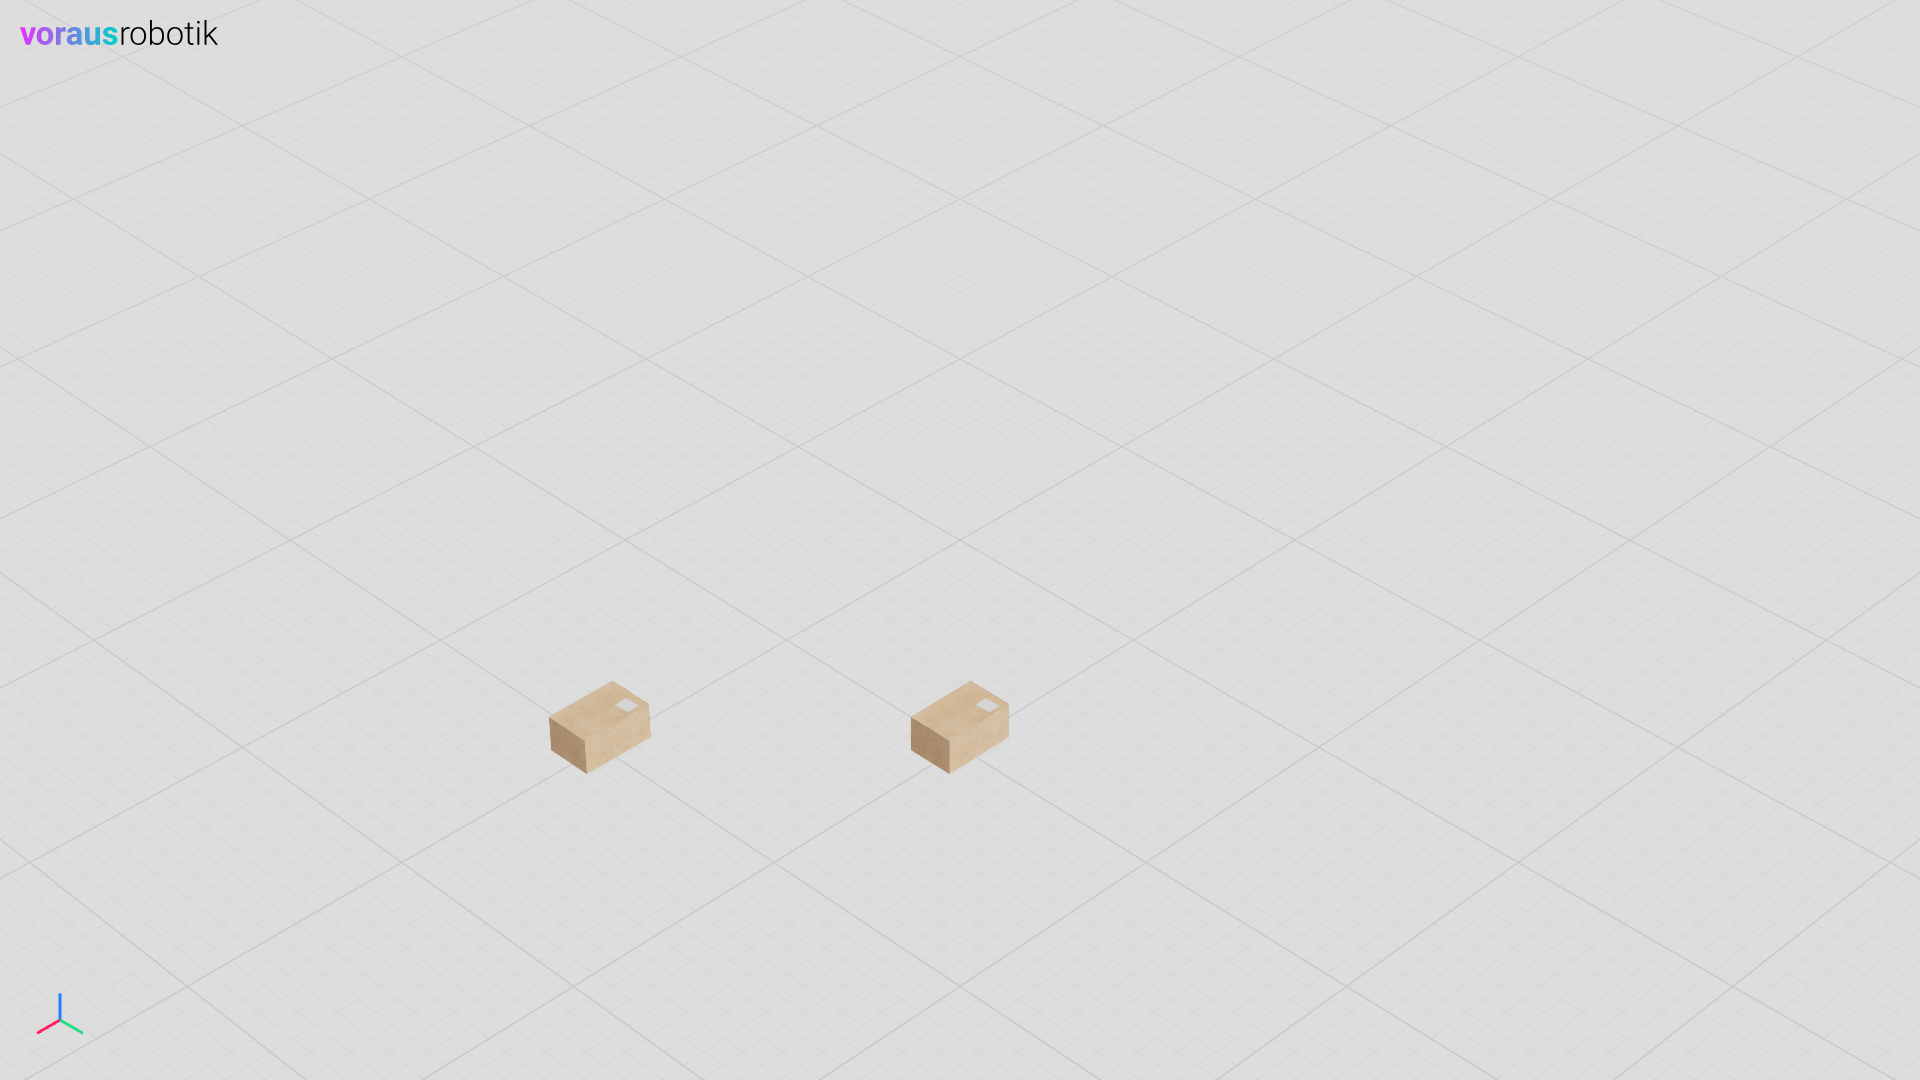
This instruction can be use to access a child of the object.
Changes to the child do not apply to the parent.
Accessing the material property via child results in only applying
the changes to the child. See Transparency for an
example.
Example:
 1    visu = Visu(voraus_3d_visu, clear_all=True)
 2    box1 = visu.add_model(box_glb, position=[0, 0, 0.1])
 3    box2 = visu.add_model(box_glb, position=[0, 1, 0.1])
 4
 5    with visu.connection():
 6        visu.update(
 7            box2.parent(box1),
 8            box1.position.x(2),
 9            box1.child(box2.identifier).position.x(-1),
10        )
Visible
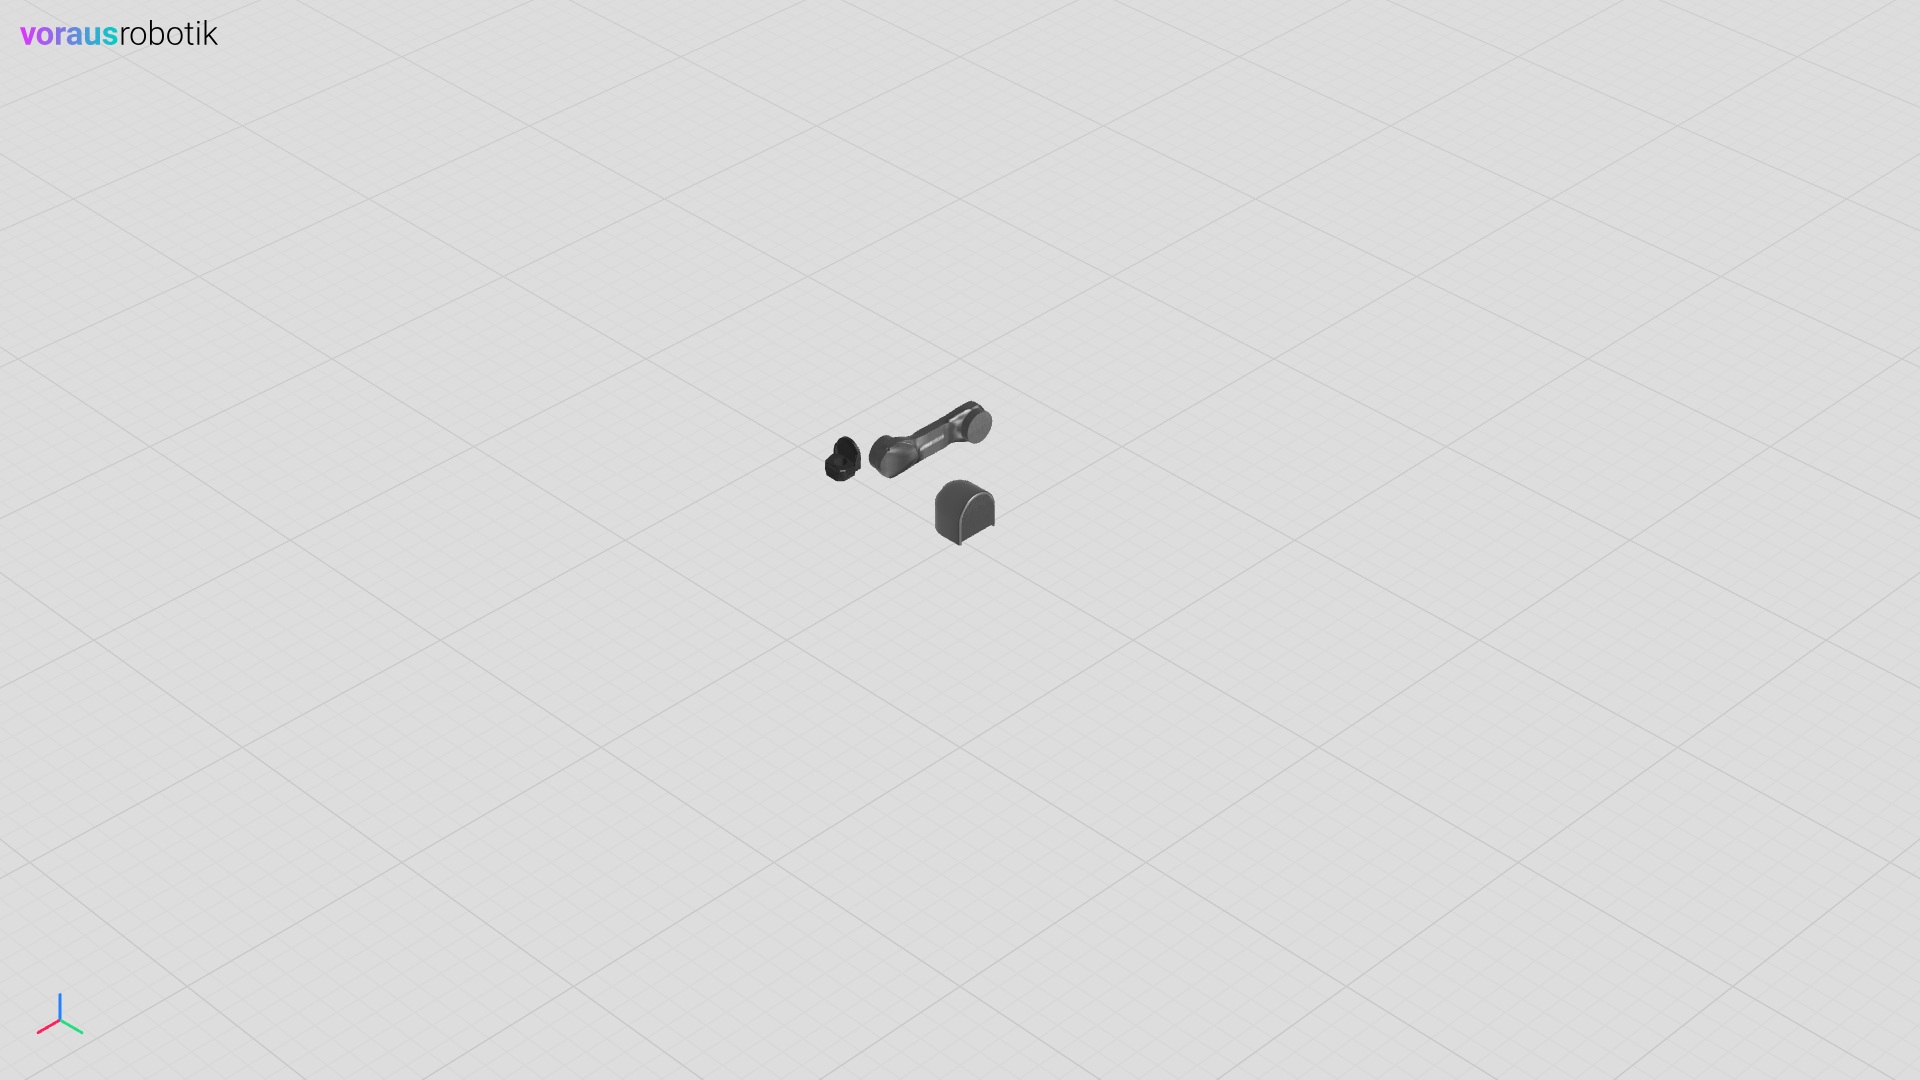
This instruction updates the visibility of the object.
Example:
 1    visu = Visu(voraus_3d_visu, clear_all=True)
 2    robot1 = visu.add_model(robot_glb, position=[0, 0, 0])
 3    robot2 = visu.add_model(robot_glb, position=[0, 1, 0])
 4
 5    with visu.connection():
 6        visu.update(
 7            robot1.child("Base").visible(False),
 8            robot1.child("Segment2").visible(False),
 9            robot1.child("Segment4").visible(False),
10            robot1.child("Segment6").visible(False),
11            robot2.visible(False),
12        )
Material
The material properties of an object can be updated dynamically.
In order to access the material property, the unique_material
argument must be set (True or False) when adding the object to
the visualization.
If a material is not unique all material settings affect all objects in the scene with the same material as the target object.
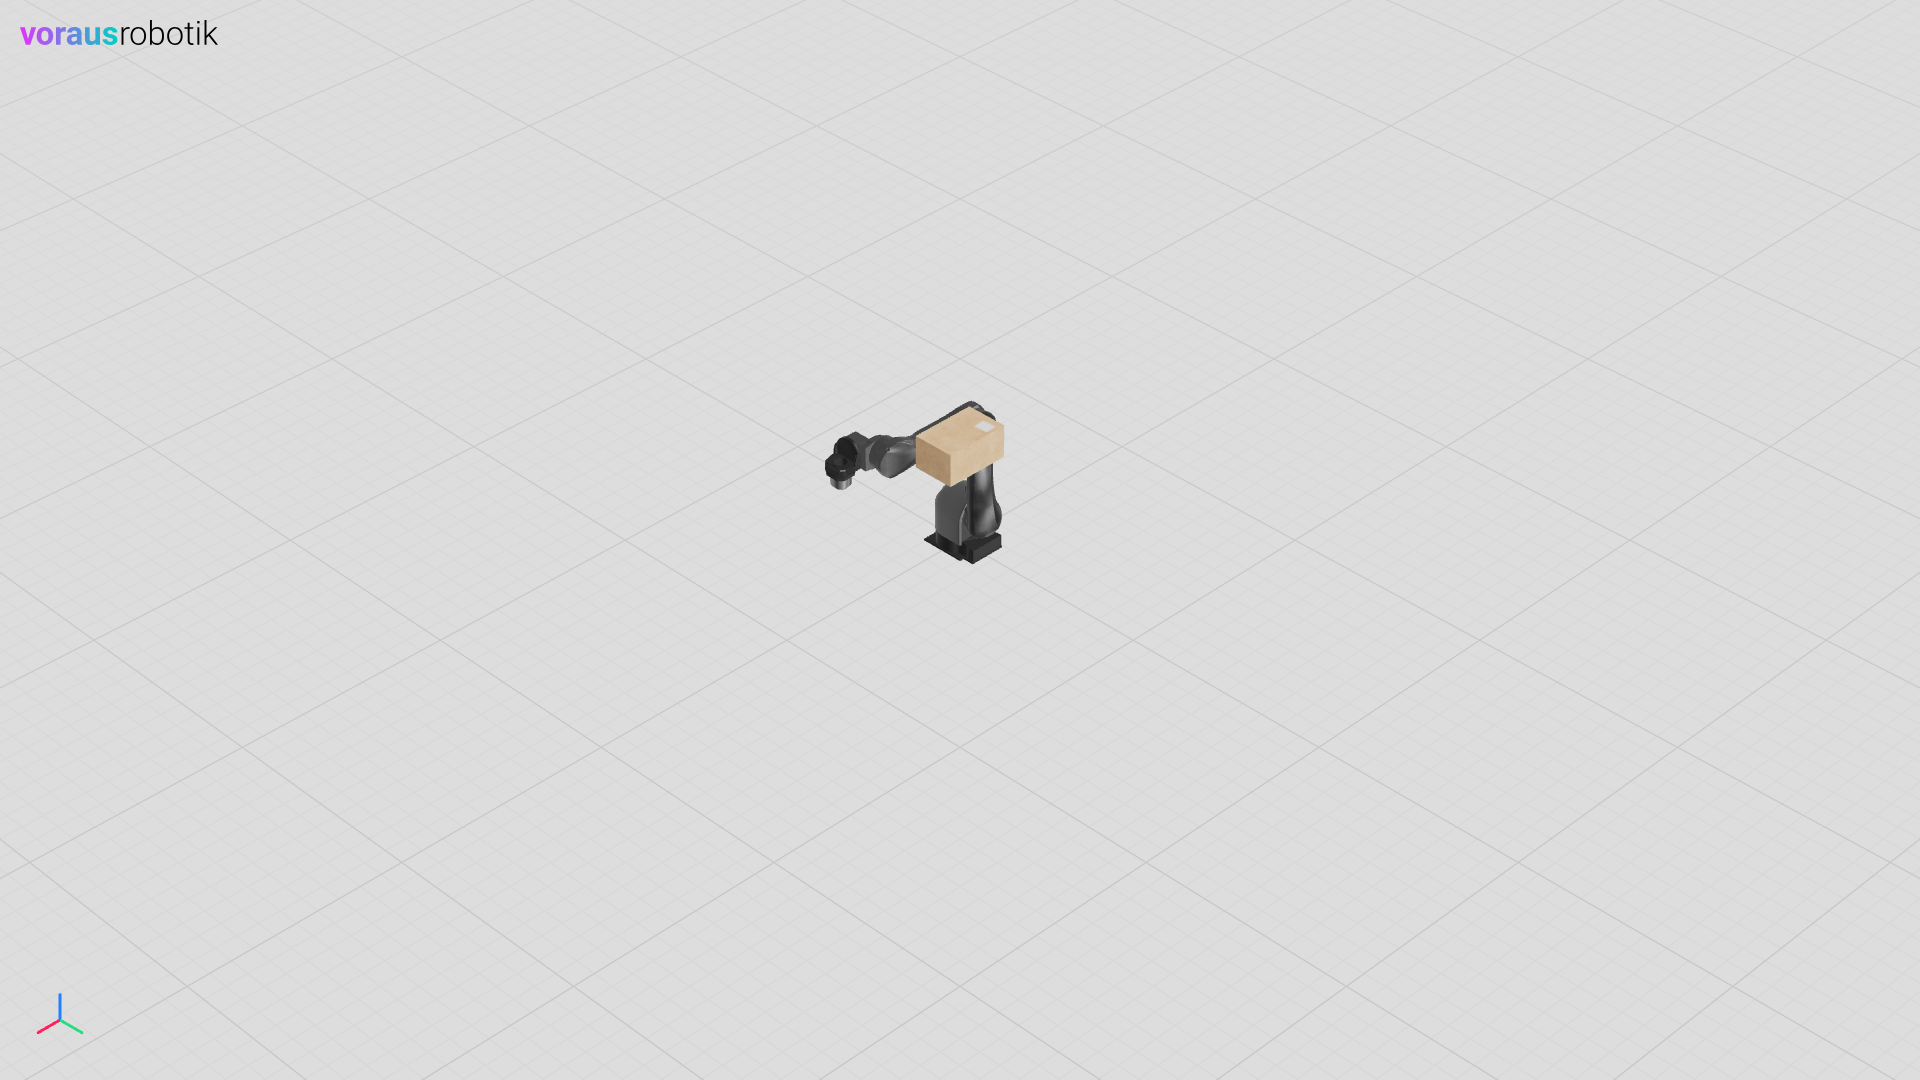
Depth Test
Setting the depth_test attribute updates the material properties of the three.js class:
depthTest is set to the given value
transparent is set to True
When the depth_test setting is applied to a parent object with multiple
children, the property is set for all descending children recursively.
Example:
1    visu = Visu(voraus_3d_visu, clear_all=True)
2    robot = visu.add_model(robot_glb, position=[0, 0, 0])
3    box = visu.add_model(box_glb, position=[-0.5, -0.5, 0], unique_material=True)
4
5    with visu.connection():
6        visu.update(
7            box.material.depth_test(False),
8        )
Transparency
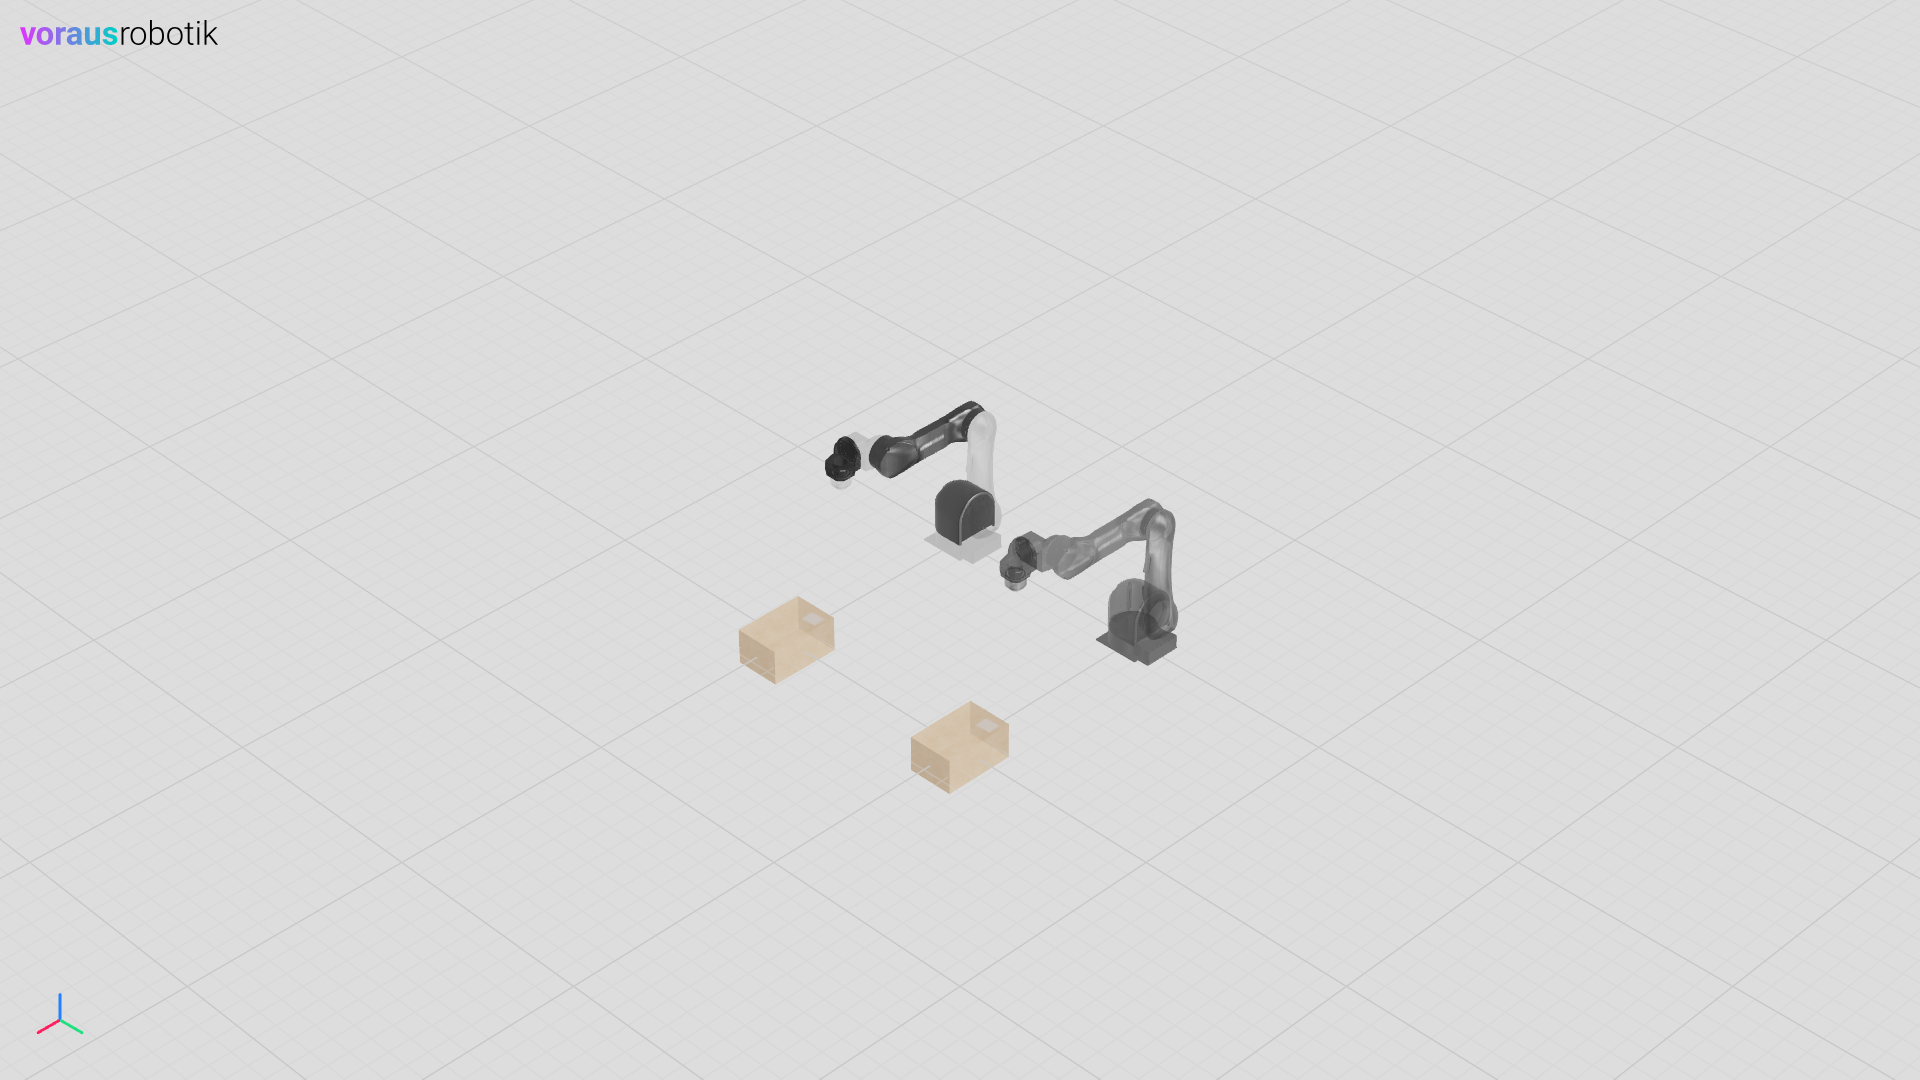
Setting the transparency updates the material properties of the three.js class:
transparent is set to True
opacity is set to the given value
When the transparency setting is applied to a parent object with multiple children, the property is set for all descending children recursively.
As the material of box 1 was not made unique, both boxes are transparent, even though the transparency was only set for box 1.
Example:
 1    visu = Visu(voraus_3d_visu, clear_all=True)
 2    robot1 = visu.add_model(robot_glb, position=[0, 0, 0], unique_material=True)
 3    robot2 = visu.add_model(robot_glb, position=[0, 1, 0], unique_material=True)
 4    box1 = visu.add_model(box_glb, position=[1, 0, 0], unique_material=False)
 5    box2 = visu.add_model(box_glb, position=[1, 1, 0])
 6
 7    with visu.connection():
 8        visu.update(
 9            robot1.child("Base").material.transparency(0.1),
10            robot1.child("Segment1").material.transparency(1.0),
11            robot1.child("Segment2").material.transparency(0.1),
12            robot1.child("Segment3").material.transparency(1.0),
13            robot1.child("Segment4").material.transparency(0.1),
14            robot1.child("Segment5").material.transparency(0.8),
15            robot1.child("Segment6").material.transparency(0.1),
16            robot2.material.transparency(0.4),
17            box1.material.transparency(0.5),
18        )
Color
This instruction updates the color of the material.
The color parameters r, g and b can be updated individually or all together (rgb).
Example:
 1    visu = Visu(voraus_3d_visu, clear_all=True)
 2    material1 = visu.add_mesh_standard_material(color=[0, 0, 0])
 3    material2 = visu.add_mesh_standard_material(color=[0, 0, 0])
 4    material3 = visu.add_mesh_standard_material(color=[0, 0, 0])
 5    material4 = visu.add_mesh_standard_material(color=[0, 0, 0])
 6
 7    visu.add_box(material=material1, position=[0, 0, 0])
 8    visu.add_box(material=material2, position=[-2, 0, 0])
 9    visu.add_box(material=material3, position=[0, -2, 0])
10    visu.add_box(material=material4, position=[-2, -2, 0])
11
12    with visu.connection():
13        visu.update(
14            material1.color.r(0.5),
15            material2.color.g(0.5),
16            material3.color.b(0.5),
17            material4.color.rgb(0.5, 0.5, 0.5),
18        )